How to connect Wix with easySales: a complete setup guide
Connect a Wix shop to easySales: create the API key, find the Site ID, set VAT and inventory source, and learn what travels in each direction — products, stock and orders.
What connecting Wix gives you
easySales reads your Wix catalogue and turns it into offers it can send to marketplaces, and it reads your Wix orders so you can invoice them, print AWBs and pack them next to every other order you take. Nothing is installed in the shop — no plugin, no code. The connection runs on two values from your Wix account: an API Key and the Site ID.
What travels in each direction
| From Wix to easySales | From easySales to Wix | |
|---|---|---|
| Products | Name, description, prices, images, categories, options, weight | — |
| Stock | The quantity Wix tracks for each product and variant | — |
| Orders | New and changed orders, with customer, addresses, products, shipping and discounts | Completed orders are marked as fulfilled; cancelled orders are cancelled |
Before you start
A Wix site with Wix Stores, and access to the Wix account it belongs to.
An API key from the Wix API Keys Manager, and the site's Site ID.
A different SKU on every product and every variant, and inventory tracking turned on for the products you sell.
Step 1 — Create the API key in Wix
- Open the API Keys Manager in your Wix account and press Generate API Key.
- Give the key a name you will recognise, such as
easySales, and tick All permissions. - Generate the key and copy it. You will paste it into easySales in step 5.
Step 2 — Find the Site ID
Open the dashboard of the site you are connecting. The Site ID is the long code in your browser's address bar right after /dashboard/. In https://manage.wix.com/dashboard/886422d6-072f-49f3-b2f4-31e3d4a158f7/setup, the Site ID is 886422d6-072f-49f3-b2f4-31e3d4a158f7.
Step 3 — Describe the shop
In easySales, go to Integrations → Websites and press Connect a Website.
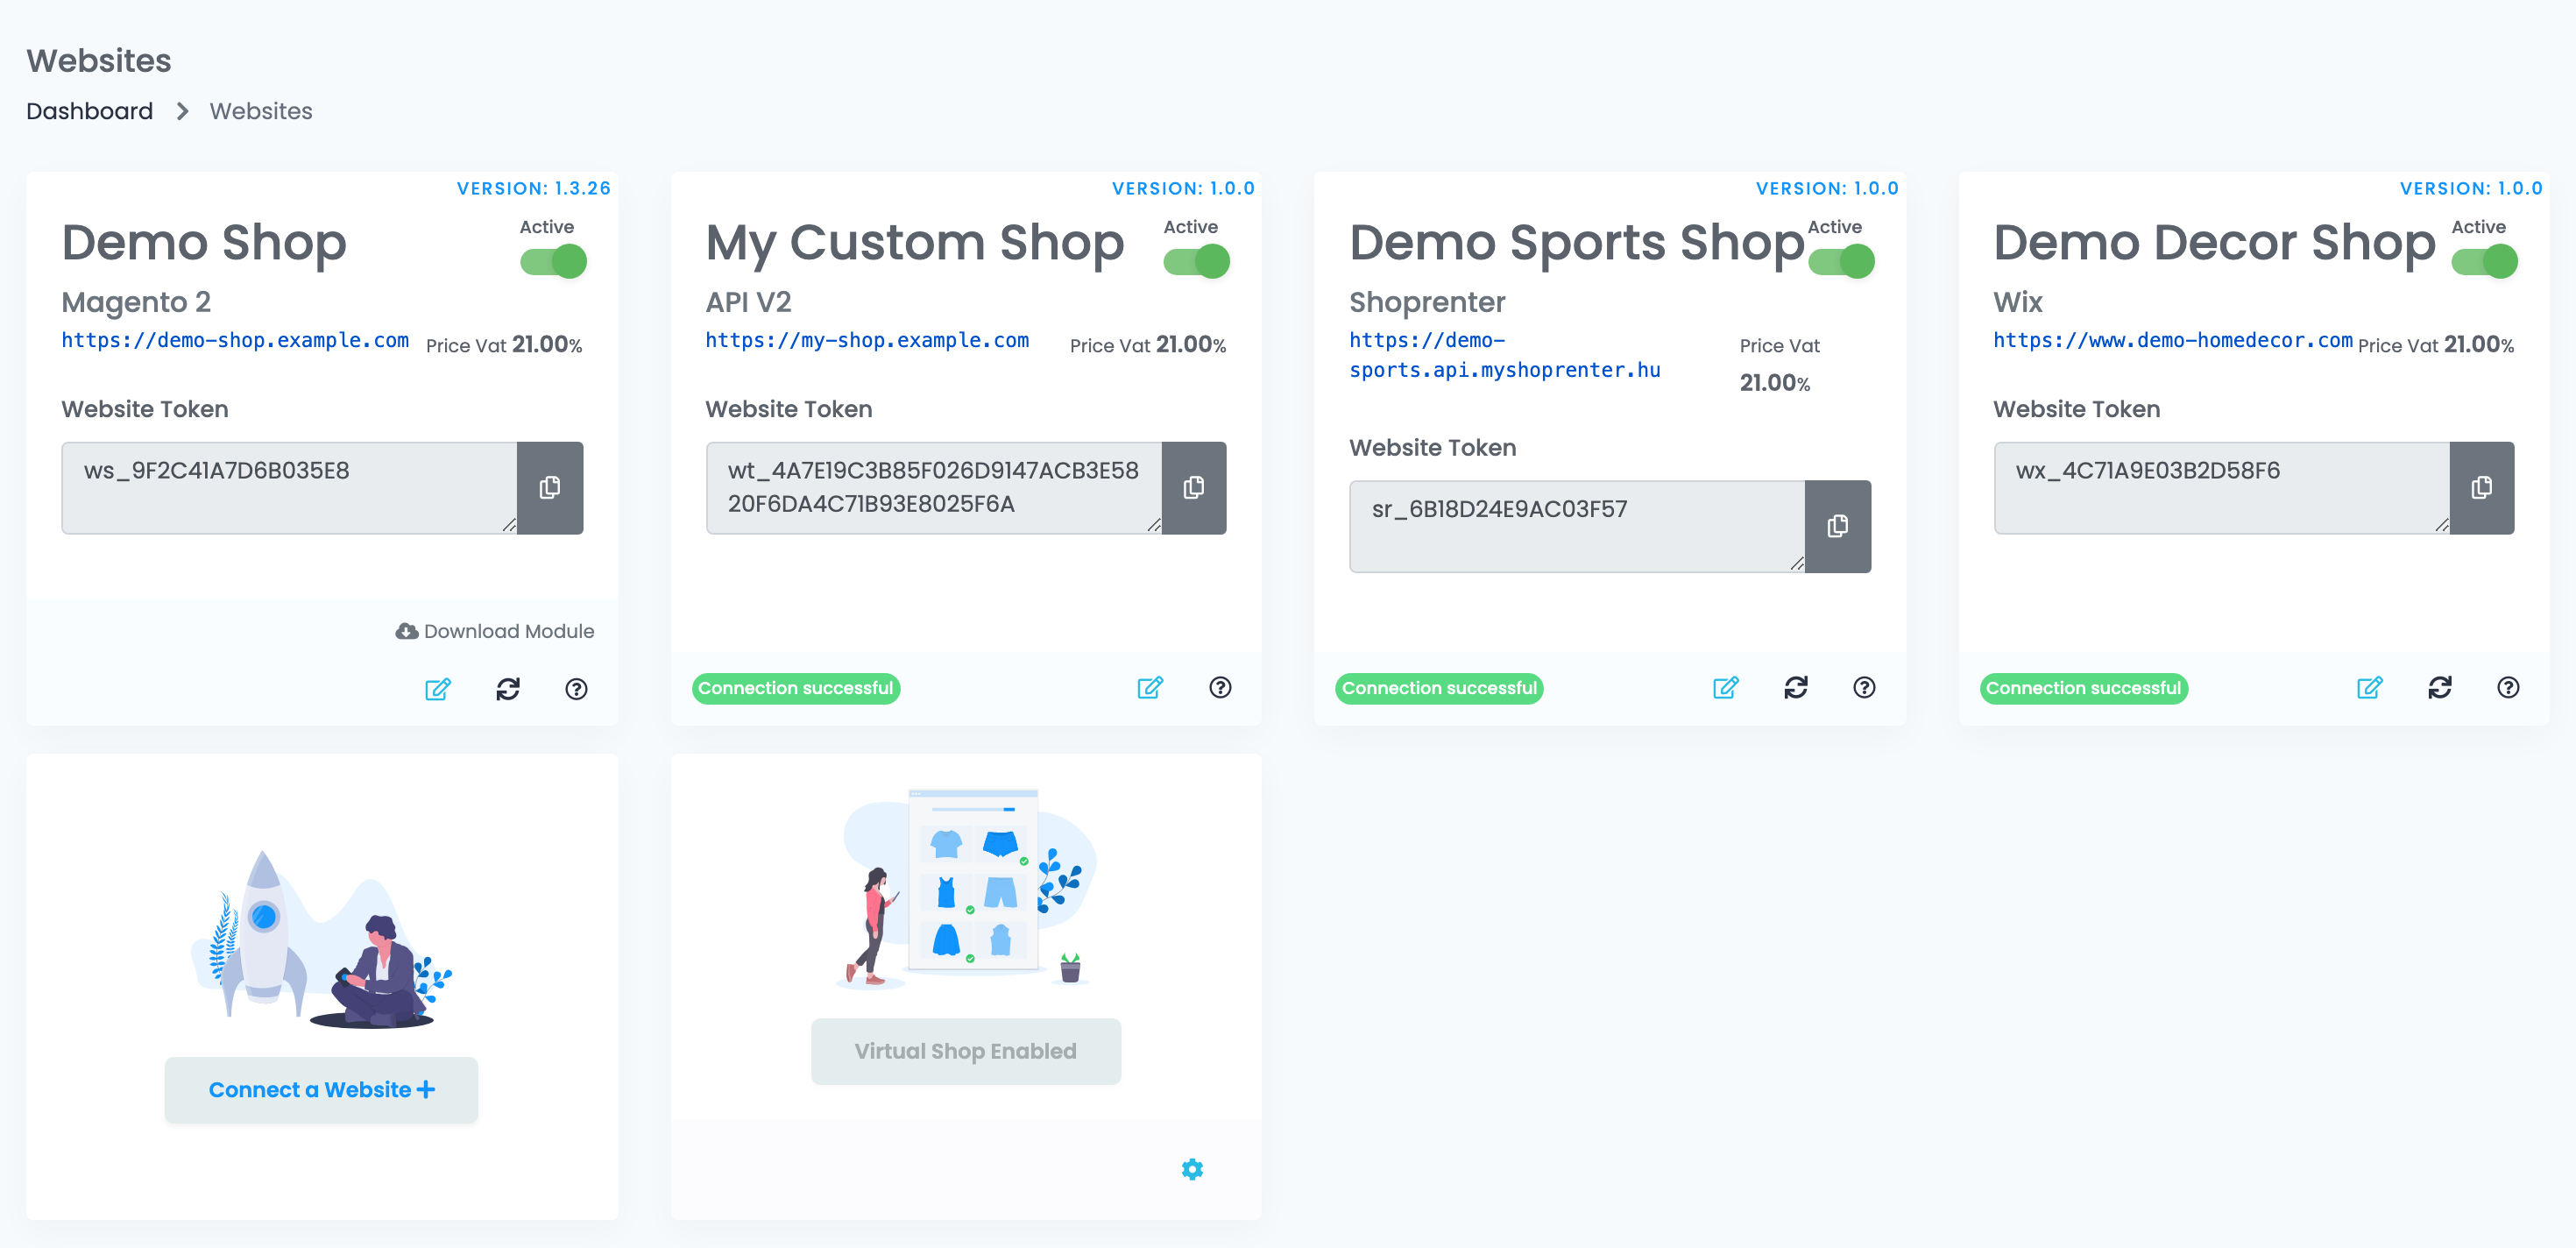
The form opens on the shop's details. The values in the screenshots belong to a demo shop; yours describe your own.
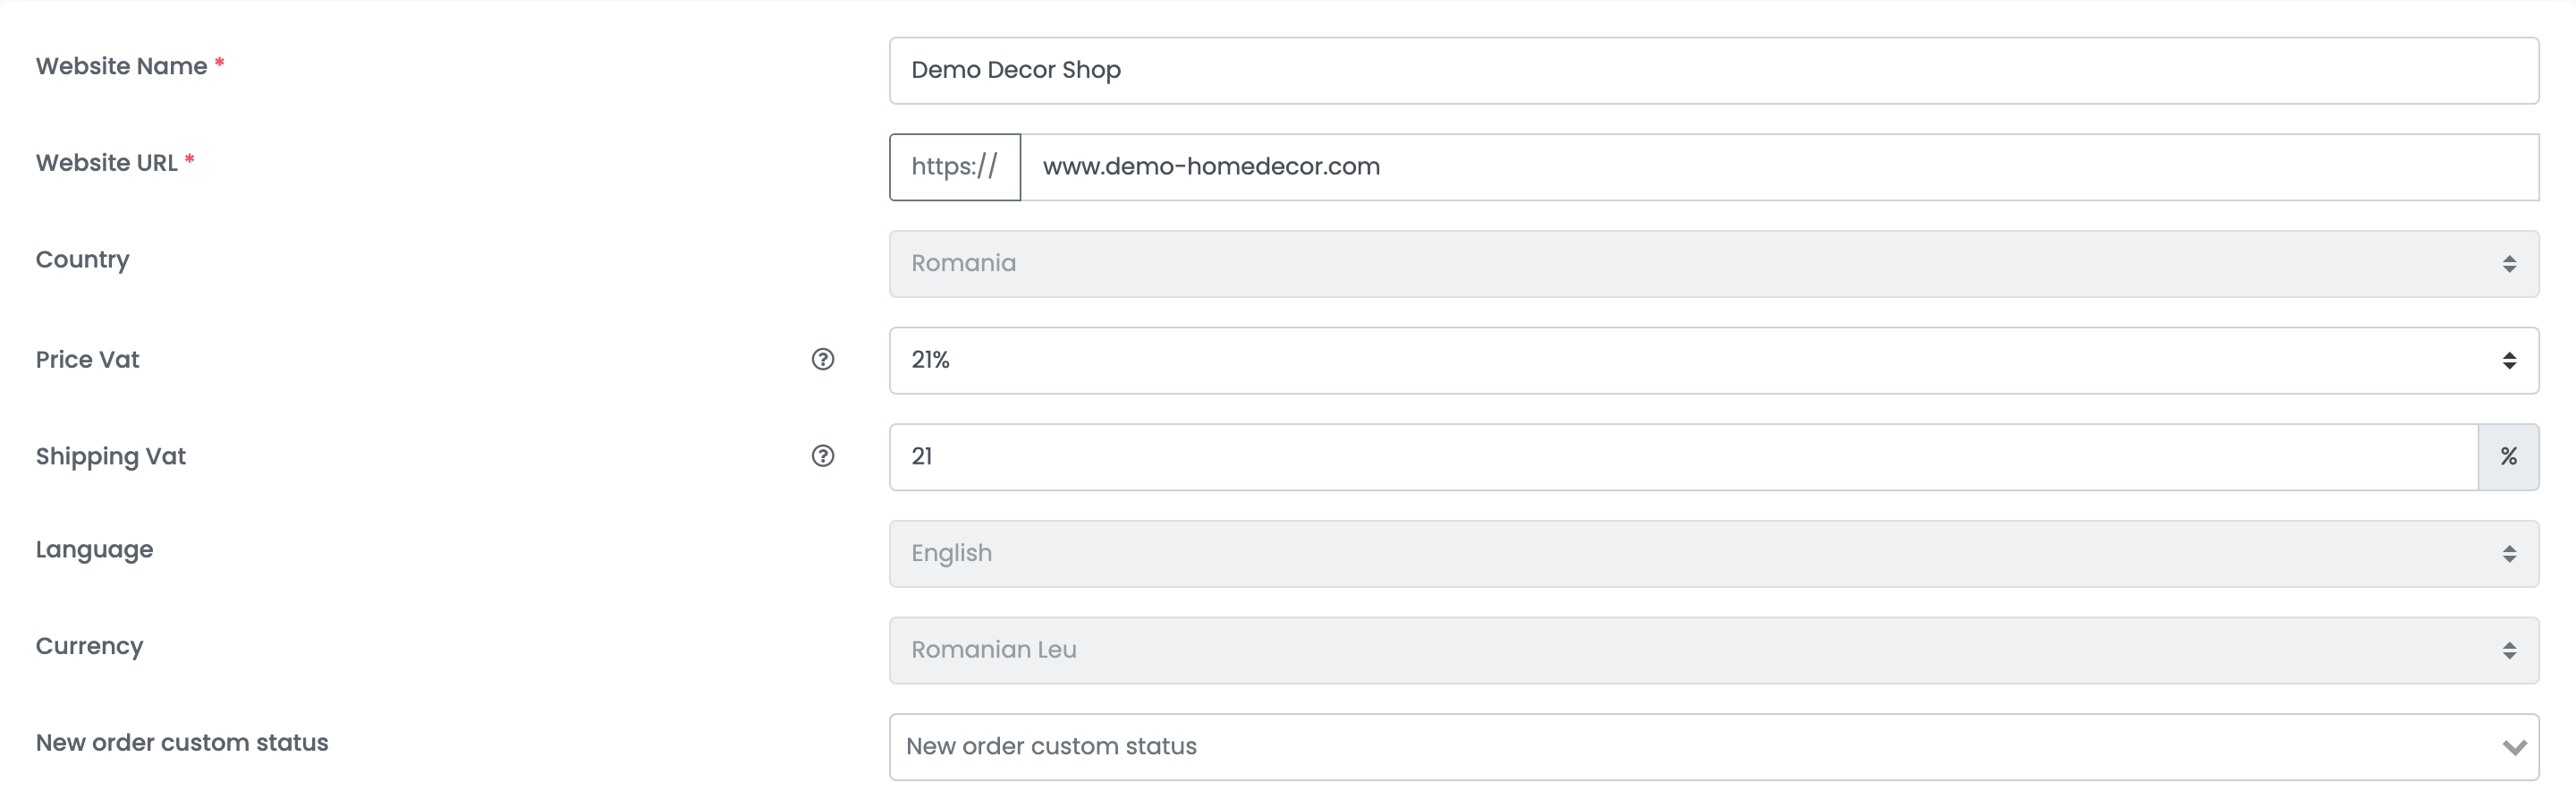
| Field | What goes in it |
|---|---|
| Website Name | Whatever you want to call this shop inside easySales. |
| Website URL |
Your shop's address. Choose http:// or https:// to match it, and include www. if your site always redirects to it.
|
| Country | The shop's country. It cannot be changed after the connection is saved. |
| Price Vat and Shipping Vat | The VAT rates your prices and your delivery charges already include. Leave them at zero if you do not charge VAT. |
| Language and Currency | What the shop sells in. Both are fixed once saved. |
| New order custom status | Optional. A status of your own that every order from this shop starts in. |
Step 4 — Stock and invoicing
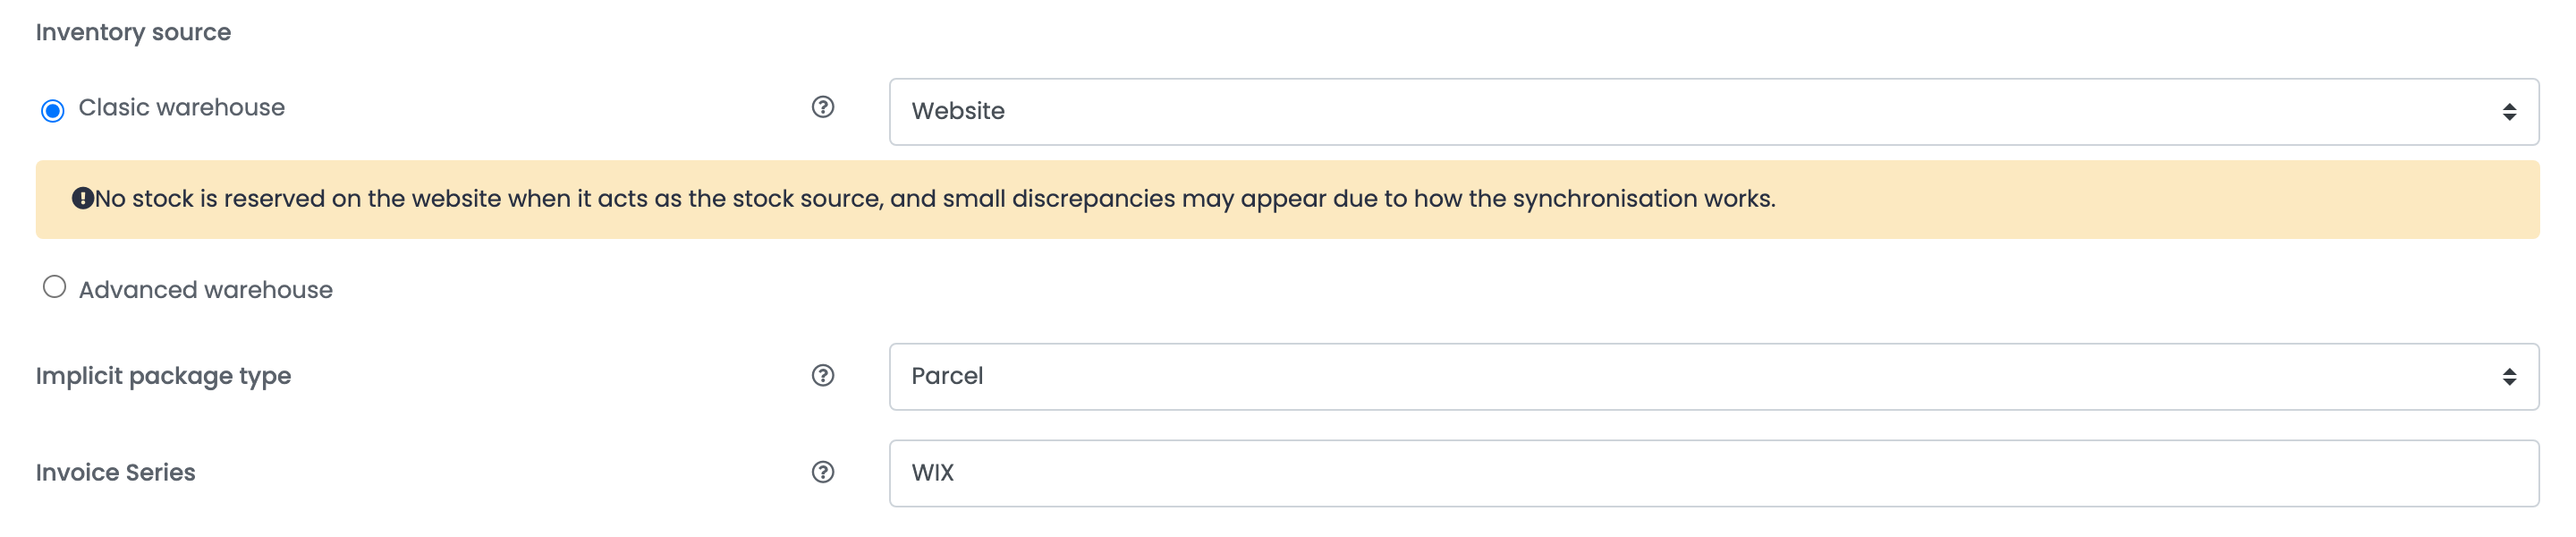
| Field | What it does |
|---|---|
| Inventory source — Clasic warehouse | One stock figure per product, read from the source chosen beside it. For Wix, choose Website. |
| Inventory source — Advanced warehouse | Stock split across several locations, with rules deciding which one an order draws from. |
| Implicit package type | The package type orders from this shop are imported with, used when an AWB is generated. |
| Invoice Series | The billing series orders from this shop are invoiced on. |
Step 5 — Choose Wix and paste the two values
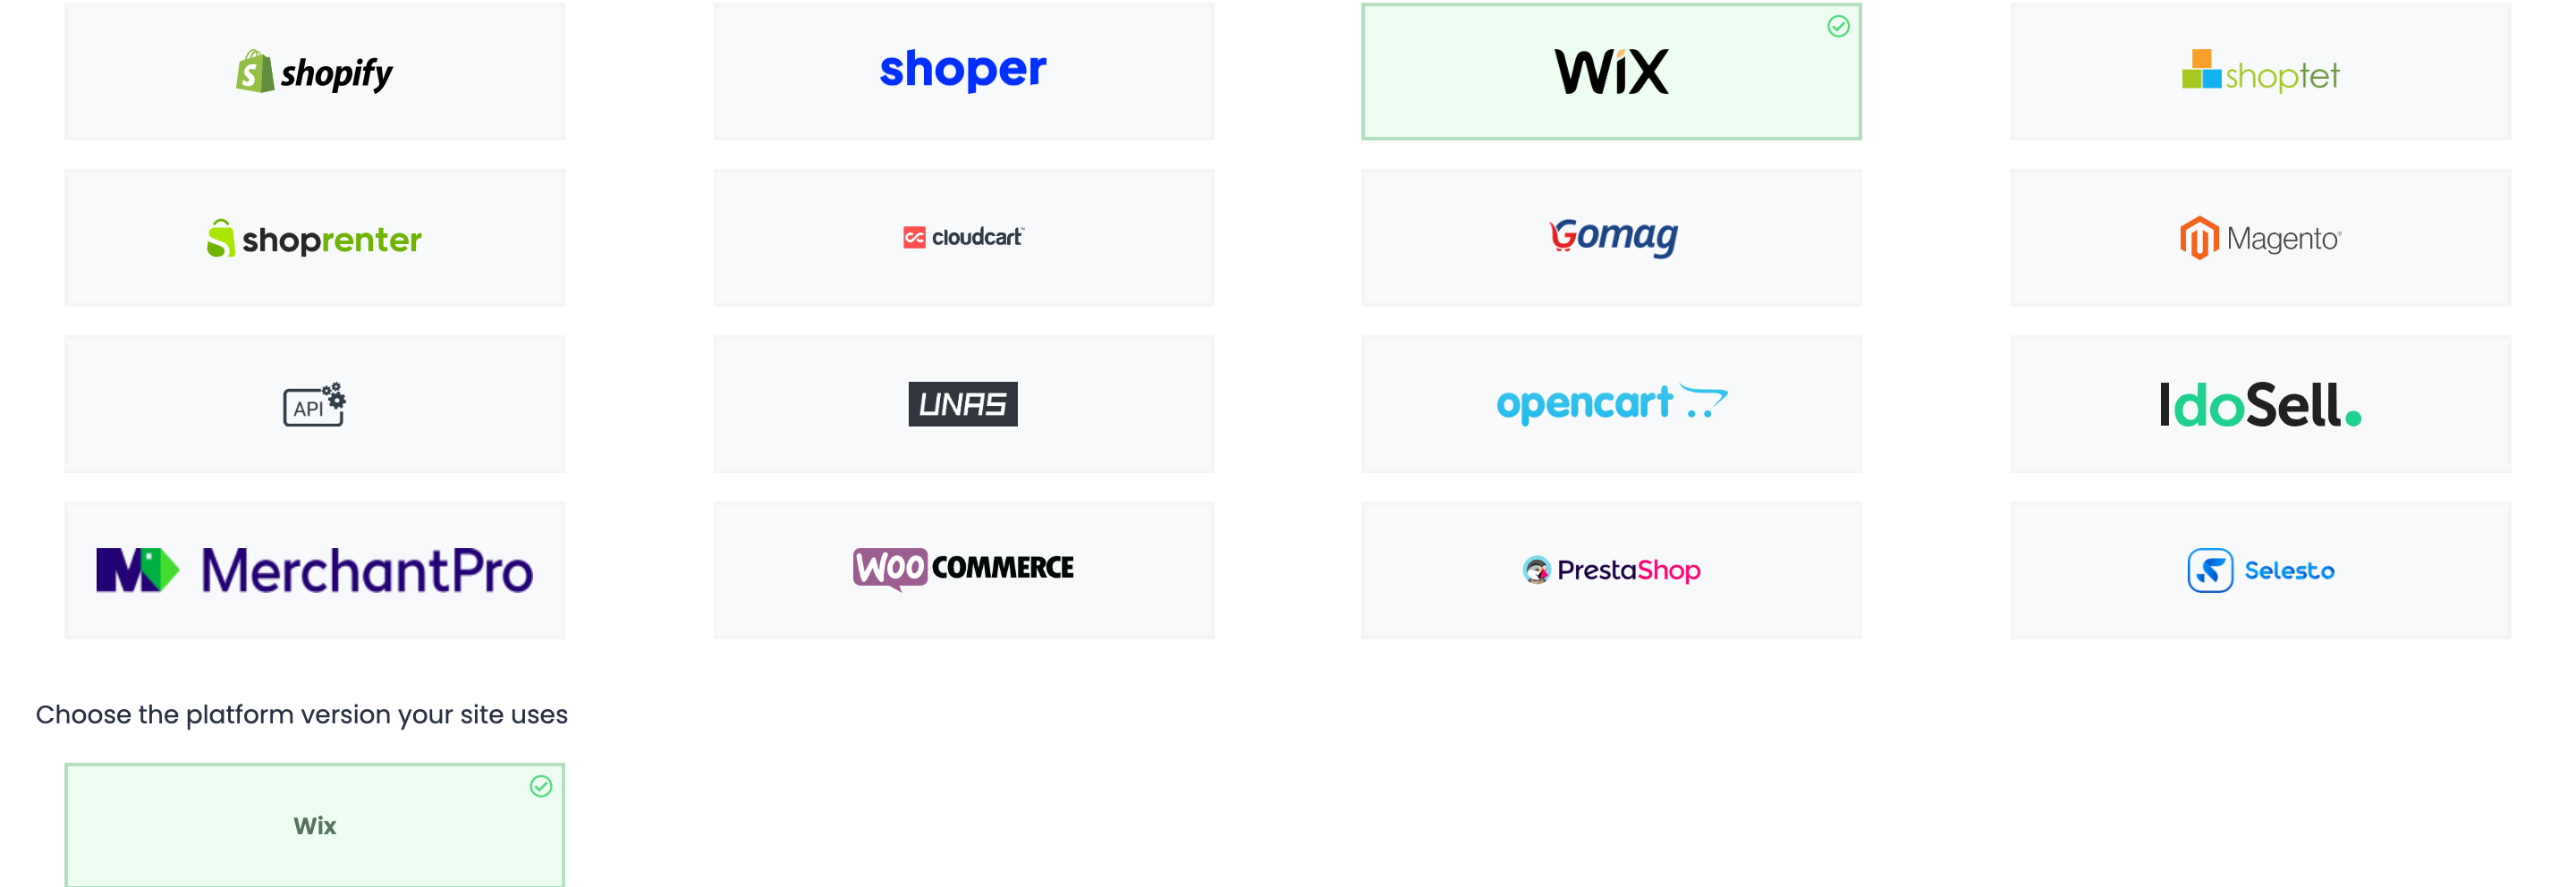
Press the WIX tile, then the Wix version below it. The Details step opens under them.
Paste the key from step 1 into API Key and the code from step 2 into Site ID, then press Save. Both are required; the connection cannot be saved with either one empty.
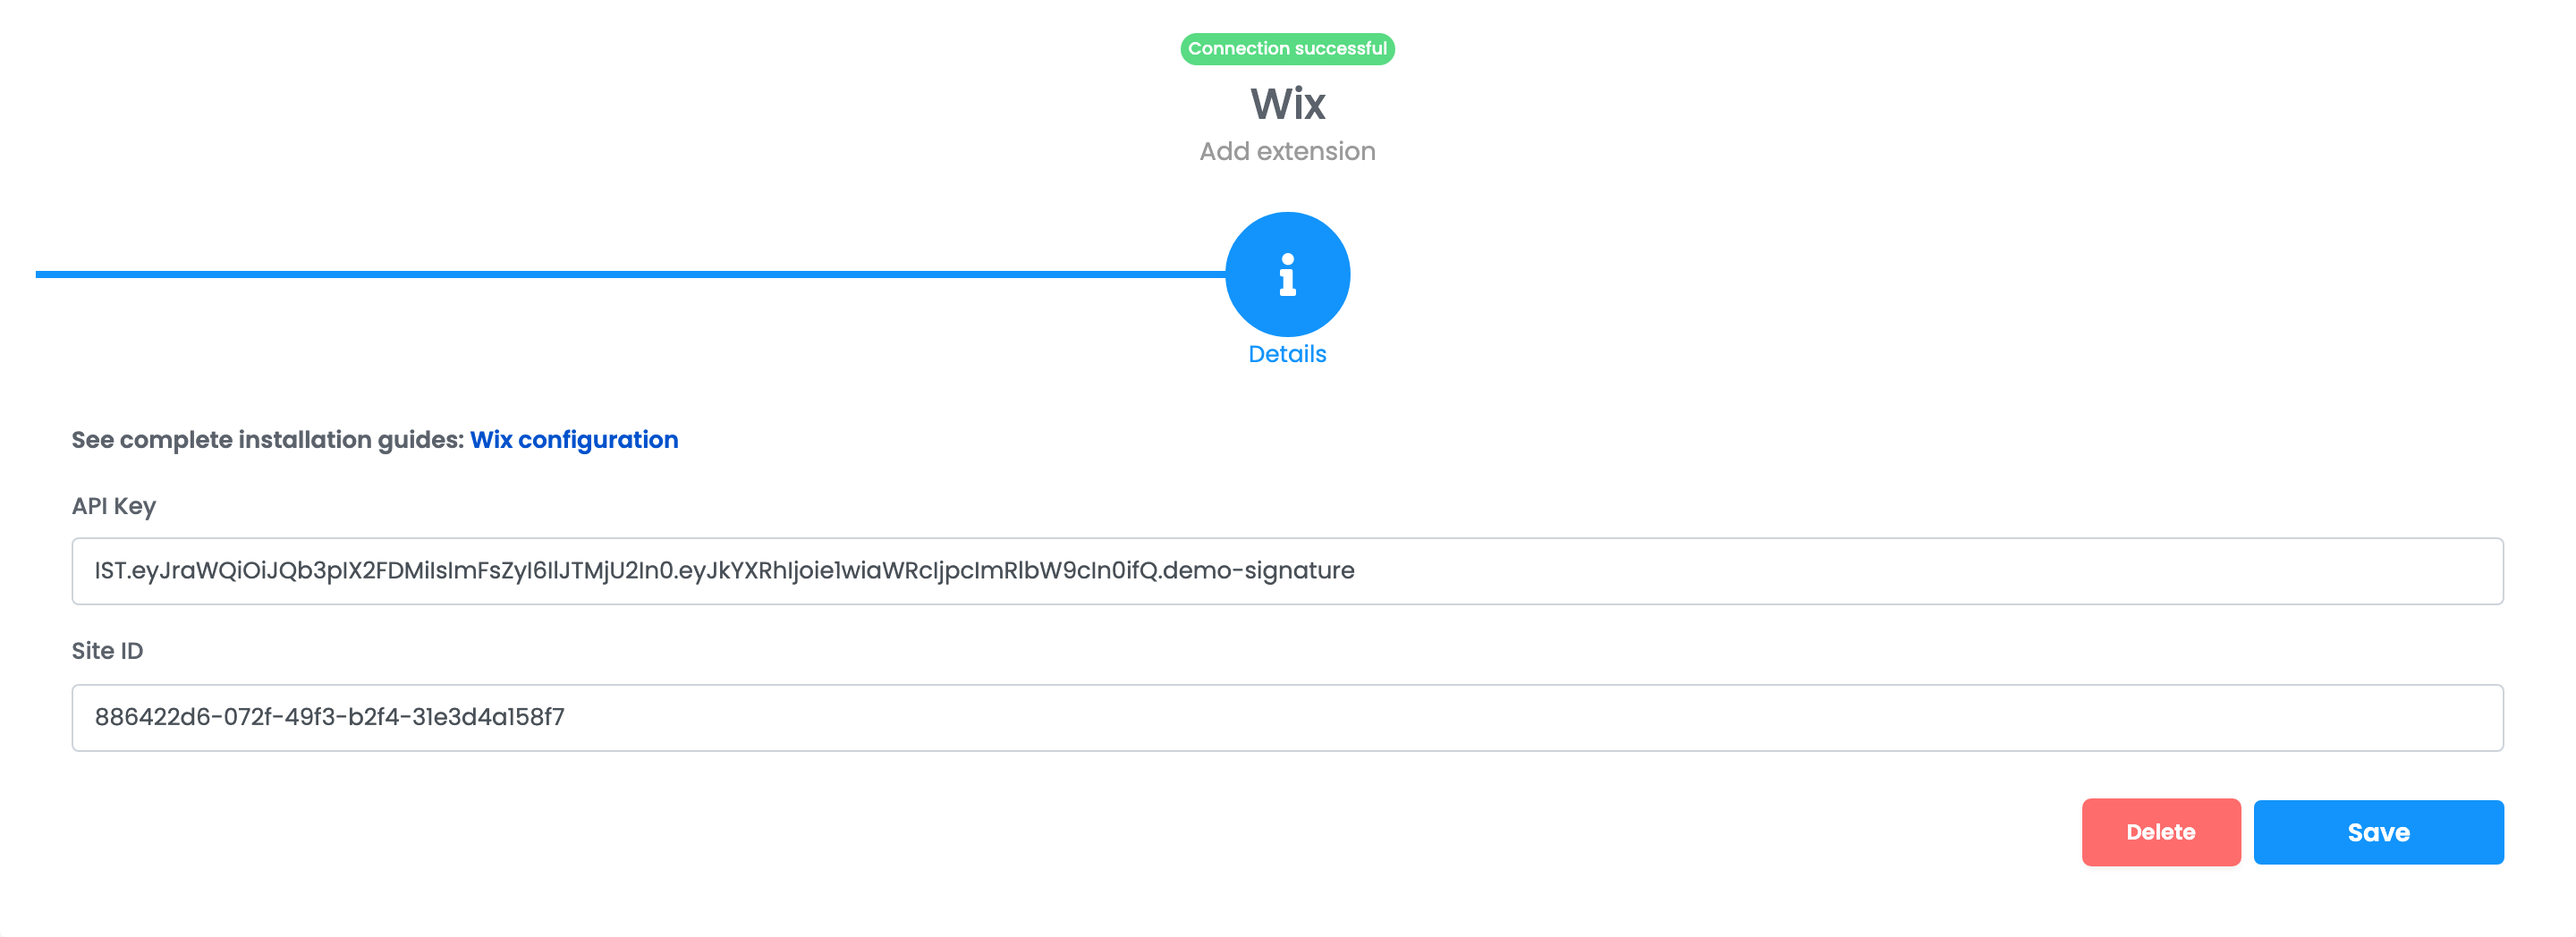
The shop now has a card of its own on Integrations → Websites, with a badge saying the connection works. Products start appearing under Online Shop → Products once the first sync has run.
How products come across
| From Wix | Into easySales |
|---|---|
| Product name and description | Name and description |
| SKU | SKU — or the product's page address, when it has none |
| Price and sale price | Full price and sale price |
| Quantity in stock | Stock. A product whose inventory Wix does not track arrives with stock 0 |
| Variants with their own SKU | One product per SKU, carrying the options it stands for |
| Images, categories, brand and weight | The same |
| Barcode | Not sent by Wix — Wix products arrive without an EAN |
Products are read again about every half hour and orders every minute. There is no interval to set on the connection.
How orders come across
Orders are read from Wix with the Wix order number, the customer, the billing and delivery addresses, the products, shipping, discounts and fees. The first sync brings in the orders from the last day; after that, every order that is created or changed in Wix.
| In Wix | In easySales |
|---|---|
| Not fulfilled | New |
| Fulfilled | Completed |
| Cancelled | Canceled |
| Paid online | Payment method Online |
| Offline payment, such as cash on delivery | Payment method Cash on delivery |