How to connect UPS with easySales: a complete setup guide
Connect UPS to easySales: Login with UPS, the account number and service, the sender details, pickups, creating labels and reauthenticating when the sign-in lapses.
What connecting UPS gives you
With UPS connected, easySales creates UPS shipments for your orders: it sends the sender and the recipient to UPS, receives the label as a PDF, puts the AWB on the order and follows the parcel's delivery status from UPS tracking.
Three things to know before you begin:
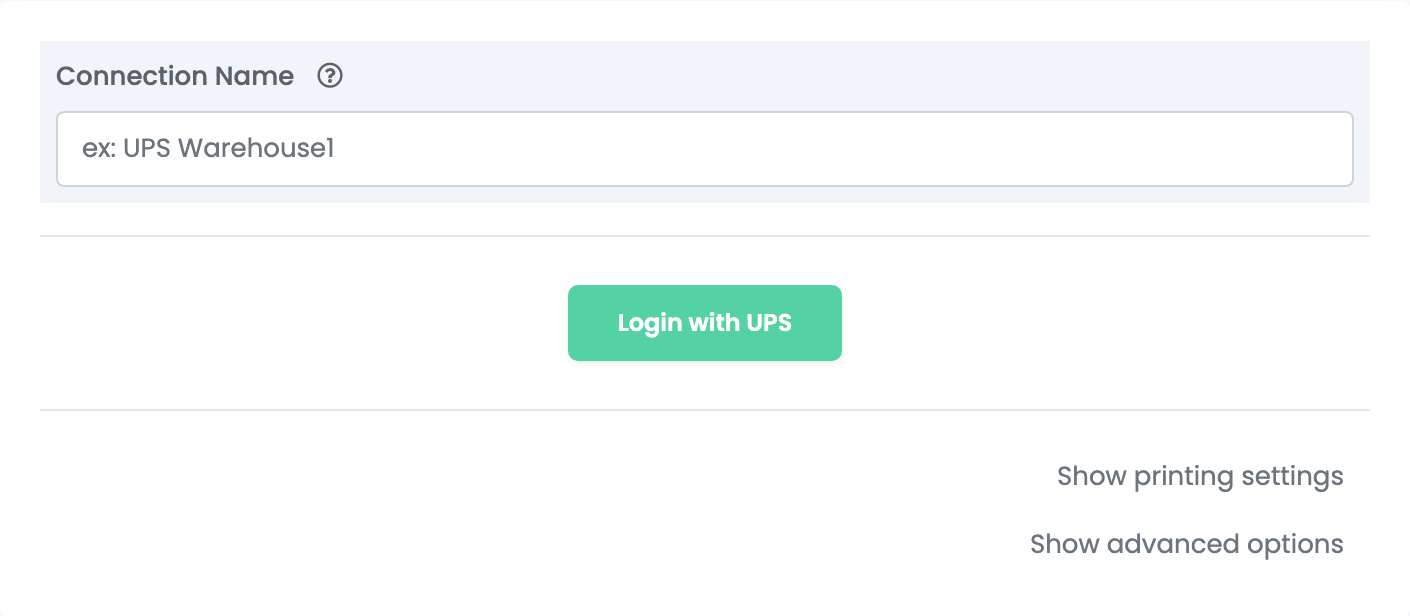
- There is no API key to copy. You connect by signing in to UPS from easySales with Login with UPS. The access keys from the UPS developer kit are not used any more.
- Connecting takes two trips. After you sign in, UPS sends you back to Couriers. Open the UPS connection again, then fill in your account number, the service and the sender details, and save.
- One connection uses one UPS service. Every label from a connection goes out with its Service. For a second service, add a second connection.
Before you start
A ups.com login
With your UPS shipper account added to it.
Your UPS account number
Six characters, on your UPS invoices.
Your pickup address
With a phone number and an e-mail address.
Step 1 — Sign in to UPS from easySales
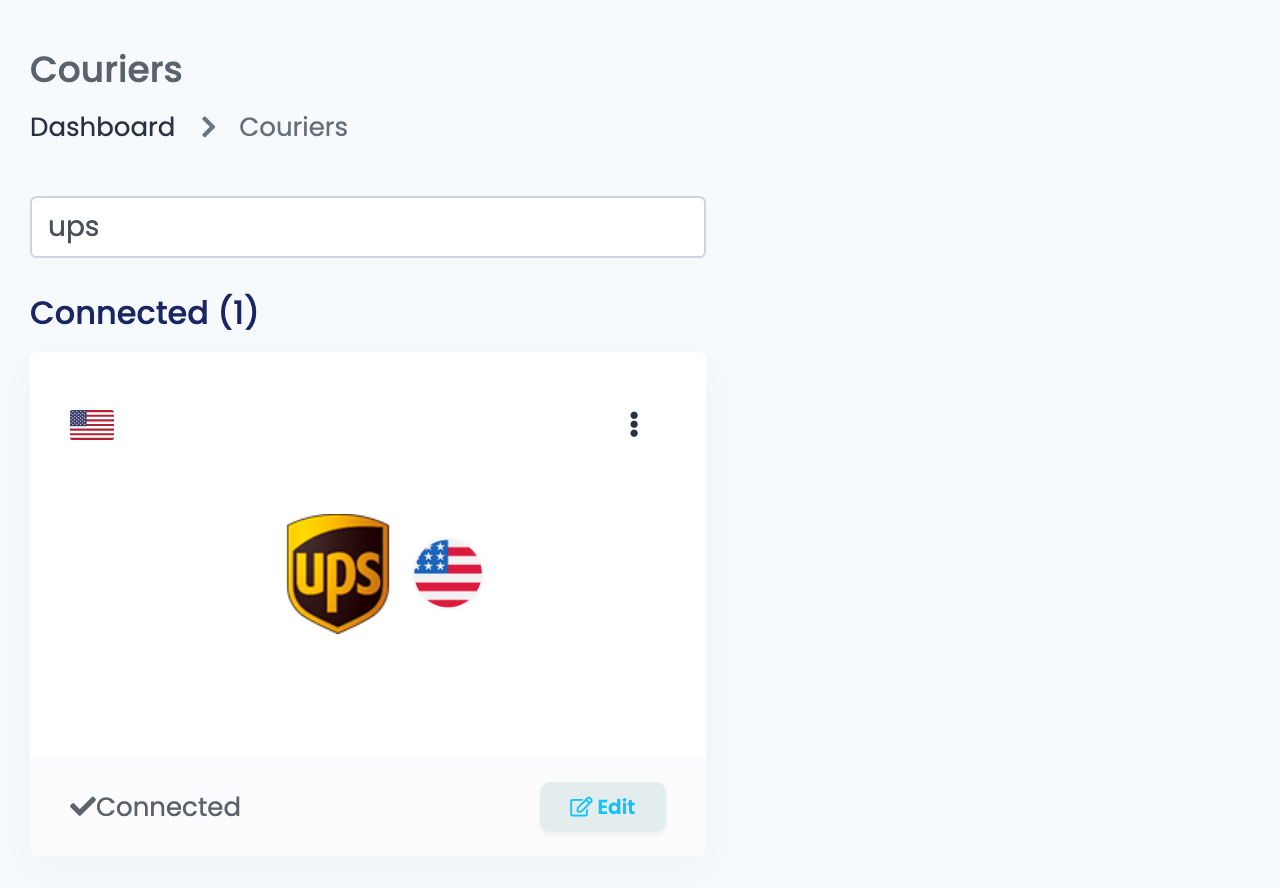
- Go to Integrations → Couriers, search for
upsand press Connect on the UPS card. - Press Login with UPS. The UPS login page opens: sign in with your ups.com account and allow easySales to create shipments.
- UPS sends you back to Couriers.
Step 2 — Account number and service
Open the UPS connection again, enter a Connection Name you will recognise, and fill in the rest of the form.
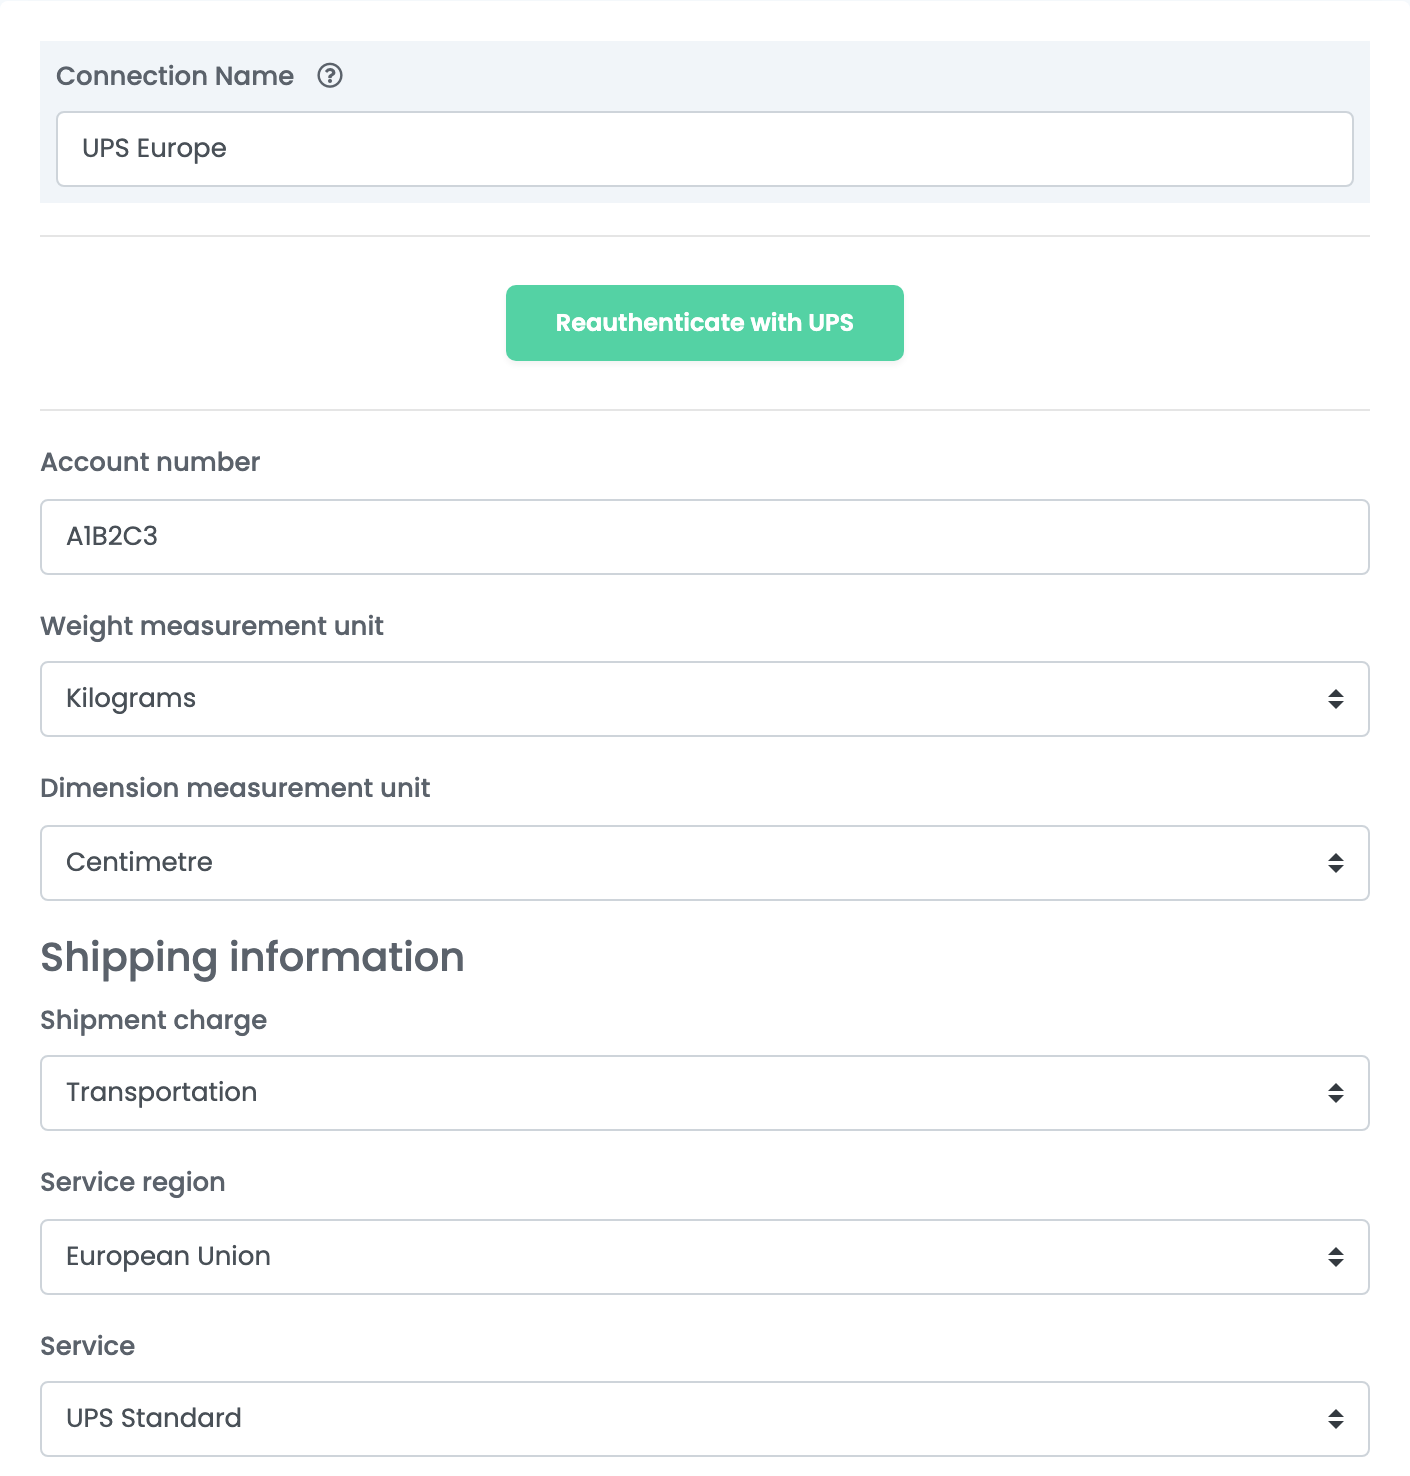
| Field | What goes in it |
|---|---|
| Account number | Your six-character UPS shipper account number, the one linked to the ups.com login you signed in with. |
| Weight measurement unit | Kilograms. |
| Dimension measurement unit | Centimetre. |
| Shipment charge | Transportation — you pay the shipping from your UPS account. |
| Service region | The region your shipments start from, for example European Union. It narrows the list of services. |
| Service | The UPS service every label of this connection uses, for example UPS Standard within Europe or UPS Worldwide Saver further away. |
Step 3 — Sender details
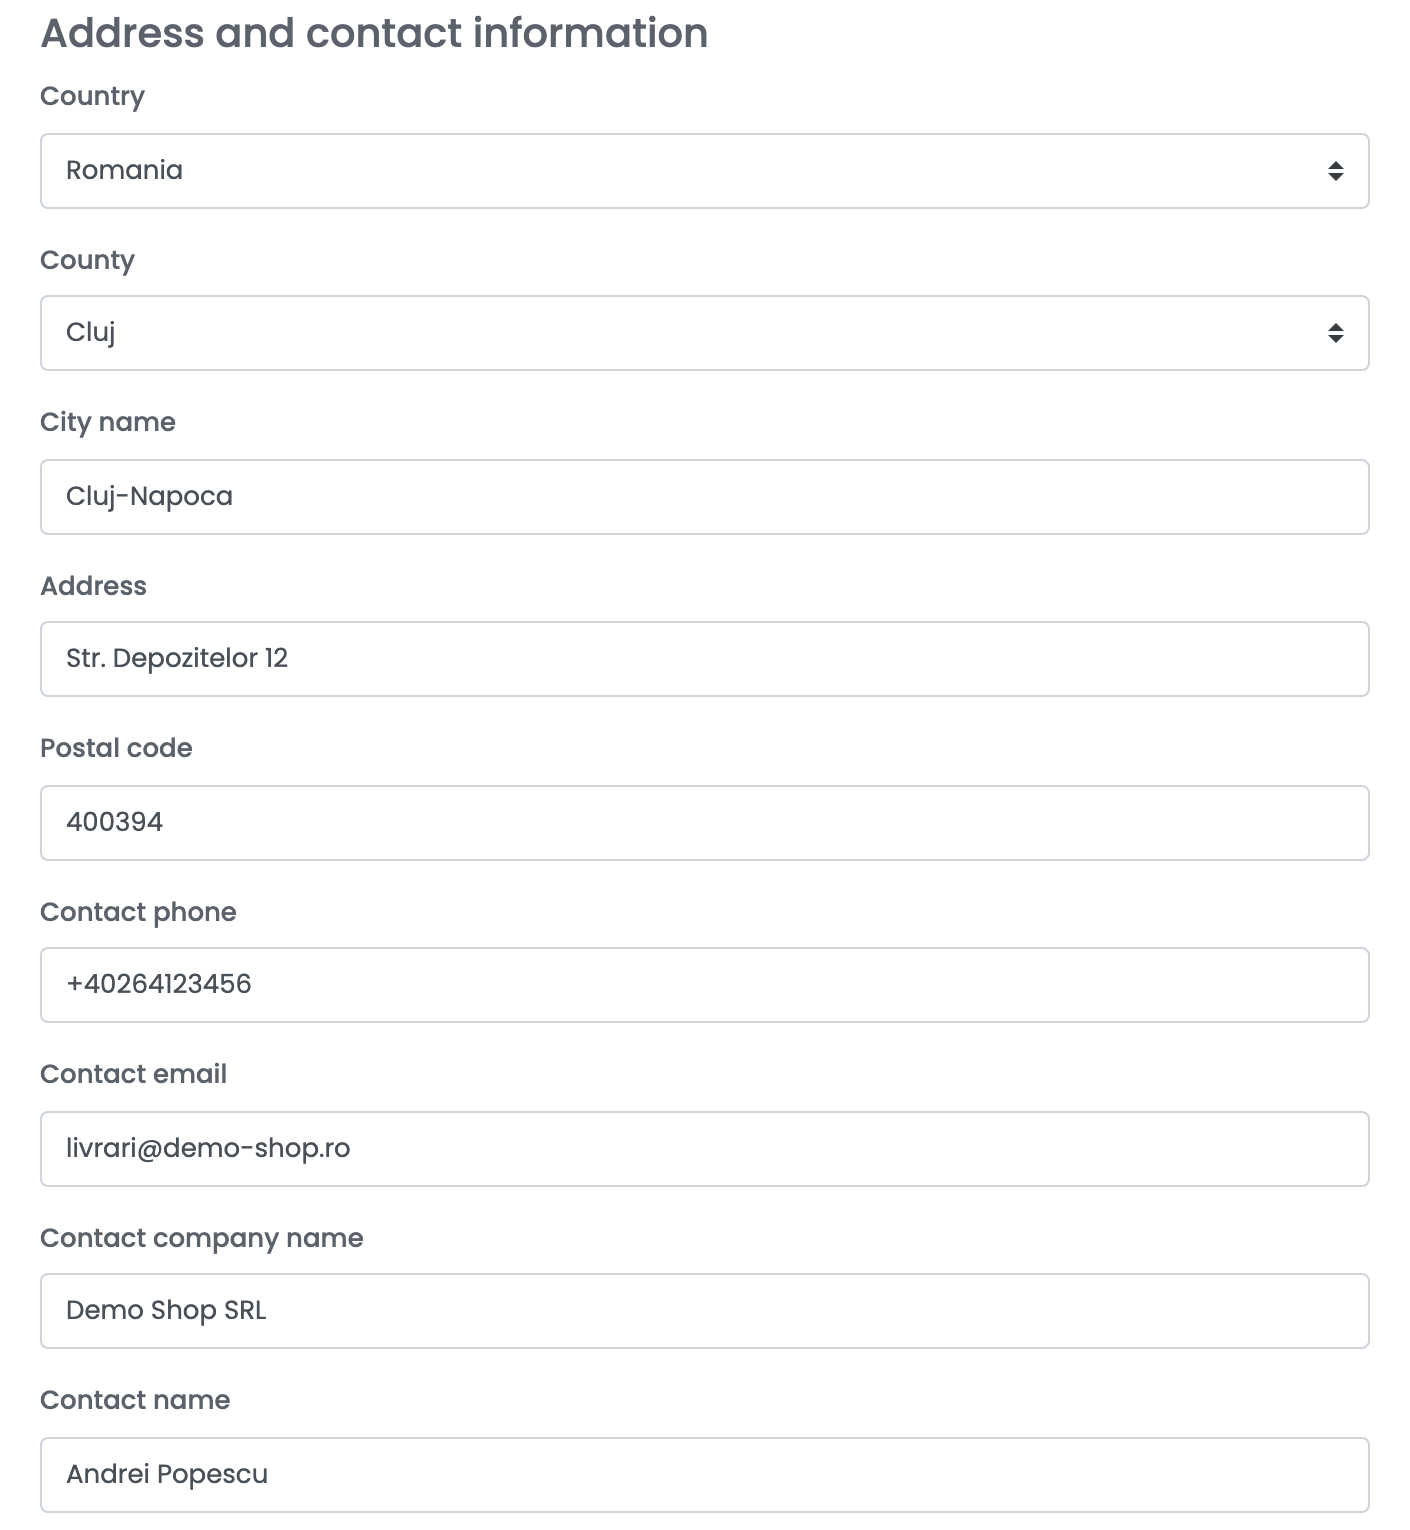
Fill in Country, County, City name, Address, Postal code, Contact phone, Contact email, Contact company name and Contact name of the address UPS collects from.
Step 4 — Pickup, printing and advanced options
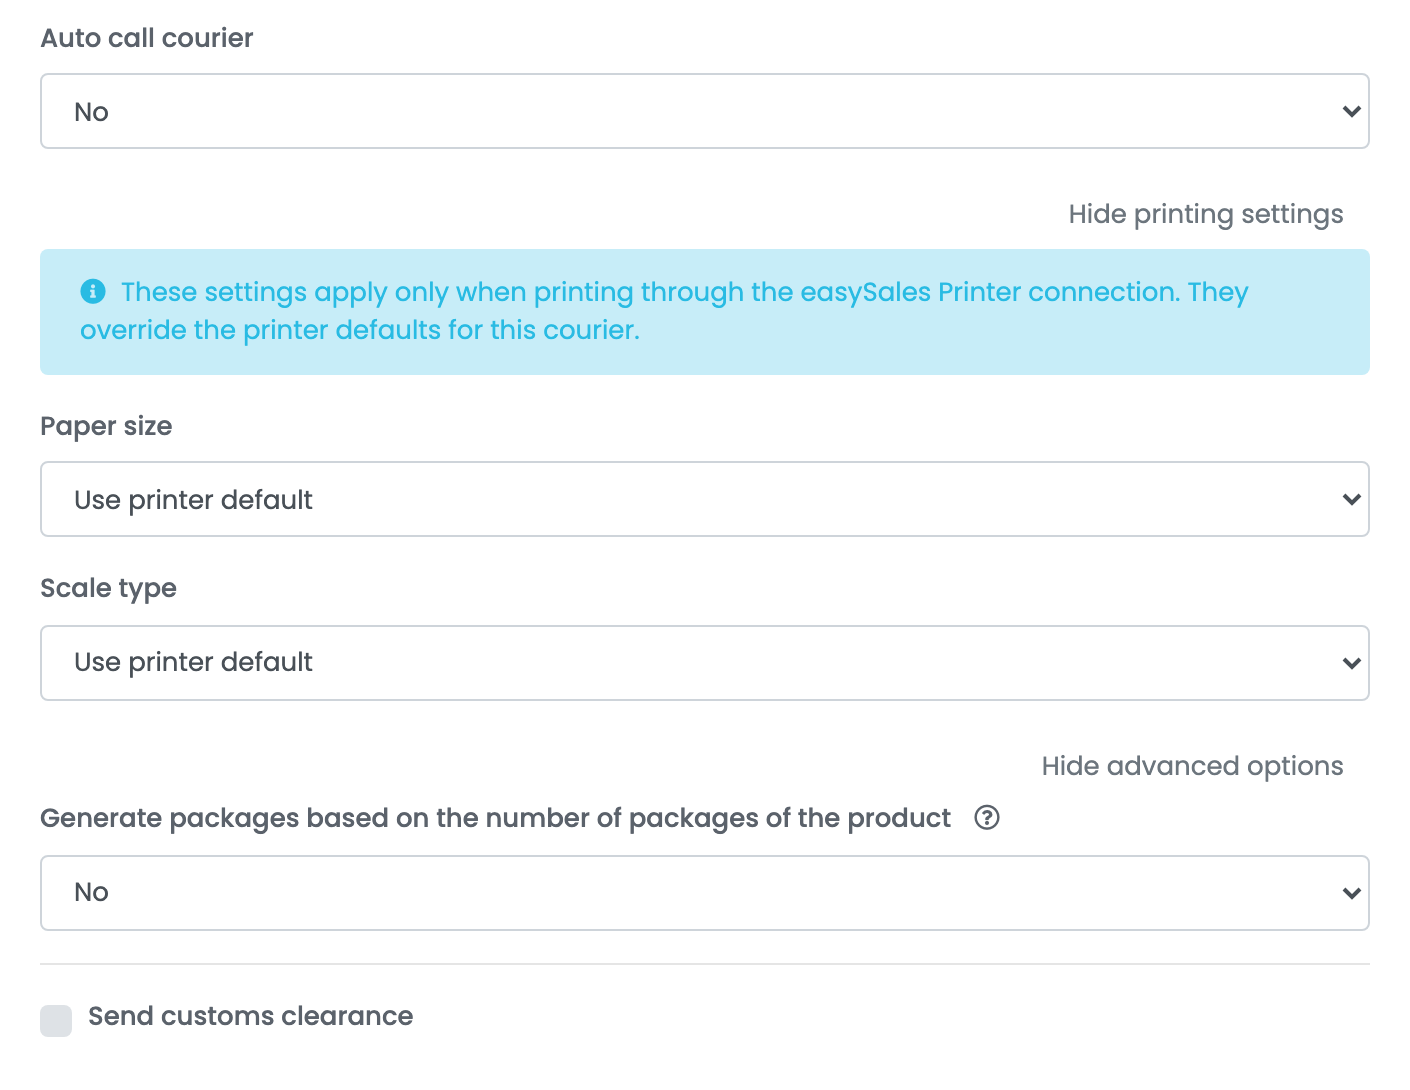
- Auto call courier: Yes books a UPS pickup for every new label, on the next working day, between Start time interval and End time interval. Leave it on No if UPS collects from you on a schedule.
- Show printing settings: the paper size and scale of the label, when you print through the easySales Printer connection.
- Generate packages based on the number of packages of the product: one parcel per package of each product, for products packed in several boxes.
Press Save.
For a second service or pickup address, choose Connect another courier account in the card's ⋮ menu, or open the connection and press Clone.
Creating labels
- Quick create: in the orders list, choose Quick Create → UPS in the AWB column. The label is created with the connection's Service and the order's weight — 1 kg when the products have none.
- From the order: in the order's Awbs section, press Create AWB and choose UPS. You can change the recipient, set several parcels or envelopes, and write the observations.
For an order paid on delivery, the order total is sent to UPS as cash on delivery. The label arrives as a PDF on the order, and easySales updates the order's delivery status from UPS. Deleting the AWB on the order cancels the shipment at UPS.
When UPS refuses a label
The reason is shown on the order:
| Message | What to do |
|---|---|
| Connection error | The UPS sign-in has lapsed. Press Reauthenticate with UPS on the connection, then Save. |
| Missing or invalid ship to address line 1 | The order's shipping address is empty or incomplete. Correct it on the order. |
| A shipment can have only one type of unit of measurement for a weight. | Set Weight measurement unit to Kilograms on the connection and save. |