How to connect QuickBooks with easySales: a complete setup guide
Issue your orders' invoices in QuickBooks Online: signing in, the Company ID and Tax code, preparing your products, currencies, payments and common refusals.
What connecting QuickBooks gives you
With QuickBooks Online connected, easySales issues your orders' invoices in QuickBooks. It finds or creates the customer, adds every product of the order as an invoice line together with the shipping, and keeps the invoice PDF on the order. You issue invoices from the order, in bulk from the orders list, or automatically from an automation flow.
Three things to know before you begin:
- Every product must already exist in QuickBooks, with the same name it has in your orders. easySales does not create products in QuickBooks: it looks each order line up by its name. A line whose name QuickBooks does not know is refused, and the invoice with it.
- Connecting takes two trips. You sign in to QuickBooks from easySales first, then come back, open the connection again, enter your Company ID, choose a Tax code and save.
- This is QuickBooks Online. QuickBooks Desktop cannot be connected.
Before you start
A QuickBooks Online company
And an admin login for it.
Your products in QuickBooks
Under the same names as on your orders, each with its sales tax.
Your Company ID
From Settings → Additional info in QuickBooks.
Step 1 — Sign in to QuickBooks from easySales
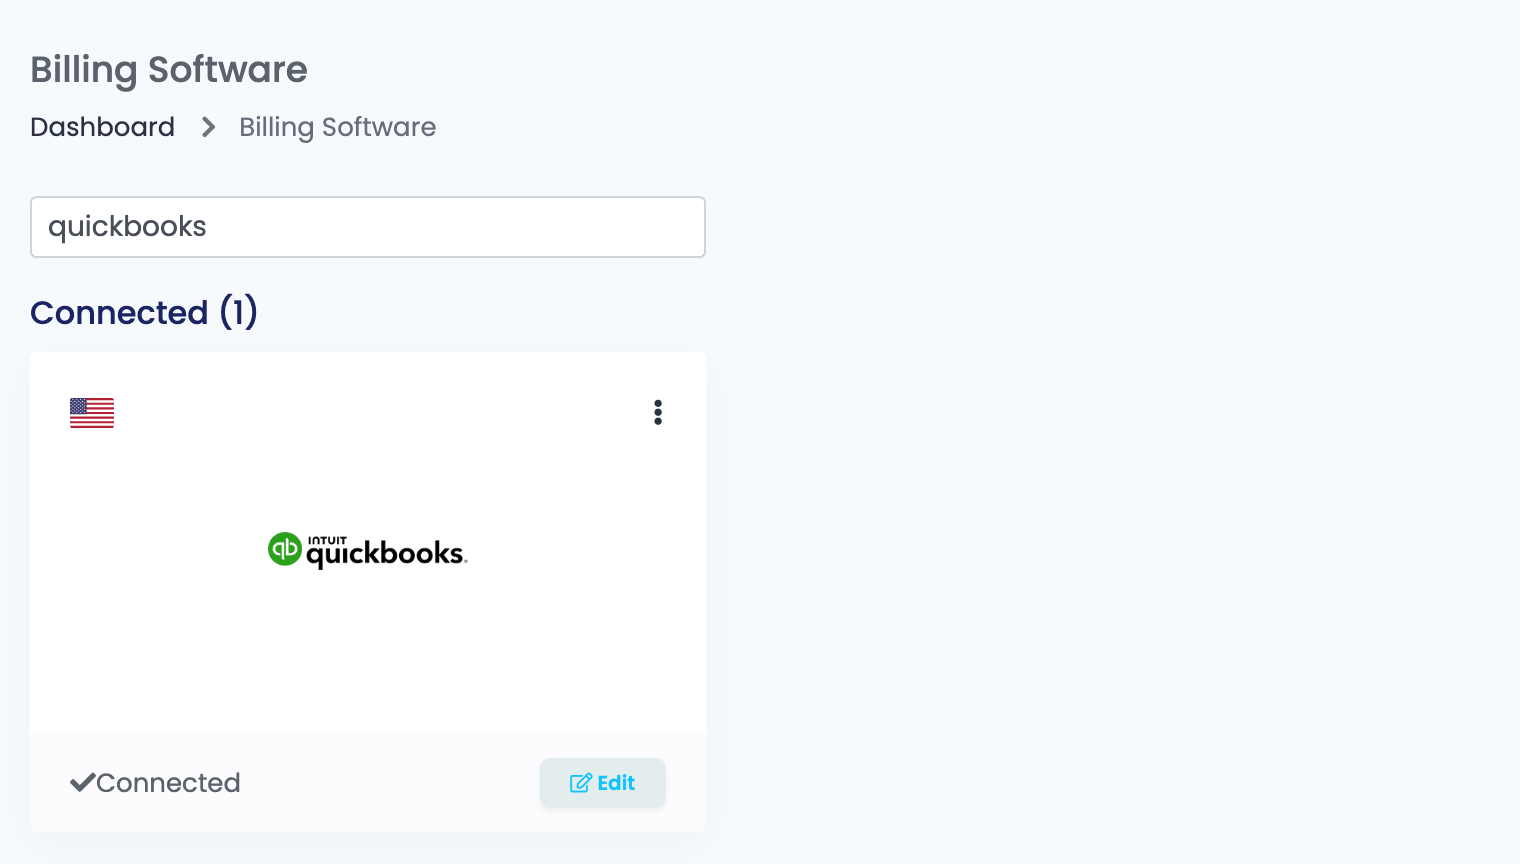
- Go to Integrations → Billing Software, search for
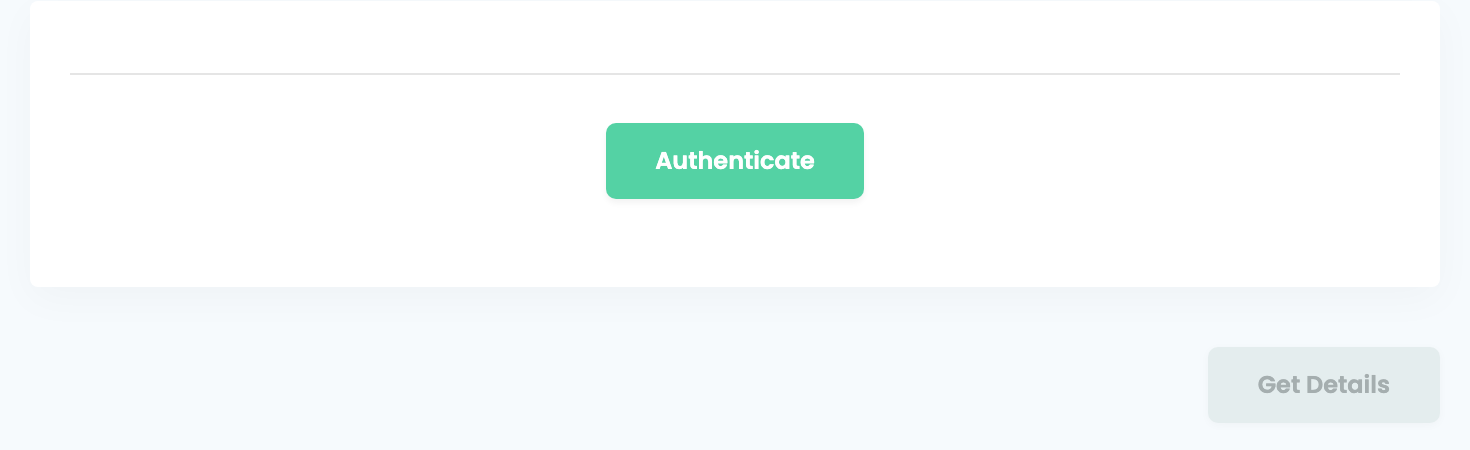
quickbooksand press Connect on the QuickBooks card. - Press Authenticate. The QuickBooks sign-in page opens: sign in, choose your company and press Connect.
- QuickBooks sends you back to Billing Software.
Step 2 — Company ID and Tax code
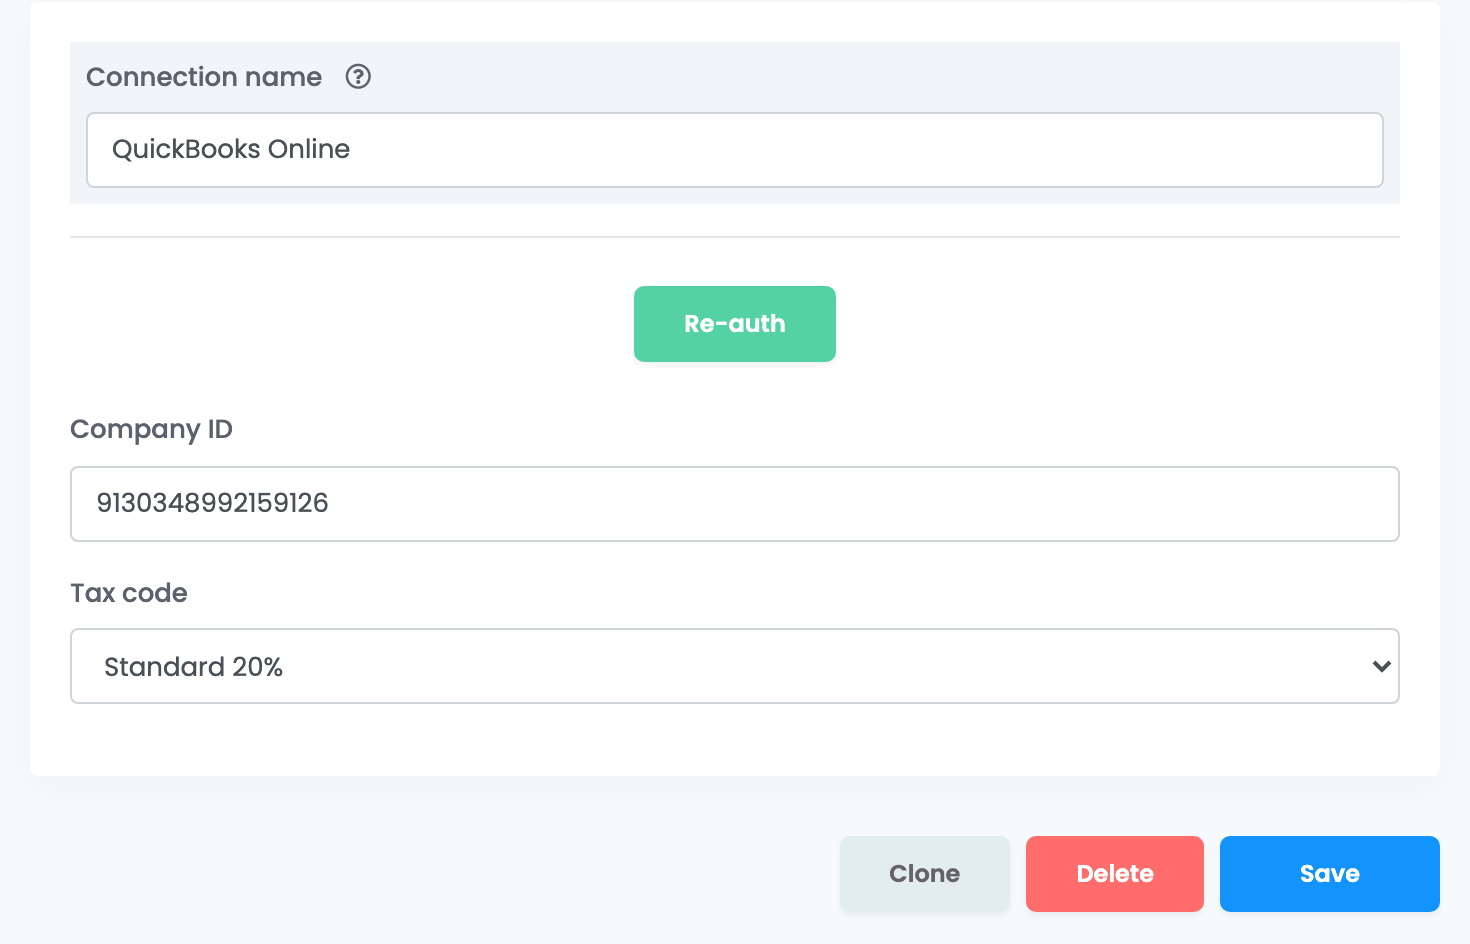
Open the QuickBooks connection again and fill it in:
| Field | What goes in it |
|---|---|
| Connection name | A name you will recognise, used only inside easySales. |
| Company ID | Your QuickBooks company ID. In QuickBooks, open Settings (the gear icon) → Additional info. Then press Get Details. |
| Tax code | Appears after Get Details, with the tax codes of your QuickBooks company. Choose the one of your VAT rate. |
Press Save. When you open the connection later, press Get Details again to show the Tax code and Save.
Step 3 — Prepare your products in QuickBooks
In QuickBooks, under Sales → Products and services, create every product you sell with exactly the name it has on your easySales orders, and set its sales tax. Then issue one test invoice from an order to check that every line is found.
Issuing invoices
- From the order: in its Invoices section, press Create Invoice and choose QuickBooks.
- In bulk: select orders in the orders list, open Actions, choose Generate invoice and then QuickBooks.
- Automatically: in Flows, add the action Create invoice with your QuickBooks connection.
What QuickBooks receives:
- Customer: the customer of the order, found by name. If there is none, easySales creates one with the name, e-mail, phone, billing address and the order's currency.
- Lines: every product, at its price without VAT, plus the shipping as a line of its own. The Tax code of the connection applies to every line, and QuickBooks adds the tax on top.
- Currency: the order's currency.
- Number: easySales sends no invoice number, so your easySales invoice series do not apply.
Payment, cancel and delete
- Mark as paid on the order records the payment against the invoice in QuickBooks. A new invoice stays unpaid until then.
- Cancel invoice voids the invoice in QuickBooks; Delete invoice deletes it there.
- Storno invoices are not issued through QuickBooks: correct an invoice in QuickBooks itself.
When QuickBooks refuses an invoice
The reason is shown on the order, in QuickBooks' own words:
| Message | What to do |
|---|---|
| Business Validation Error: Make sure all your transactions have a sales tax rate before you save. | A product of the order does not exist in QuickBooks under the same name. Create it in Products and services with that name, then issue the invoice again. |
| Business Validation Error: You can only use one foreign currency per transaction. | The customer already exists in QuickBooks in another currency. Use a QuickBooks customer in the order's currency. |
| You need admin permissions to connect this app to your company. | Sign in to QuickBooks as an admin of the company and connect again. |