How to connect Pepita with easySales: a complete integration guide
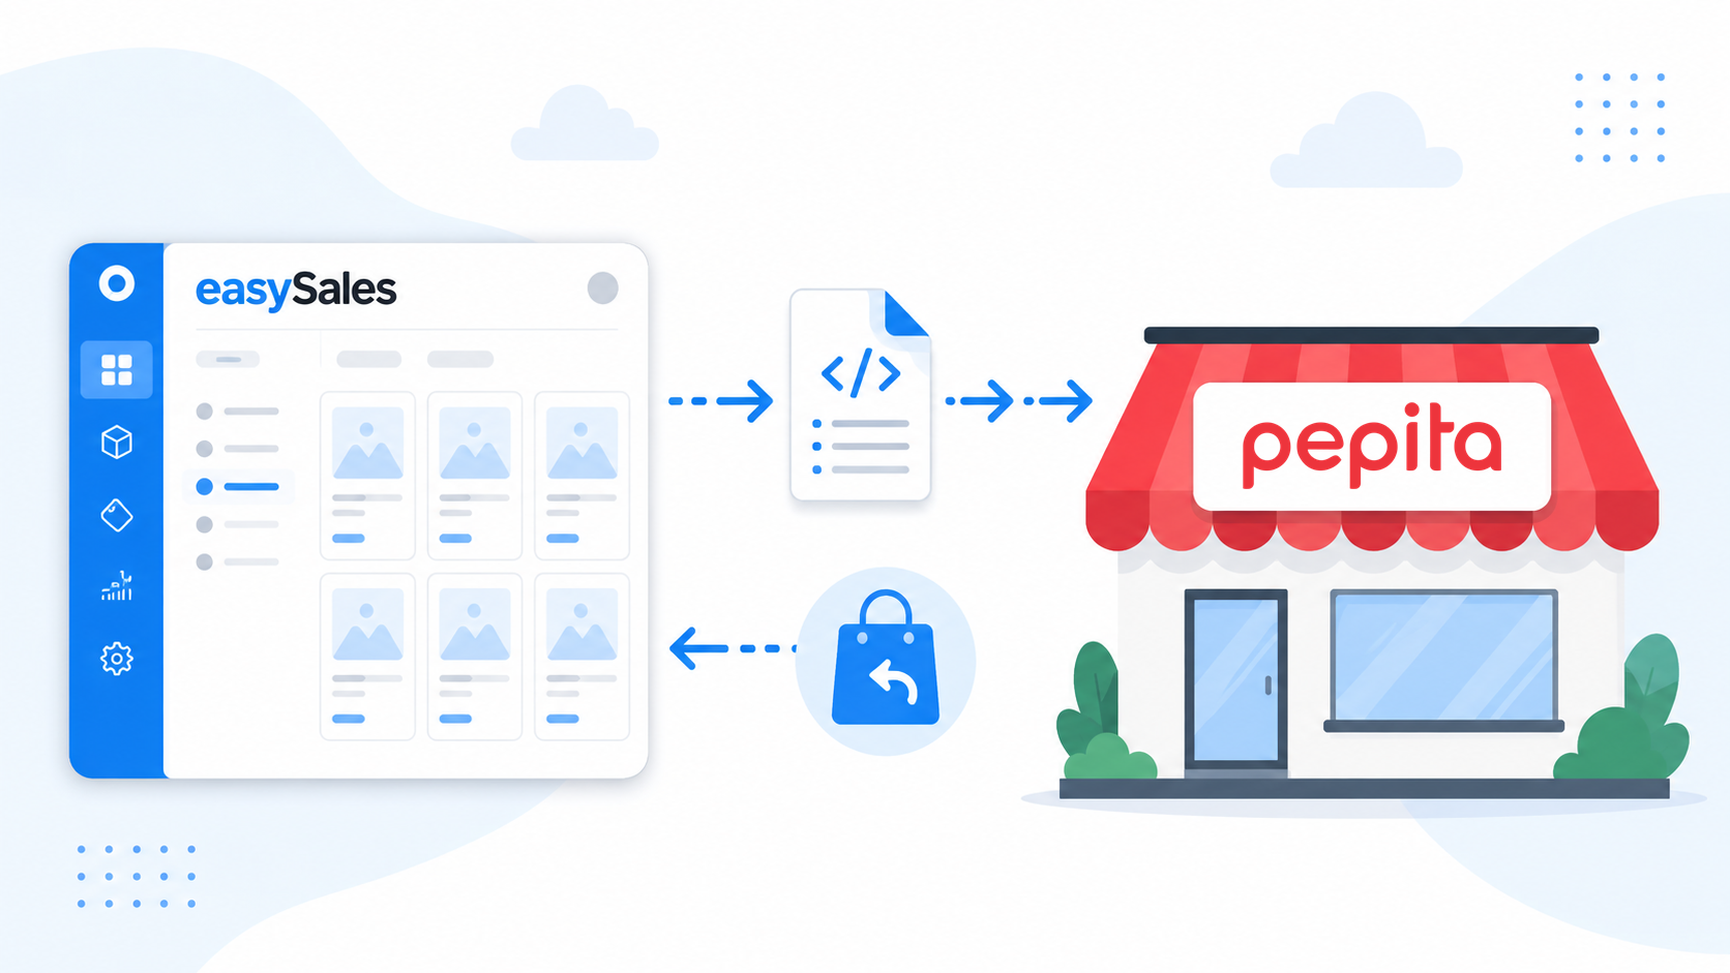
Connect your Pepita seller account with easySales without a single API key. Fill in a short settings form, save, and easySales generates two feeds — a product feed that carries your catalog to Pepita and an orders URL that brings Pepita orders back in. Centralize Pepita orders from Hungary, Romania, Poland, Slovakia, Germany, Austria, Bulgaria, and Croatia, invoice them, and keep your listings, stock, and prices in sync from one dashboard.
Why connect Pepita with easySales
Selling on Pepita and want one place to manage orders, generate invoices, and keep your listings up to date? easySales brings your Pepita marketplaces — Hungary, Romania, Poland, Slovakia, Germany, Austria, Bulgaria, and Croatia — into a single dashboard alongside the rest of your sales channels.
Once connected, Pepita orders flow into easySales so you can invoice them, process them with automation flows, and track their fulfillment. Your catalog goes the other way: easySales publishes your products to Pepita and keeps their stock and prices updated, so you maintain one catalog instead of editing each listing by hand.
Pepita connects differently from most marketplaces. There are no API keys to copy and no plugin to install. Instead, you fill in a short settings form and save — and easySales generates the two feeds that link your account: a product feed that carries your catalog out to Pepita, and a unique orders URL that Pepita uses to send orders back to you.
How the Pepita connector works
It helps to understand the split before you start, because Pepita is a feed-based integration rather than a live API one.
- Your catalog goes out through a product feed. easySales builds an XML product feed with your listings — names, descriptions, brands, EANs, categories, images, prices, VAT, stock, and characteristics — and refreshes it on a recurring schedule. Pepita reads that feed to create and update your offers.
- Orders come in through your orders URL. Each Pepita country connection has its own orders URL, and Pepita posts that country's new and updated orders to it. Orders land in your Orders screen ready for invoicing and flows; for locker deliveries, Pepita also includes the shipping label with the order.
Because the link runs on feeds, a couple of things work differently from an API marketplace. Changes you make in easySales aren't instant on Pepita — they travel with the next feed refresh, and adding or updating information in the feed can take up to about three hours to appear on Pepita. And the flow is deliberately one-way in places: easySales does not read your offers' approval status back from Pepita, existing Pepita listings are not imported into easySales, and order status is not pushed back to Pepita.
Prerequisites — what to prepare before you start
A few things need to be in place before your first sync.
An active Pepita seller account
You need a live Pepita seller account for the country you want to connect (HU, RO, PL, SK, DE, AT, BG, or HR), ready to receive your product feed and send orders.
Products in your easySales catalog
Pepita offers are built from your easySales products, so the products you want to sell must already exist in your catalog. Existing Pepita listings are not imported into easySales.
An invoice series ready
A billing series that matches your invoicing software, so imported Pepita orders are numbered correctly from the start.
Clean, unique SKUs
easySales identifies each Pepita offer by its SKU. Make sure your product SKUs are unique before you publish — duplicate or reused SKUs are the most common cause of duplicated offers on Pepita.
Step 1 — Open the connect form in easySales
In easySales, from the sidebar go to Integrations → Marketplaces. Each Pepita country has its own card — Hungary, Romania, Poland, Slovakia, Germany, Austria, Bulgaria, and Croatia. Find the card for the country you're connecting and click Connect on it.
The Pepita settings form opens with two tabs: Main settings (the core configuration) and Additional settings (sync behavior). You'll work in Main settings first.
Step 2 — Fill in your Pepita settings
On the Main settings tab, complete the configuration easySales uses to build your feed and price your offers. There are no credentials here — every field describes how your catalog and orders should behave.
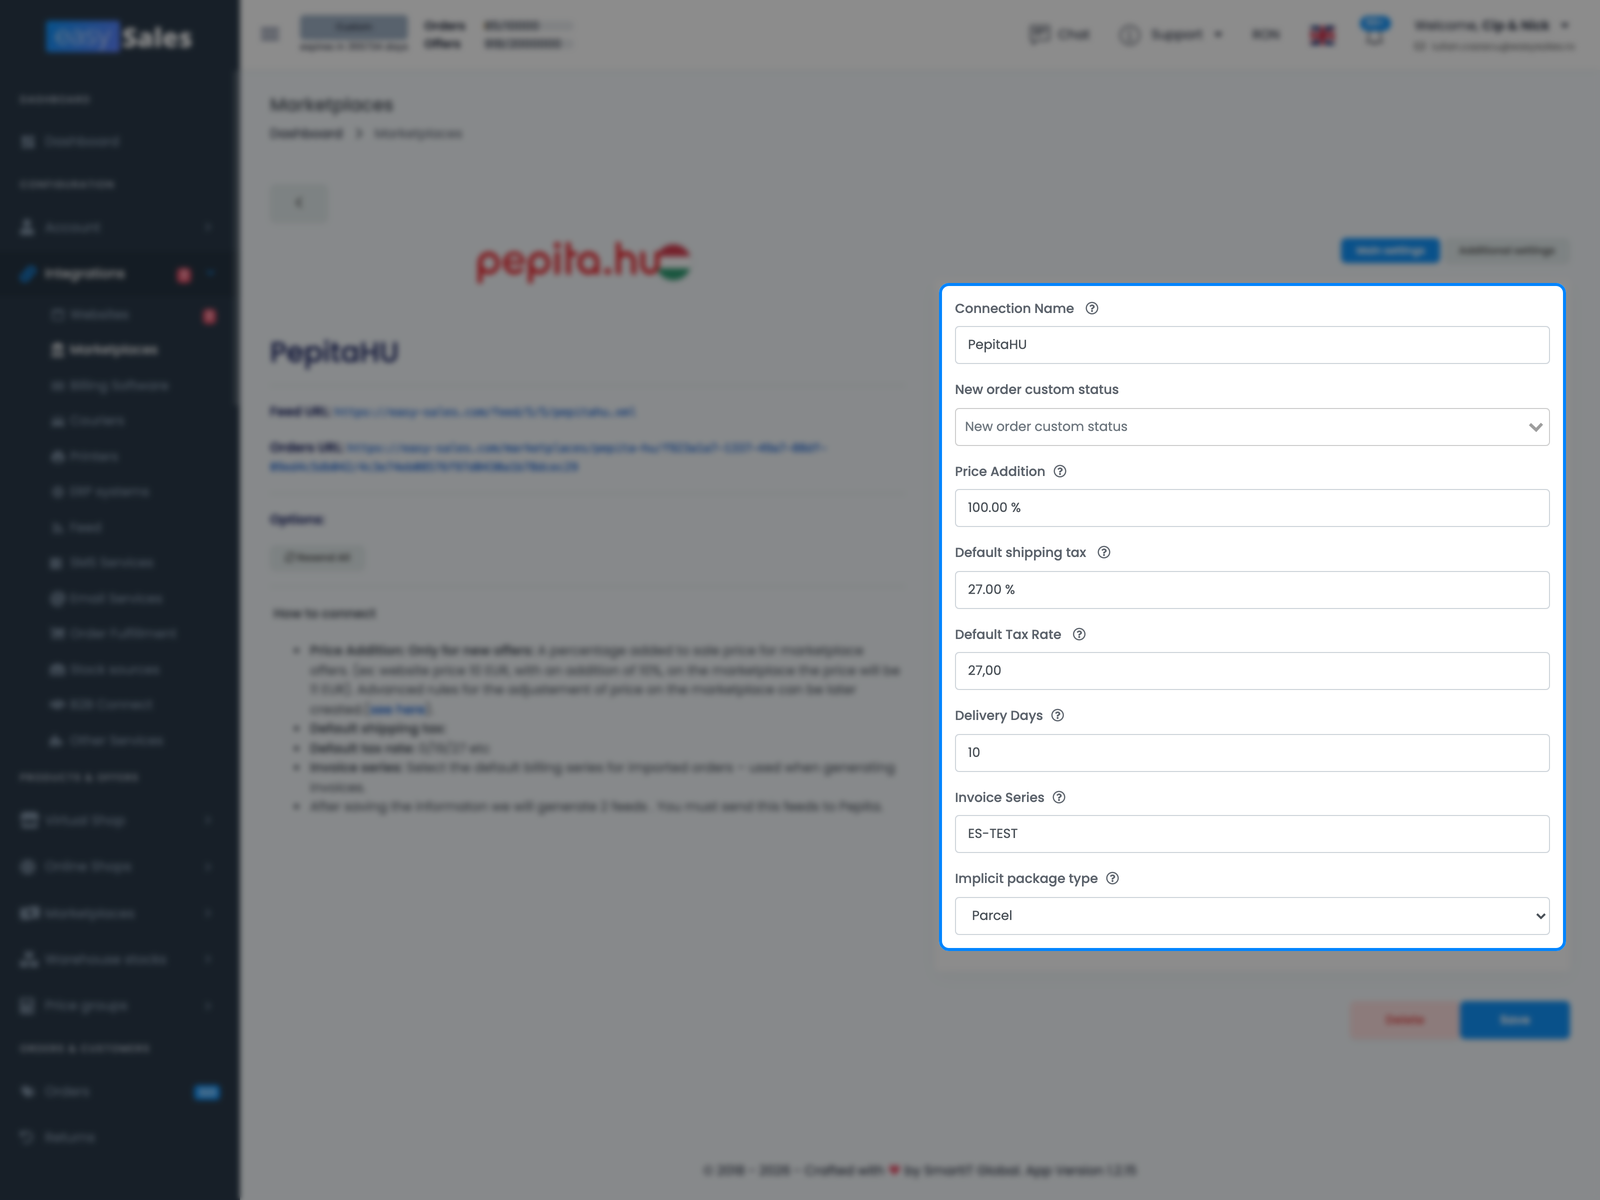
- Connection Name — a label you choose (for example "Pepita HU"). Only visible inside easySales, handy when you run several Pepita connections.
- Price Addition — an optional percentage added on top of your product price when a new offer is published to Pepita. It applies to newly created offers.
- Default shipping tax — the VAT rate applied to the shipping line on your Pepita orders.
- Default Tax Rate — the default VAT percentage applied to your offers and orders. Set it to 0 if you're not a VAT payer.
- Delivery Days — the handling time published with your offers, used as the shipping delay in your feed.
- Invoice Series — the default billing series assigned to imported Pepita orders, matching the series you use in your invoicing software. You can override it per order.
- Implicit package type — whether your parcels default to envelope or parcel.
Click Save to finish.
Step 3 — Save and share your feeds with Pepita
When you click Save, easySales creates the connection and generates the two feeds that make it work. Both appear right on your Pepita card in Integrations → Marketplaces, and again in the connection view when you open it:
- Feed URL — the XML product feed Pepita reads to build and update your listings.
- Orders URL — the address Pepita posts your orders to.
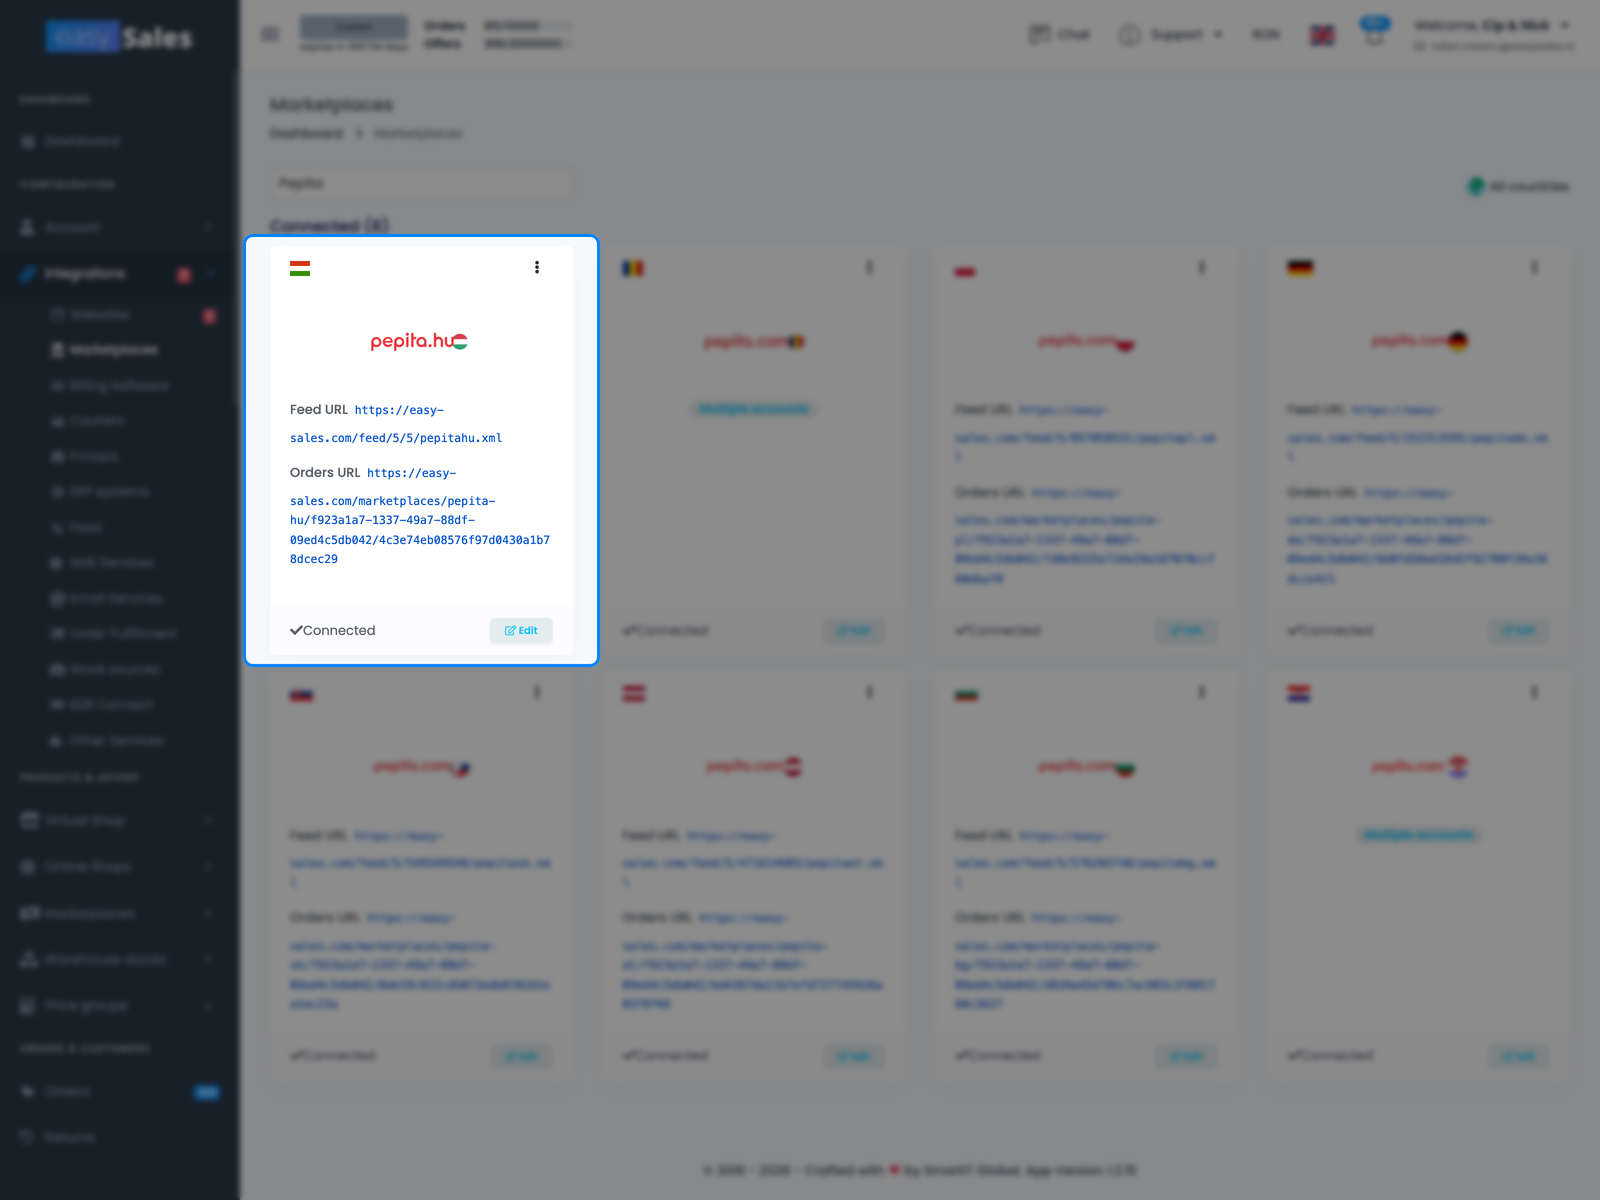
To go live, both URLs have to reach Pepita: it reads your product feed and posts your orders back to the orders URL. easySales doesn't register them with Pepita automatically, and there's nowhere in the Pepita panel to paste them yourself — so copy the two links from your Pepita card and email them to Pepita, who set them up on their side to finish the connection.
Pepita's team implements the feeds on their end, so going live is an operational step that can take a few days rather than happening instantly. A connected feed with no orders yet is normal while Pepita is still onboarding your feed — it isn't a sign anything is broken.
Getting your catalog onto Pepita
Publishing to Pepita is a deliberate second step — connecting the account doesn't put your whole catalog on Pepita by itself. You choose which products to list.
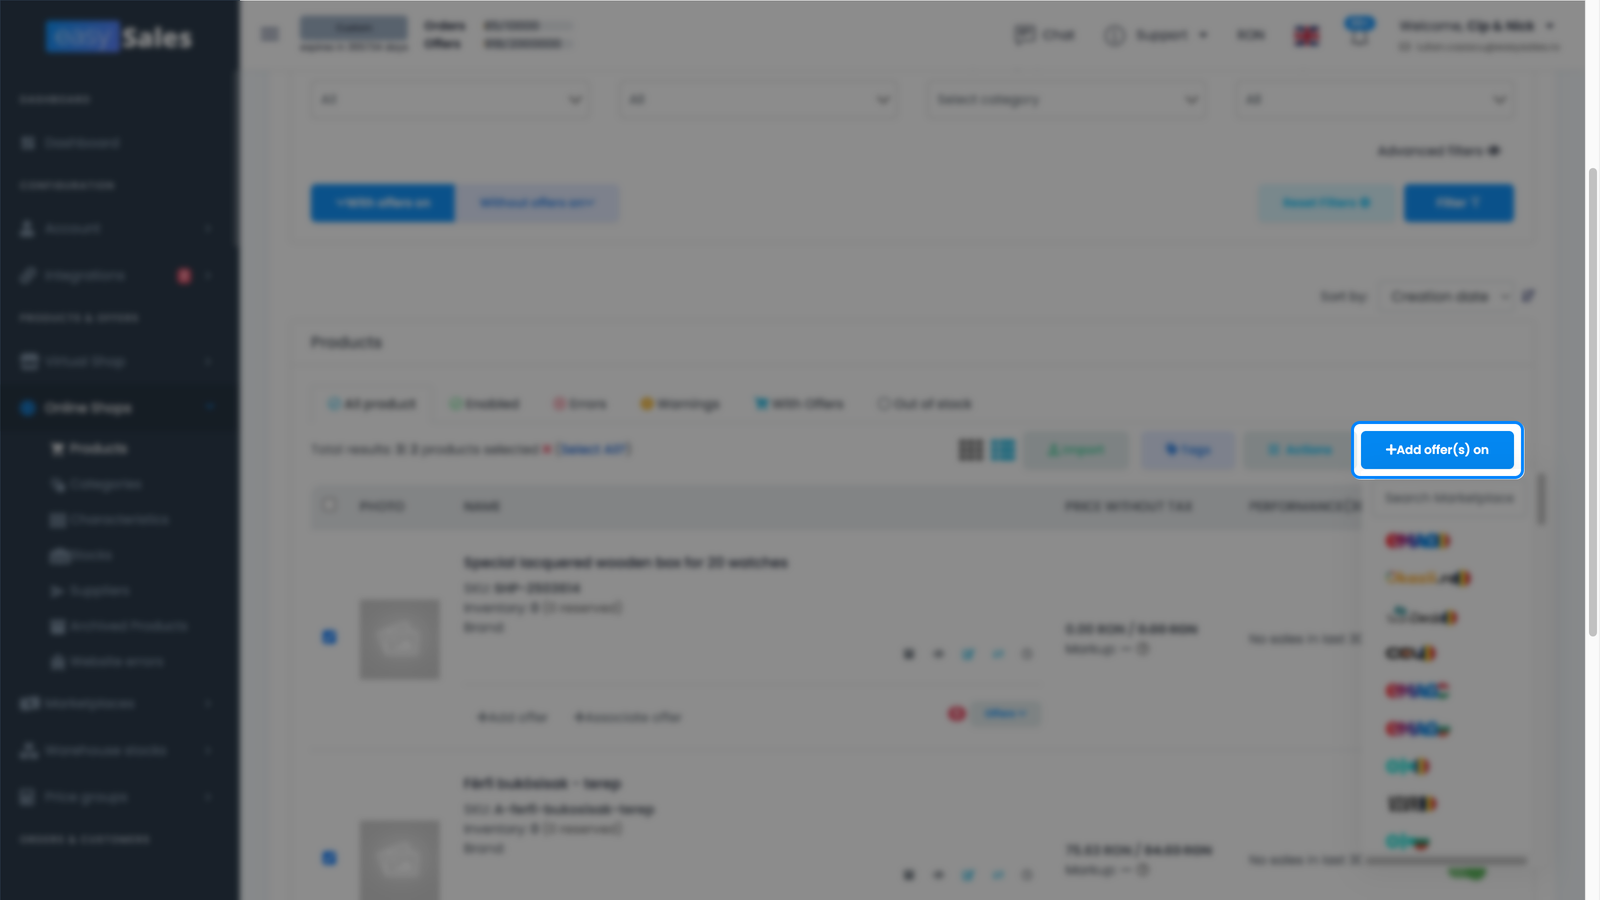
From the sidebar, go to Online Shops → Products, select the products you want to sell on Pepita, and use the Add offer(s) on action, choosing your Pepita connection. easySales creates a Pepita offer for each product, linked to it in your catalog. From then on the offer travels in your product feed, and its stock and price stay tied to the source product.
That link is what keeps an offer syncing: only offers that are active and linked to a catalog product are written to the feed. If a product is later unlinked, its offer simply drops out of the feed. Your published offers appear under Marketplaces → Offers, on the Pepita tab, where you can review and edit them.
There's no category-mapping step for Pepita. Your feed carries your own easySales categories exactly as they are, so — unlike marketplaces such as eMAG or Trendyol — you don't match your products to a Pepita category tree before they can be listed.
| From Pepita → easySales | From easySales → Pepita |
|---|---|
| Orders (new and updated) | Product listings — name, description, brand |
| The shipping label (AWB) Pepita issues for locker orders | EAN, category, and images |
| — | Price and discounted price, with VAT |
| — | Stock availability and quantity |
| — | Shipping delay, weight, and characteristics |
Fine-tuning your Pepita connection
The Additional settings tab controls how easySales syncs with Pepita after the connection is live.
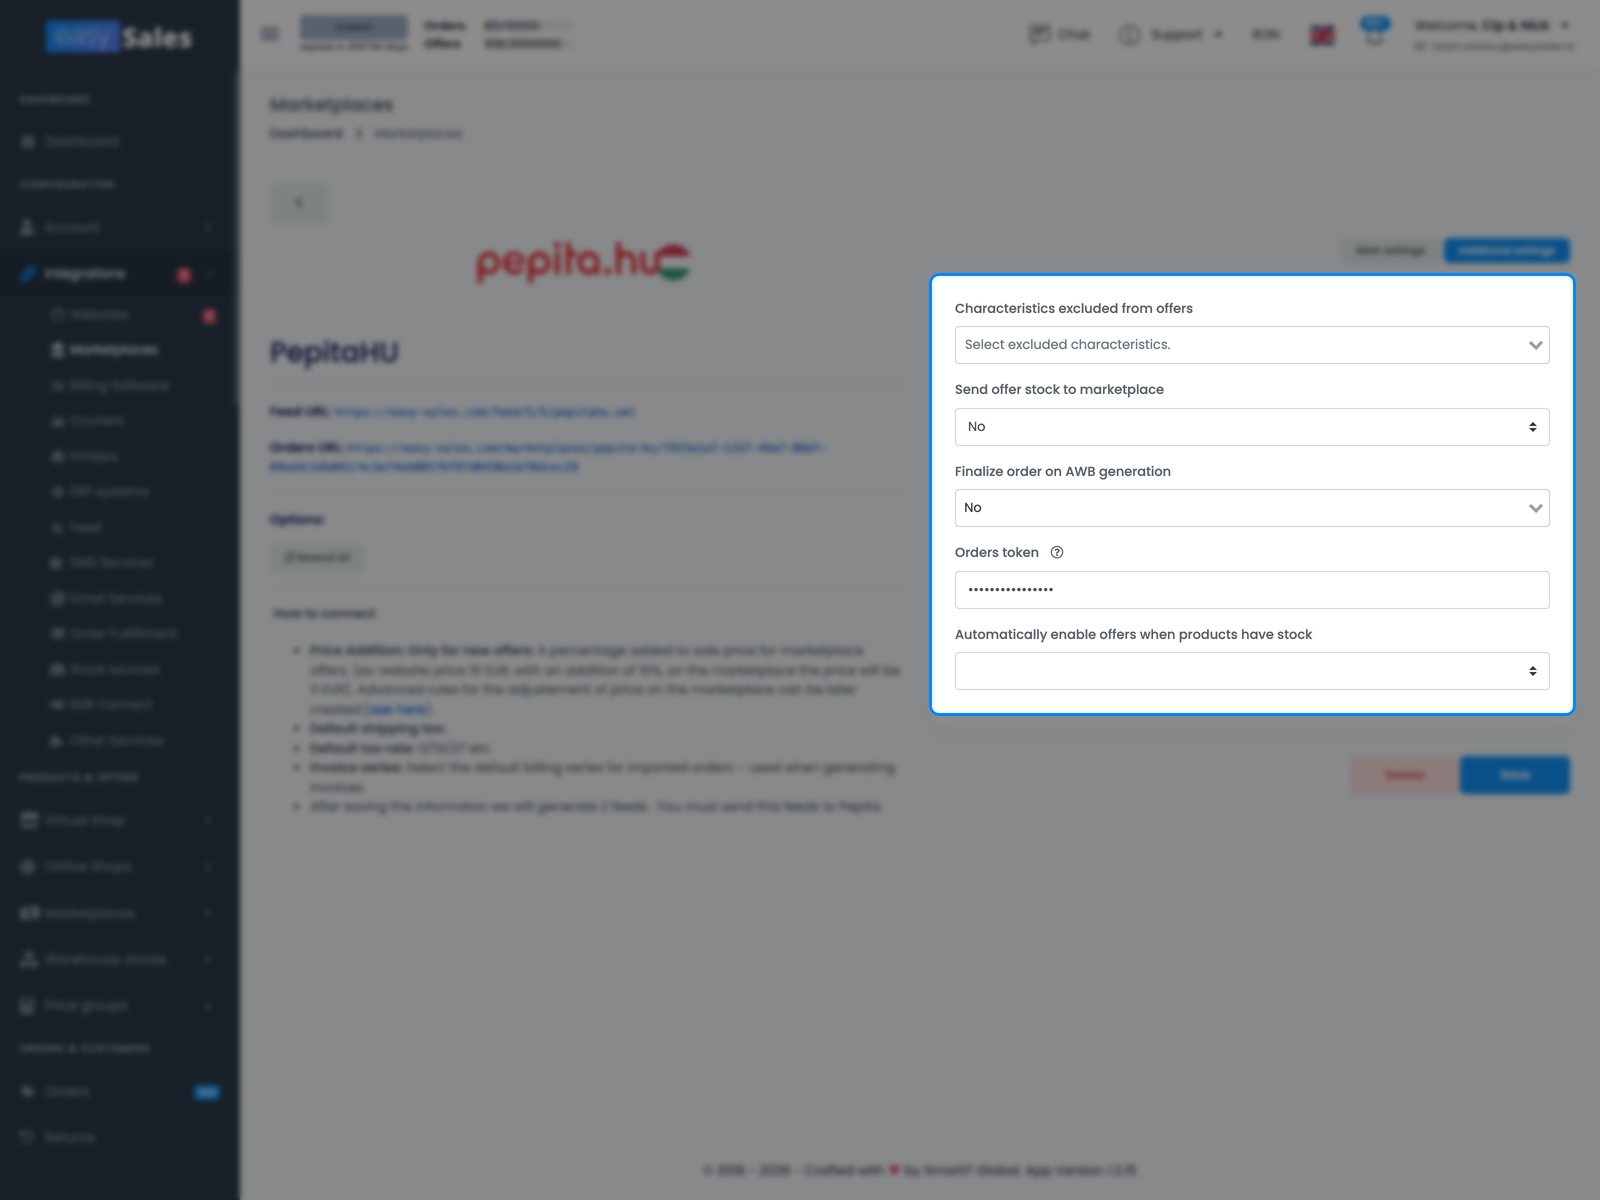
- Send offer stock to marketplace — when on, your feed includes the exact stock quantity for each offer. Turn it off and the feed still tells Pepita whether a product is in or out of stock, but withholds the precise number.
- Characteristics excluded from offers — pick any product characteristics you don't want written into your Pepita feed.
- Finalize order on AWB generation — when set to Yes, easySales marks a Pepita order as finalized once its shipping label is attached.
- Automatically enable offers when products have stock — reactivate offers automatically once a product is back in stock above zero.
How Pepita orders, AWBs and invoices work
Orders are the part of Pepita that runs on its own. Each Pepita country connection has its own orders URL, so once a country's URL is set on Pepita's side, Pepita posts that country's orders straight into the matching connection in easySales, ready for invoicing and flows.
For locker deliveries (for example GLS parcel locker or parcelshop), Pepita issues the shipping label itself and includes it with the order, so easySales attaches that AWB rather than generating a new one — and if you turned on Finalize order on AWB generation, attaching the label also marks the order as finalized. For home-delivery orders Pepita doesn't send a label, so you generate the AWB in easySales as you would for any other order.
Two things stay on your side by design. Order status is not sent back to Pepita — when you process or finalize an order in easySales, update its status in Pepita's own panel too. And Pepita doesn't accept uploaded invoices, so the invoice you generate lives in easySales; you'll see a note on the order confirming it was created here rather than sent to Pepita.
HU, RO, PL, SK, DE, AT, BG & HR — connect each country
The connection procedure is identical for all eight Pepita marketplaces. What differs is per-country, and easySales handles it once you pick the right card:
- The currency follows the country — HUF for Hungary, RON for Romania, PLN for Poland, and EUR for Slovakia, Germany, Austria, Bulgaria, and Croatia.
- The available VAT rates follow each country's tax rules.
You add each country as its own connection under Integrations → Marketplaces, and each one generates its own Feed URL and Orders URL. Send every country's own pair of URLs to Pepita — the URLs from one country don't work for another, so each connection is handed over separately.
You're connected — what's next
With orders arriving, the next step is automation: set up flows to generate invoices and process orders as they come in.
To get your catalog onto Pepita, add your offers from Online Shops → Products and let easySales publish and maintain them through the feed. After your first offers go out, keep an eye on your offers under Marketplaces → Offers, where any that fail validation are flagged — and reach out to support if anything looks off.
Connect your Pepita account in minutes
Try easySales free for 14 days. No plugin, no credit card, no code.