How to connect Innoship with easySales: a complete setup guide
Connect Innoship to easySales: the API key, the service type that decides which orders a connection can ship, Auto carrier selection, pickup locations, label formats and what every Innoship refusal means.
What connecting Innoship gives you
Innoship is not one courier — it is one account through which you reach many. With it connected, easySales creates the shipment, prints the label, follows the parcel and cancels a shipment you no longer need, and Innoship decides which carrier actually moves the box.
That last part is why this guide spends most of its time on two fields. Service type and Courier Account decide which orders a connection can ship at all, and getting them wrong is the commonest reason an Innoship shipment is refused.
Before you start
An Innoship account
With at least one carrier contract behind it — Innoship ships through the carriers your account carries, not through its own fleet.
An API key
Innoship issues it for your account on request, at support@innoship.com. It is the only credential the connection asks for.
A collection address
At least one location on your Innoship account, set up there under Settings → Locations. easySales reads the list; you choose which one this connection ships from.
Step 1 — Find the Innoship card
Go to Integrations → Couriers and search for innoship.
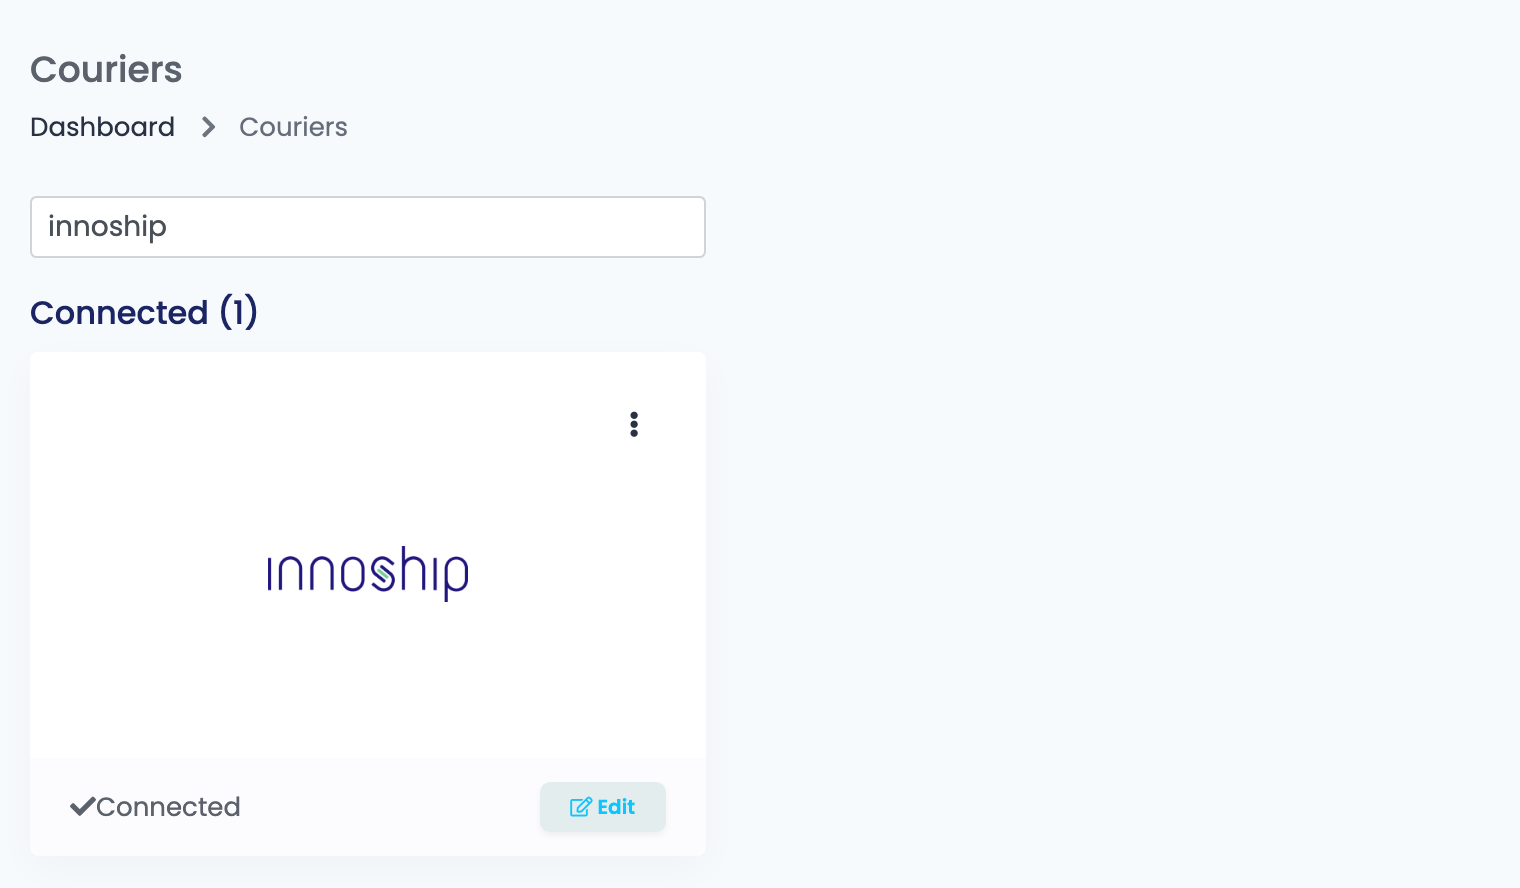
Press Connect on the card, or Edit if you have connected it before.
Step 2 — Your API key
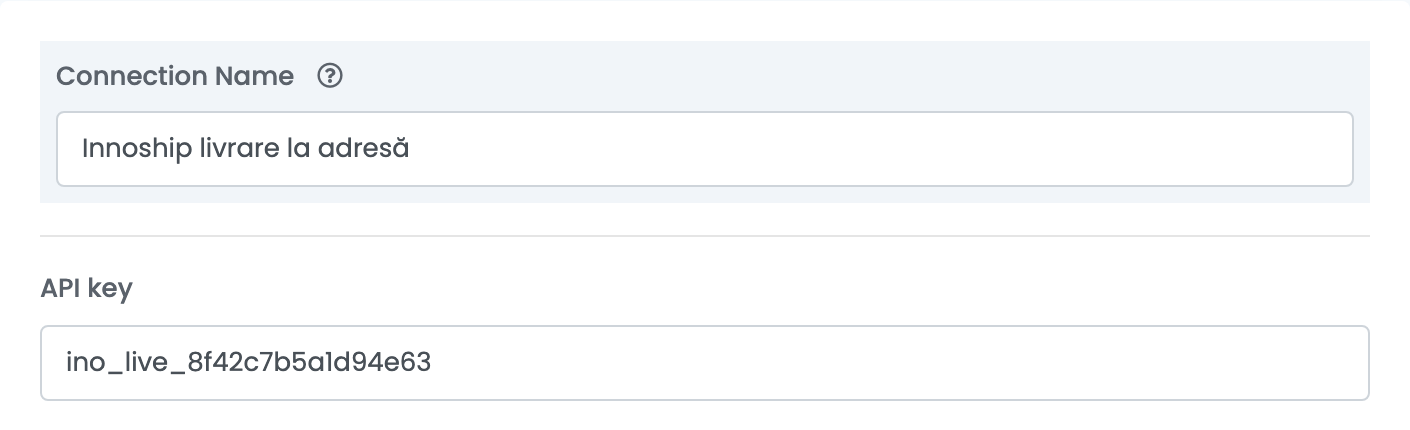
Connection Name is what you will see inside easySales when you choose between connections — call it after what it ships, not after the courier.
API key is the key Innoship issues for your account. Paste it and move on: the moment you leave the field, easySales calls Innoship with it and fills the two lists below.
Step 3 — Service type and Courier Account
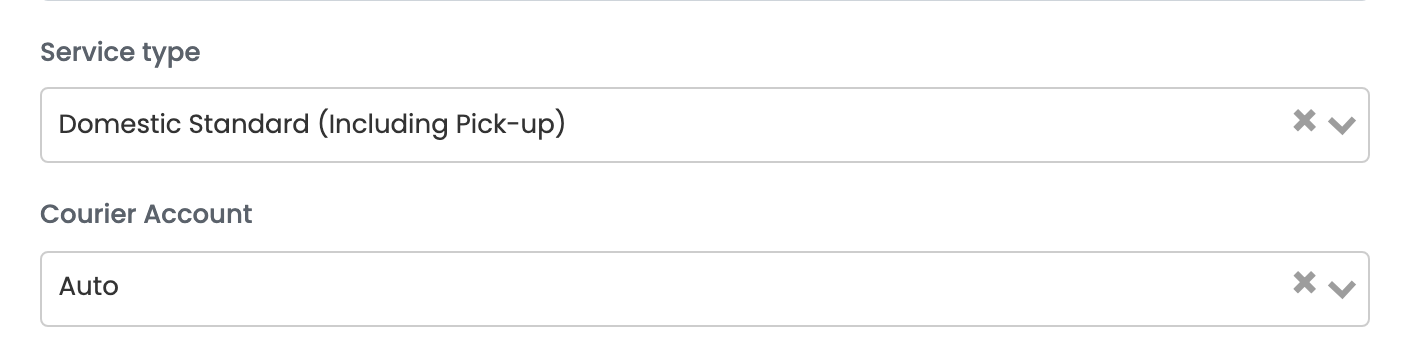
These two fields are the connection. Everything else on the form adjusts details; these decide whether a given order can be shipped on it at all.
Service type is the kind of delivery. It is sent with every shipment, and Innoship checks it against the order:
| The order is delivered to | The connection's service must be |
|---|---|
| a street address | Domestic Standard (Including Pick-up) |
| a parcel locker | Domestic Lockers |
| a pick-up / drop-off point | Domestic PUDO (PickUp DropOff) |
| an eMAG RO, HU or BG marketplace order | the matching eMag Marketplace service |
| an address in another country | International Shipping Road or International Shipping Air, or their locker and PUDO equivalents |
Courier Account is which carrier carries the parcel.
| Courier Account | What happens |
|---|---|
| Auto | Innoship chooses, trying every carrier on your account that is eligible for the shipment. If one of them takes it, the parcel ships. If none will, the shipment fails once, with a line per carrier saying why each refused — that list is where you find out what to fix. |
| a named carrier | The parcel goes to that carrier or not at all, and the refusal you get back is that carrier's own. |
Step 4 — Pickup location and extra services
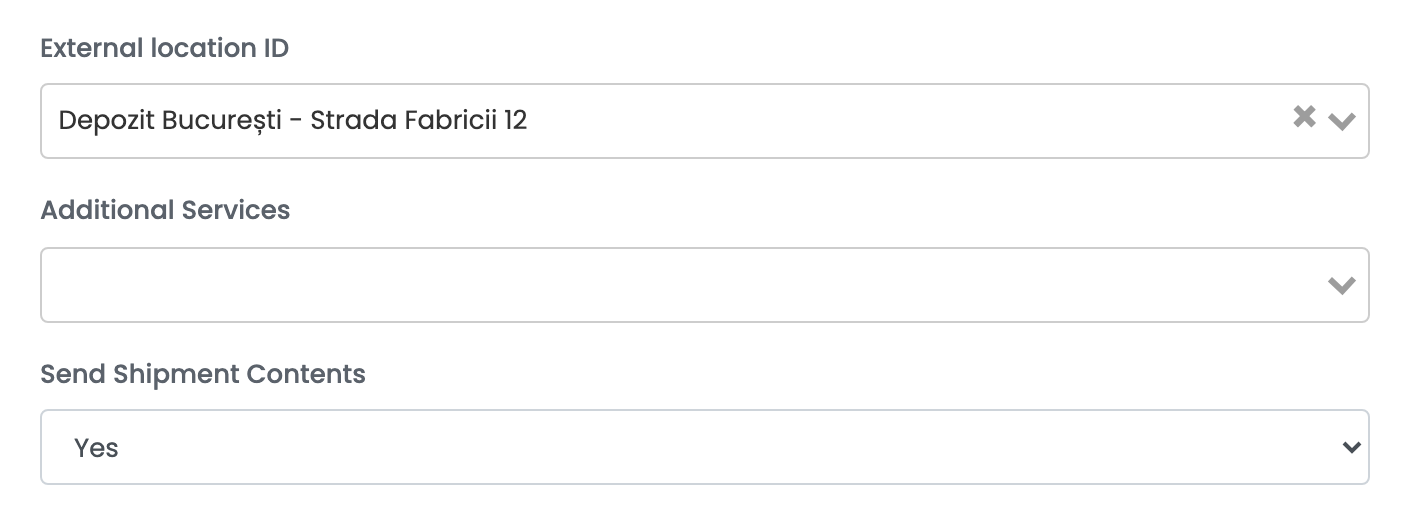
| Field | What it does |
|---|---|
| External location ID | Which of the collection addresses on your Innoship account this connection ships from. The list comes from Innoship; the addresses themselves are managed there, under Settings → Locations. |
| Additional Services | Saturday delivery, opening on delivery and parcel for exchange. Whatever you choose is added to every parcel created on this connection, so keep the ones you want occasionally out of it. |
| Send Shipment Contents | Yes sends the names of the products on the order as the parcel's contents. No sends a generic description instead. |
Step 5 — Label format, who pays, and references
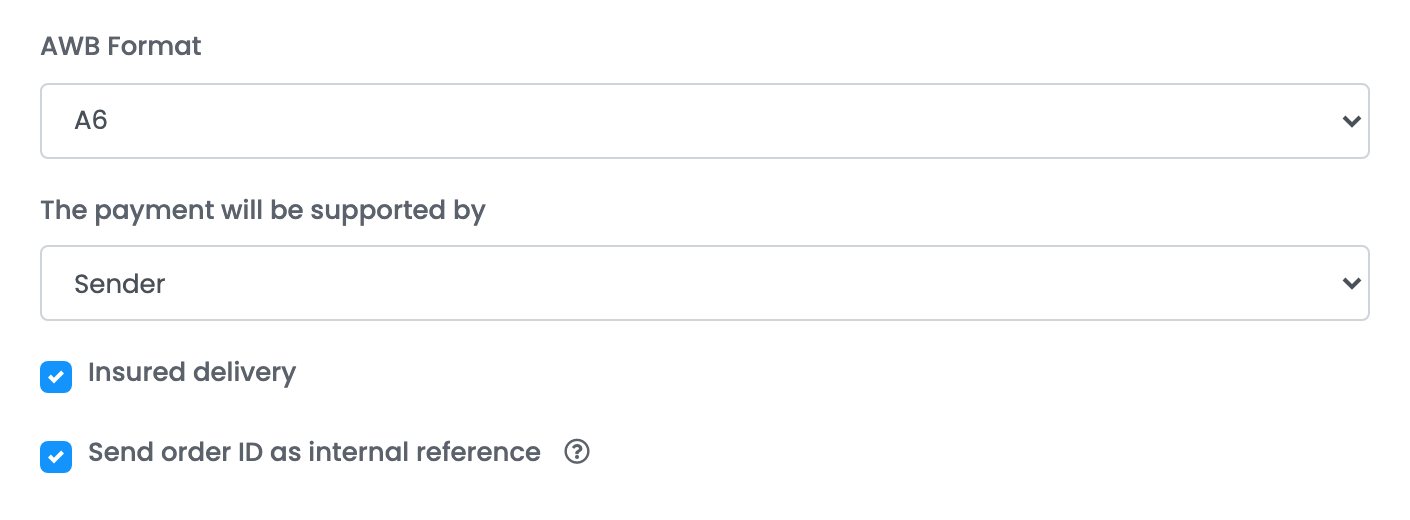
| Field | What it does |
|---|---|
| AWB Format |
A4 for a full page, A6 for a label, A6_10x9 for a smaller thermal label.
|
| The payment will be supported by | Sender or Recipient. With Recipient, the shipping charge is taken out of the amount collected from the customer, so the two do not get charged twice. |
| Insured delivery | Declares the parcel's value, with its currency, so the shipment is insured for what is inside it. |
| Send order ID as internal reference | Sends your order number to the carrier so you can recognise the shipment on the courier's bill. It is on by default. Read the note beside it before turning it off — and before turning it on if you regularly delete and re-create documents. |
Step 6 — The notes template
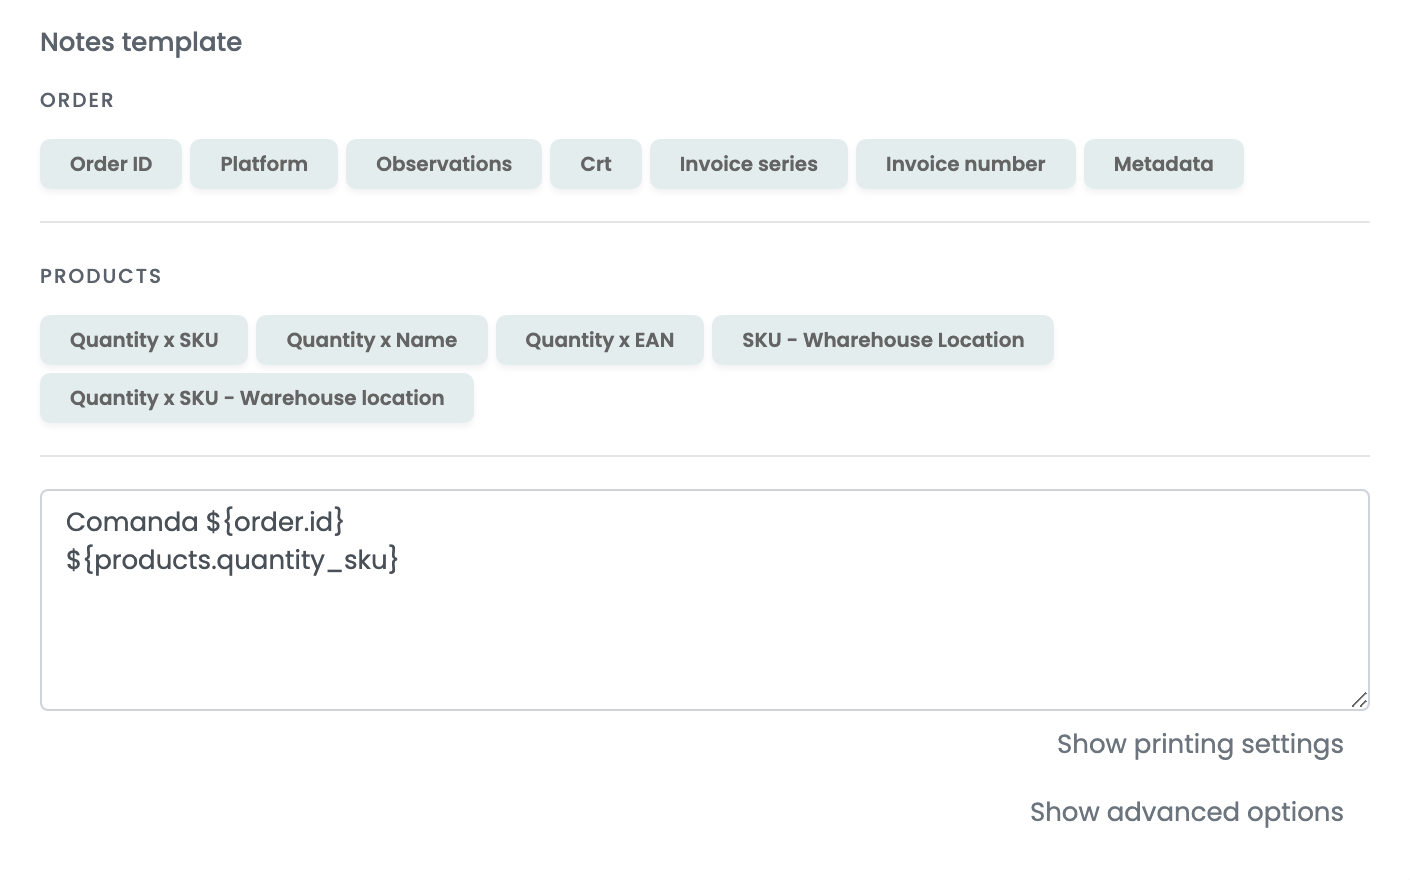
Whatever the template produces travels with the parcel and is printed on the label, so keep it to what a driver or a warehouse needs to read. The buttons above the box insert values from the order and from its products — order number, invoice series, quantity and SKU, warehouse location.
Step 7 — Printing settings and advanced options
Both sections are collapsed, and one of the settings inside the second is specific to Innoship and worth understanding before you need it.
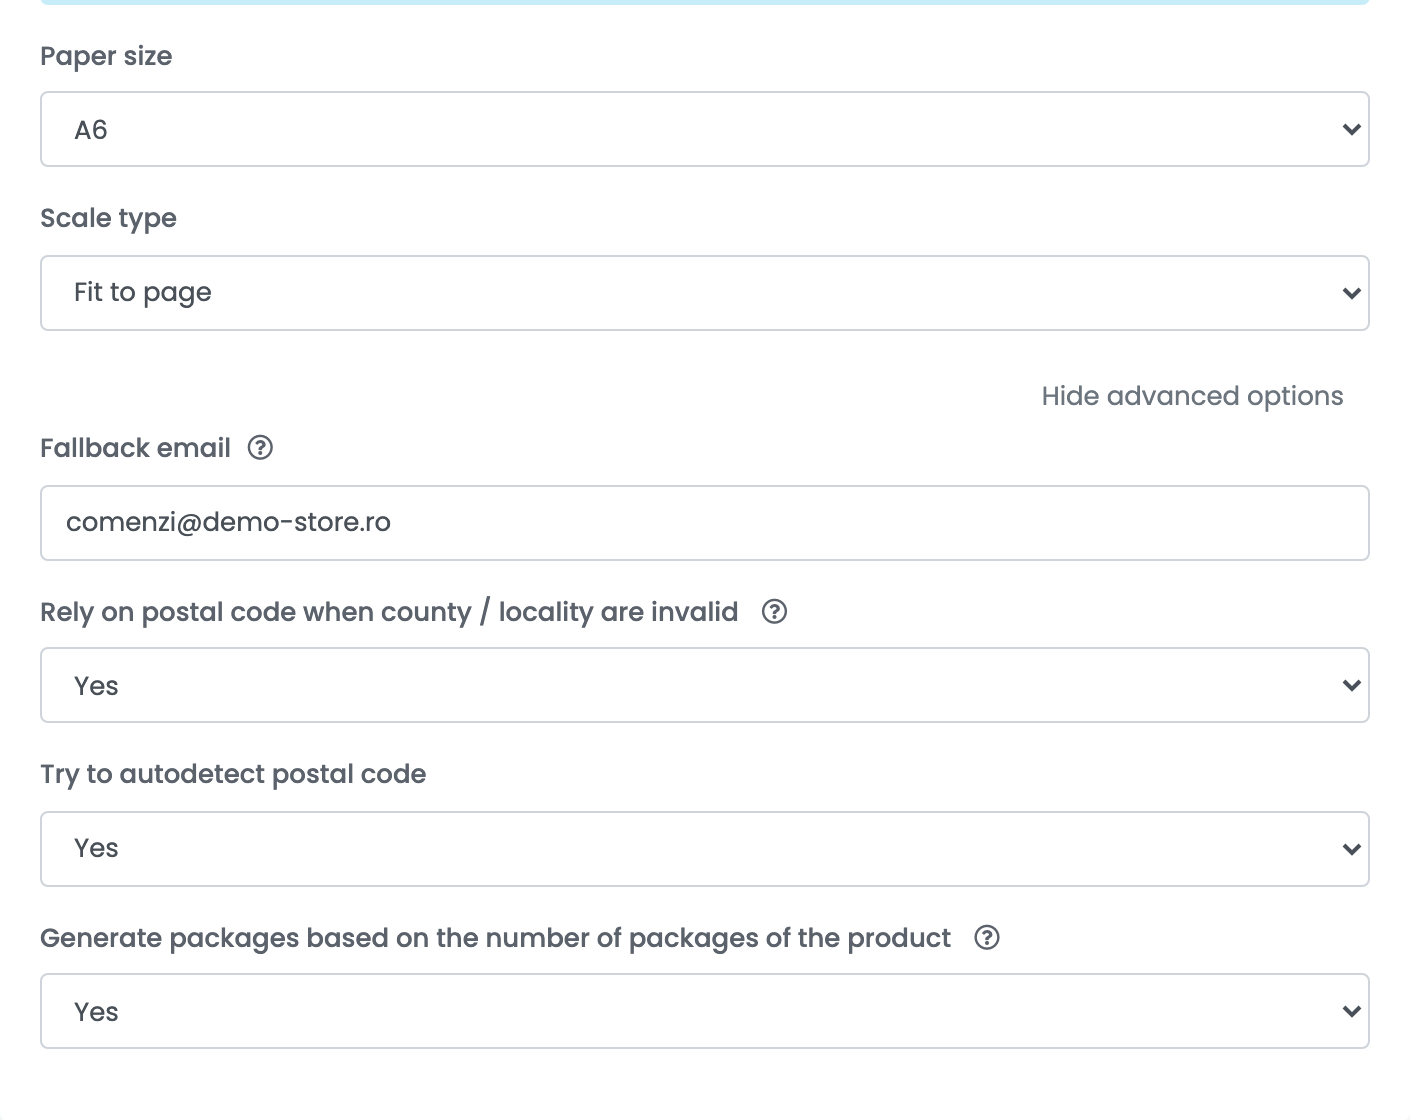
| Setting | What it does |
|---|---|
| Rely on postal code when county / locality are invalid | Skips the county and locality check when the address has a valid postal code, and lets Innoship resolve the address from the code. |
| Try to autodetect postal code | When the order has no postal code at all, easySales works one out from the county, city and street before sending the parcel. |
| Fallback email | Used as the recipient's email when the order carries none. |
| Generate packages based on the number of packages of the product | Counts the parcels on the shipment from the package count set on each product, instead of always sending one. |
| Printing settings | Paper size and scale, used only when you print through the easySales Printer connection, and only for this courier. This is not AWB Format: Innoship decides what the label looks like, these decide how it lands on paper. |
One connection per service
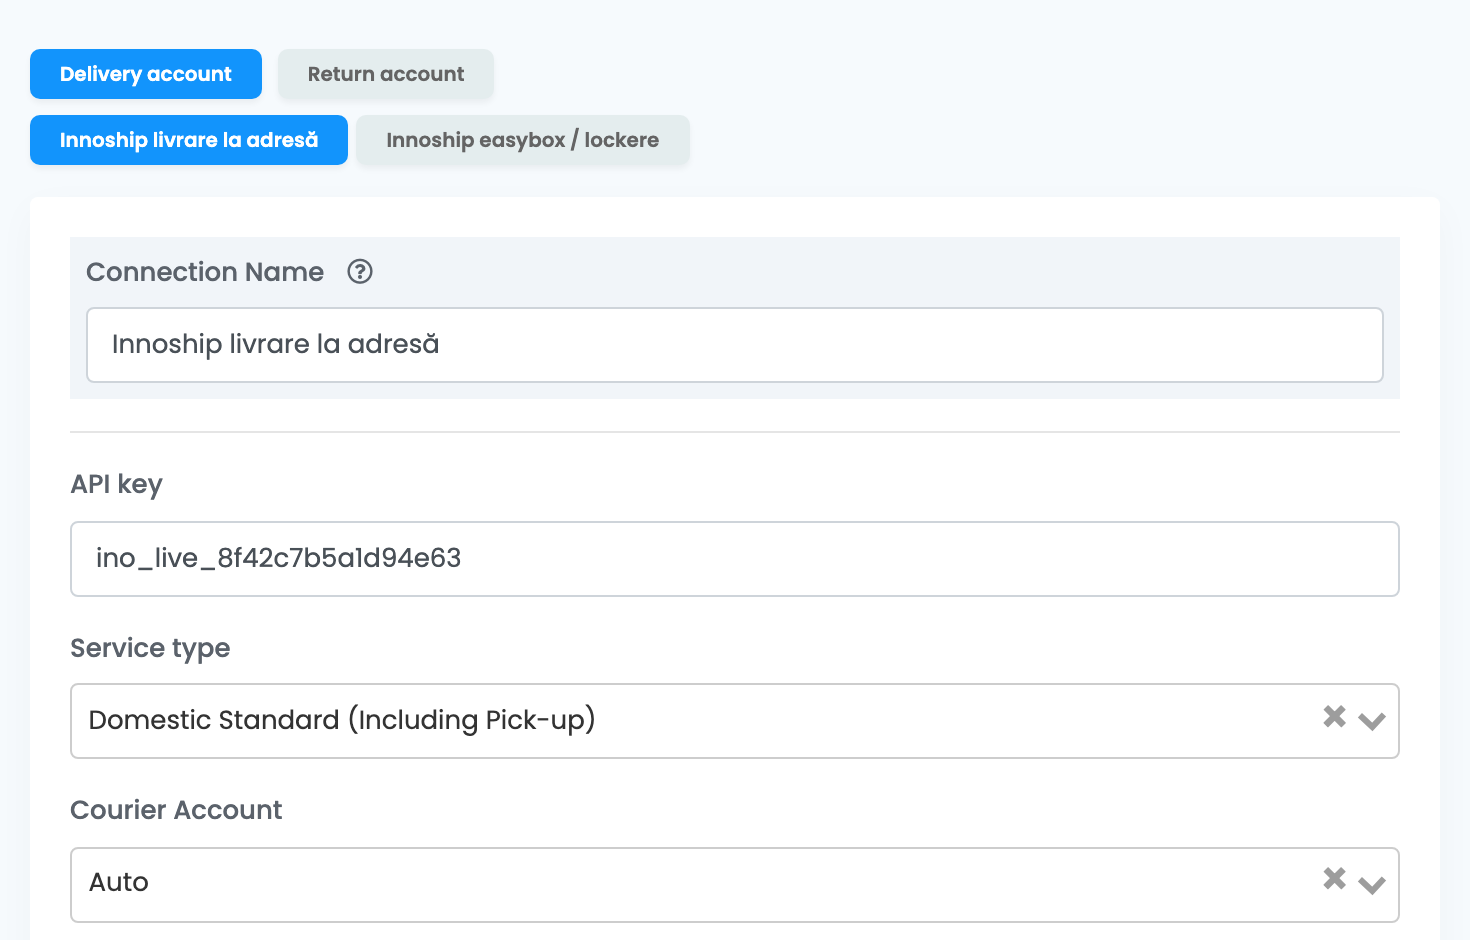
A seller who takes home deliveries and locker orders needs two Innoship connections, because the service belongs to the connection. Open the ⋮ menu on the Innoship card and choose Connect another courier account, or open an existing connection and press Clone to copy all of its settings and change the one field that differs.
Delivery account and Return account are the two tabs above the connection names. The return tab holds the connections used when you send a parcel back to yourself; on those, who pays is fixed to the recipient and cannot be changed.
When Innoship refuses a shipment
| Message | What it means |
|---|---|
The field FixedLocationId is required for ServiceId: 3.
|
A locker connection was asked to ship to a street address. Use the connection whose service is Domestic Standard, or create one. |
The field AddressTo.CourierFixedLocationId is not supported for ServiceId: 1.
|
The opposite: a locker or pick-up point order was sent on the home-delivery connection. |
Invalid integration service: …
|
easySales stopped the shipment before Innoship saw it, for the same reason — the connection's service does not match the delivery on the order. |
Order failed after trying all eligible couriers
|
Courier Account is Auto and every carrier refused. The message lists each carrier and its reason; those reasons are what to act on. |
The selected county is not in the courier's list.
|
The county or locality on the order is not one Innoship recognises. Correct it on the order, or turn on Rely on postal code. |
Envelopes cannot have more than 1 kg.
|
The order is being sent as an envelope but weighs more. Mark it as a parcel. |