How to connect Ecolet with easySales: a complete setup guide
Connect Ecolet to easySales: the account e-mail and password, the Courier Account that decides which courier carries the parcel, collection address and pickup timing, additional services and what every refusal means.
What connecting Ecolet gives you
Ecolet is not a courier with its own vans. It is one account through which you reach several couriers — DPD, FAN Courier, Cargus, GLS, Sameday, BooKurier — and choose a service from each of them. With it connected, easySales creates the shipment, collects the label, follows the parcel and cancels one you no longer need.
That is also why the form has a field called Courier Account that lists other couriers' services. Choosing it is the one decision that shapes everything else, so most of this guide is about it.
Before you start
An Ecolet account
Ecolet is a Romanian delivery service that ships through other couriers' networks. Open an account at ecolet.ro; the e-mail and password you use there are what easySales asks for.
At least one service on it
The Courier Account list in easySales is exactly what your Ecolet account carries. If it comes back short, the services are added on the Ecolet side, not here.
Your collection address
The county, locality, street, postal code and a contact person. The courier drives to this address, so it has to be the one where the parcels actually are.
Step 1 — Find the Ecolet card
Go to Integrations → Couriers and search for ecolet.
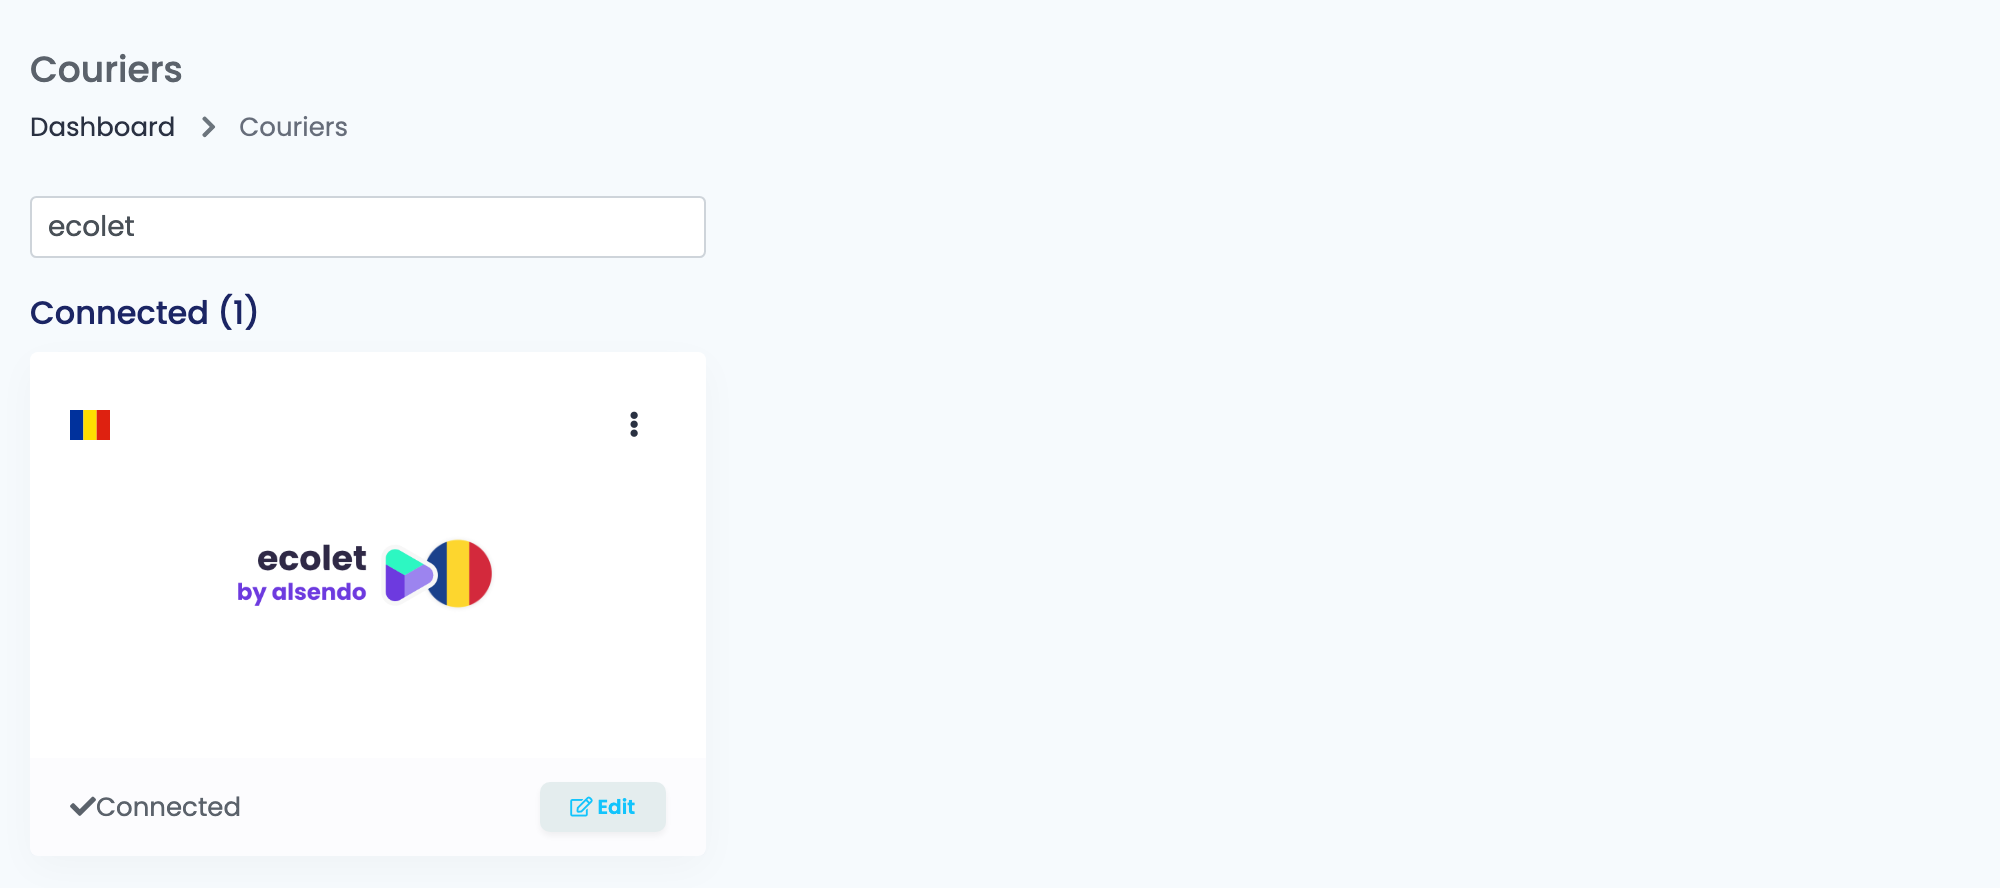
Press Connect on the card, or Edit if you have connected it before.
Step 2 — Sign in and press Get Details
The form opens with three fields. The rest of it does not exist yet.
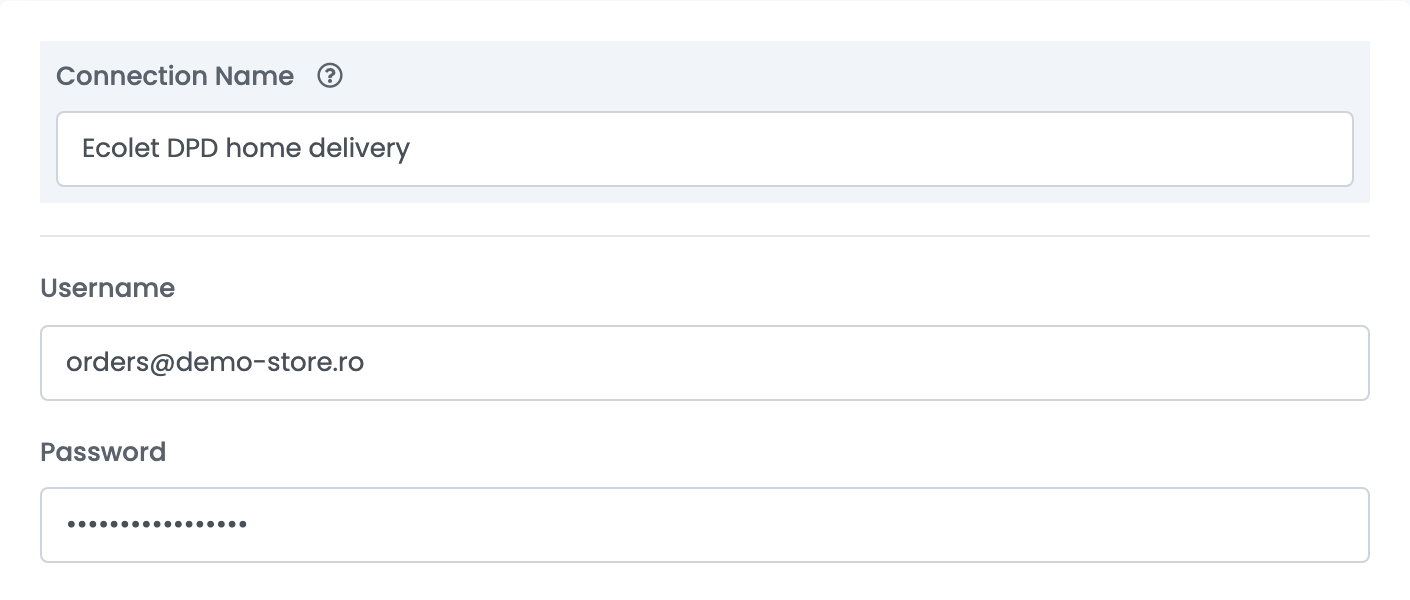
Connection Name is what you will see inside easySales when you choose between connections. Name it after what it ships, not after the courier — you are likely to end up with more than one.
Username is the e-mail address of your Ecolet account, and Password is that account's password. Then press Get Details.
Step 3 — Choose the courier and the service
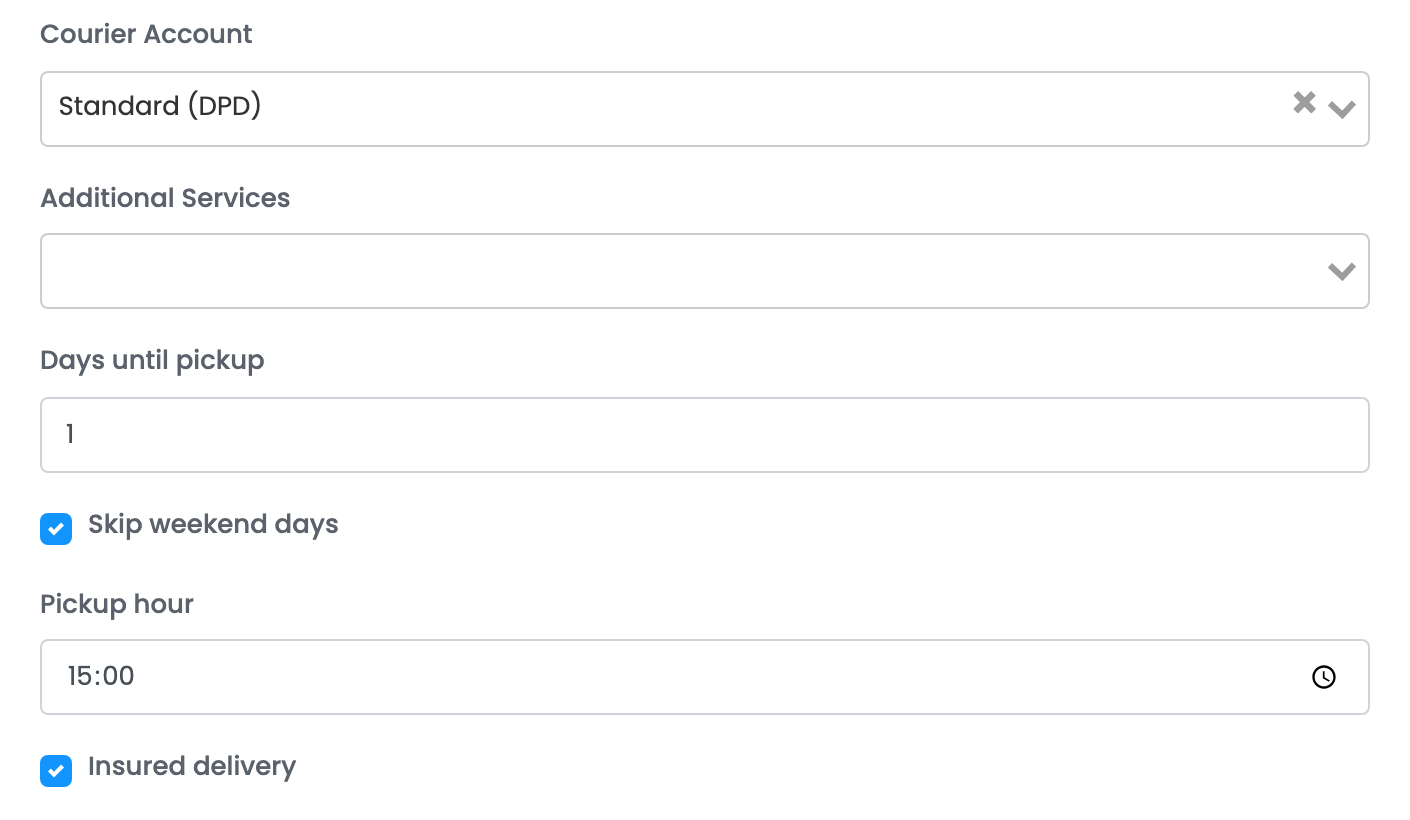
Courier Account is the whole connection. It names a courier and one of its services, and it is sent with every shipment made here.
| You pick | What it means |
|---|---|
| Standard (DPD), Standard (FAN Courier), Standard (Cargus), Standard (GLS), NextDay (Sameday) | An ordinary home delivery with that courier. |
| Locker (Sameday), Fanbox (FAN Courier), Easy Collect Locker (Cargus) | A delivery to a parcel locker. Use these only for orders that carry a locker. |
| Metropolitan (BooKurier), Bucuresti 24 (BooKurier) | A same-city service, for orders inside the area that courier covers. |
| International Area 1 / 2 / 3 (GLS), Express Regional Hungary / Czechia / Greece (DPD) | Cross-border services. Which ones appear depends on what your Ecolet account carries. |
Additional Services are the extras the chosen service supports. The list changes when you change the service, because not every courier offers all of them, and anything you pick here is added to every parcel this connection creates.
| Option | What it adds |
|---|---|
multipacks
|
The shipment may carry more than one parcel. |
open_package
|
The customer may open the parcel before accepting it. |
saturday_delivery
|
Delivery on a Saturday, where the courier offers it. |
swap
|
An exchange: the driver leaves one parcel and takes another away. |
rod
|
Return of documents — a signed document comes back to you. |
is_international
|
Marks the service as a cross-border one. It is a property of the service you chose rather than something to add, so leave it alone. |
The three fields below decide when the courier is asked to come.
| Field | What it does |
|---|---|
| Days until pickup |
How many days after the AWB is created the courier should come. 0 means today, 1 means tomorrow.
|
| Skip weekend days |
On by default. With it on, the count above is in working days, so an AWB made on Friday with 1 is collected on Monday. With it off, it would be Saturday.
|
| Pickup hour | The time you want the driver. It is a request, not a booking — if it falls after that courier's cut-off for your area the shipment is refused and the message says so. |
| Insured delivery | Declares the parcel's value so the shipment is insured for what is inside it. |
Step 4 — Where the parcel is collected from
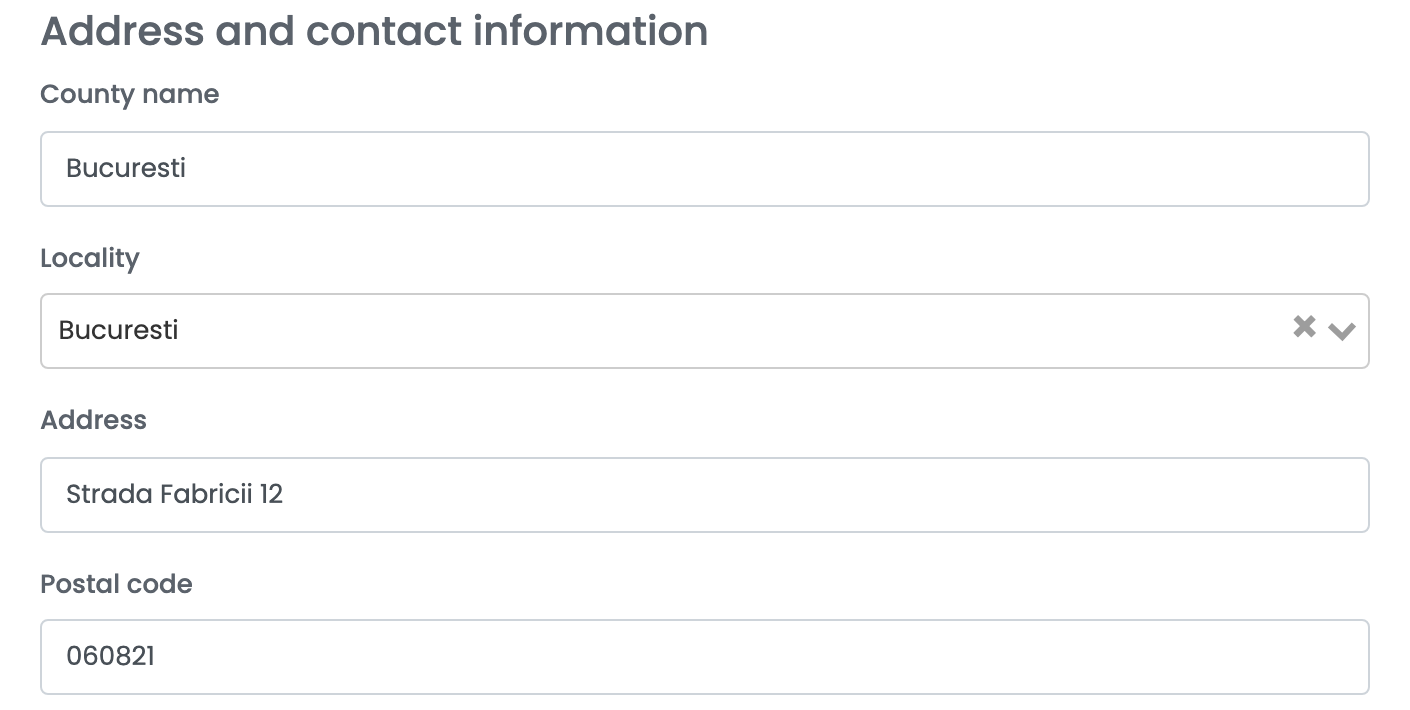
This is your address, and it is the address the courier drives to. Locality is not a free-text box: type a few letters and pick from the list, which comes from Ecolet's own list of localities. County name filters that list, so fill it first — changing it clears whatever locality was chosen.
Step 5 — Who the courier asks for
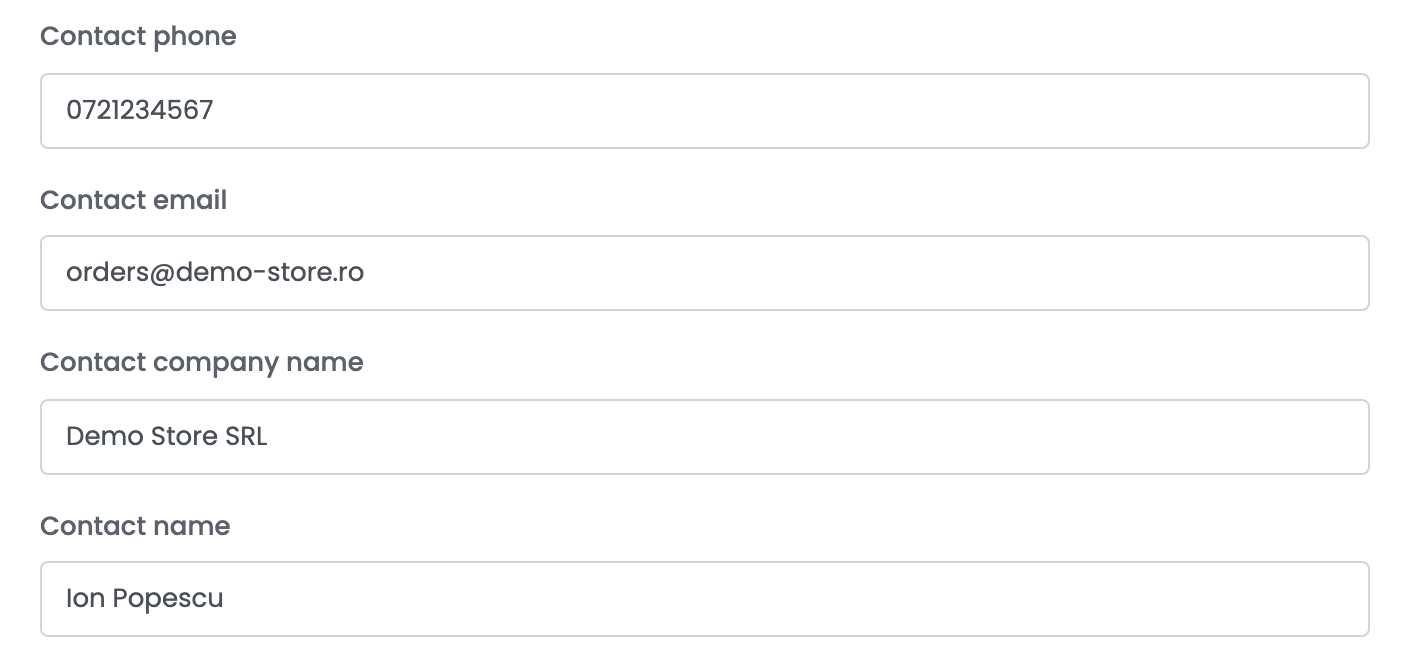
Contact company name is what is printed on the label as the sender. Contact name, Contact phone and Contact email are the person the courier calls if the collection goes wrong.
Step 6 — The notes template
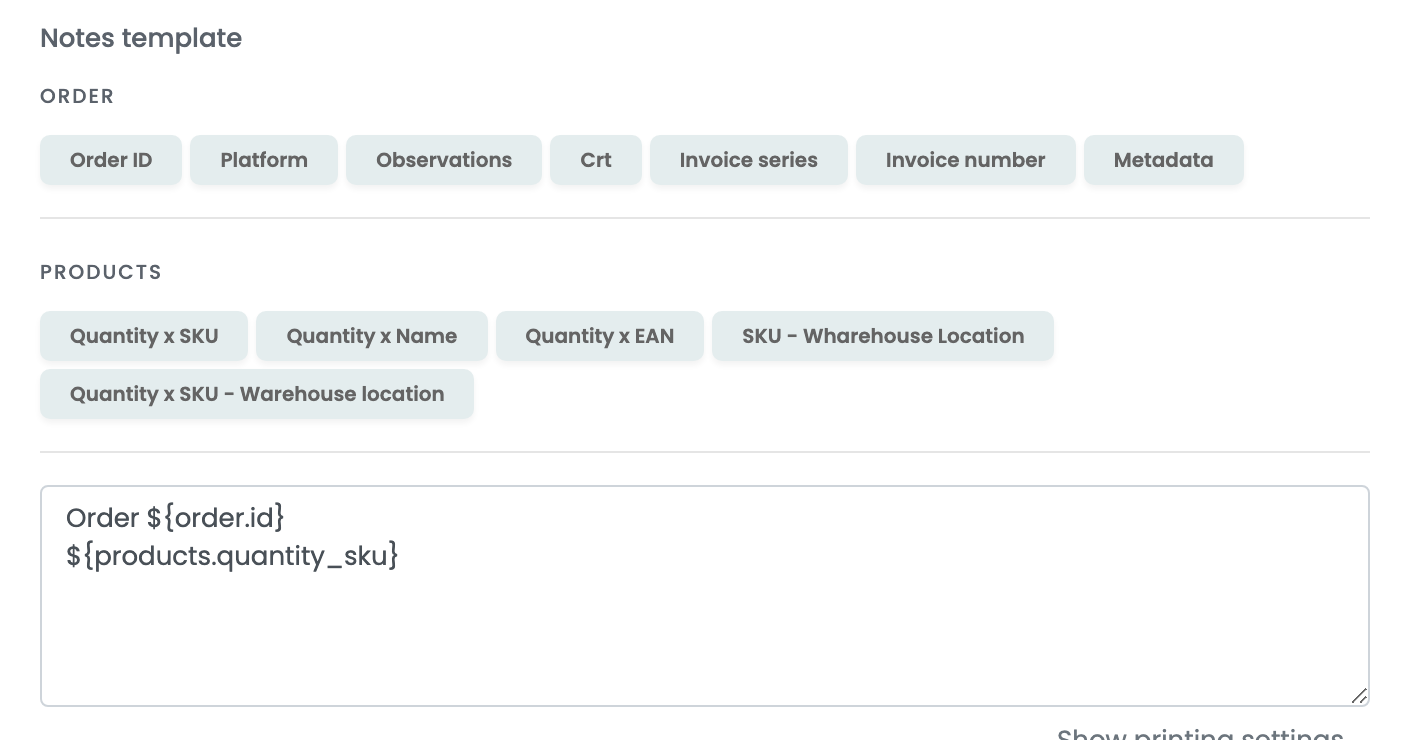
Whatever the template produces travels with the parcel and is printed on the label, so keep it to what a driver or a warehouse needs to read. The buttons above the box insert values from the order and from its products — order number, invoice series, quantity and SKU, warehouse location.
Step 7 — Printing settings and advanced options
Both sections are collapsed. Neither is required, and both are worth a look before you need them.
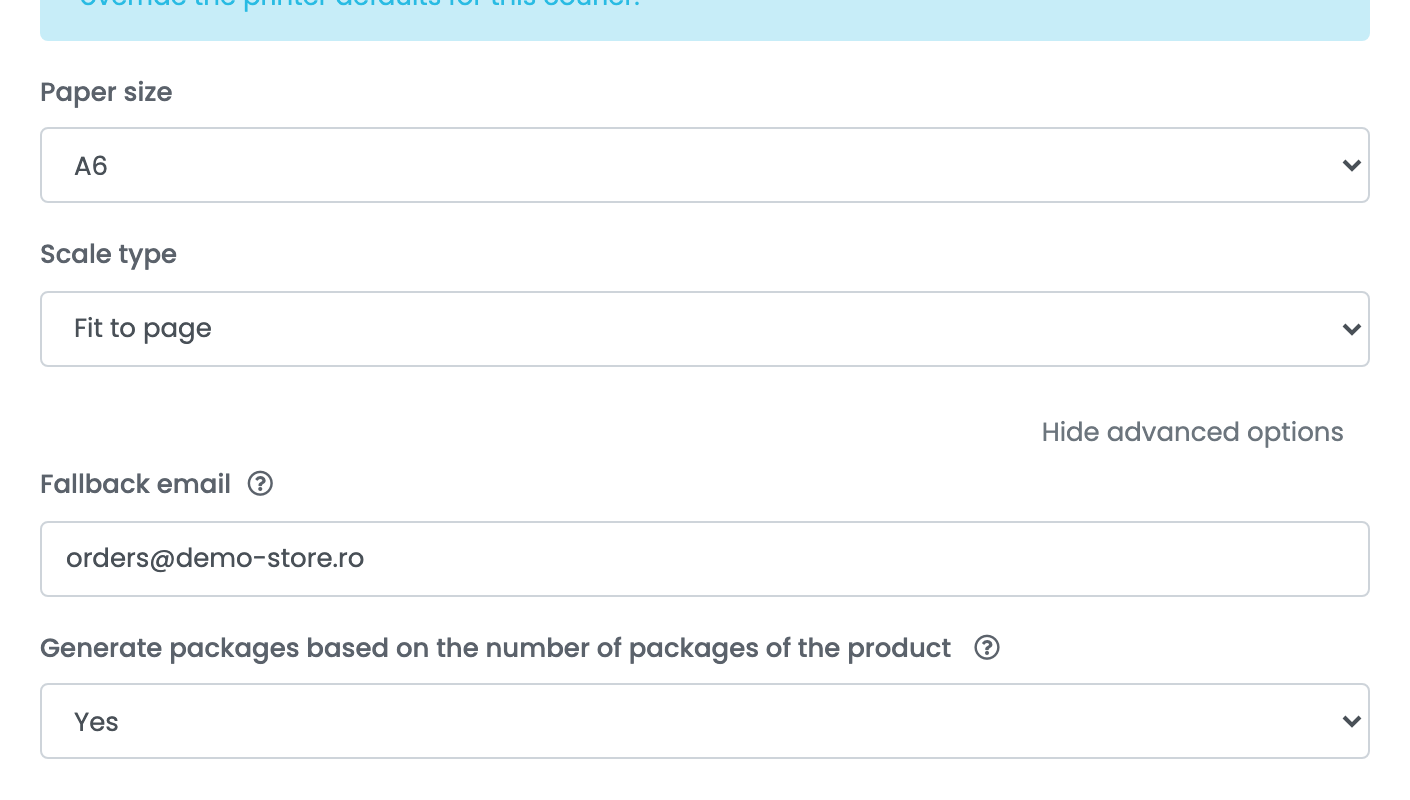
| Setting | What it does |
|---|---|
| Paper size and Scale type | Used only when you print through the easySales Printer connection, and only for Ecolet. They override your printer's own defaults; leave them on Use printer default if you print by hand. |
| Fallback email | Used as the customer's e-mail when the order carries none. Ecolet requires one, so this is what keeps those orders shippable. |
| Generate packages based on the number of packages of the product | Counts the parcels on the shipment from the package count set on each product, instead of sending one. |
One connection per courier and service
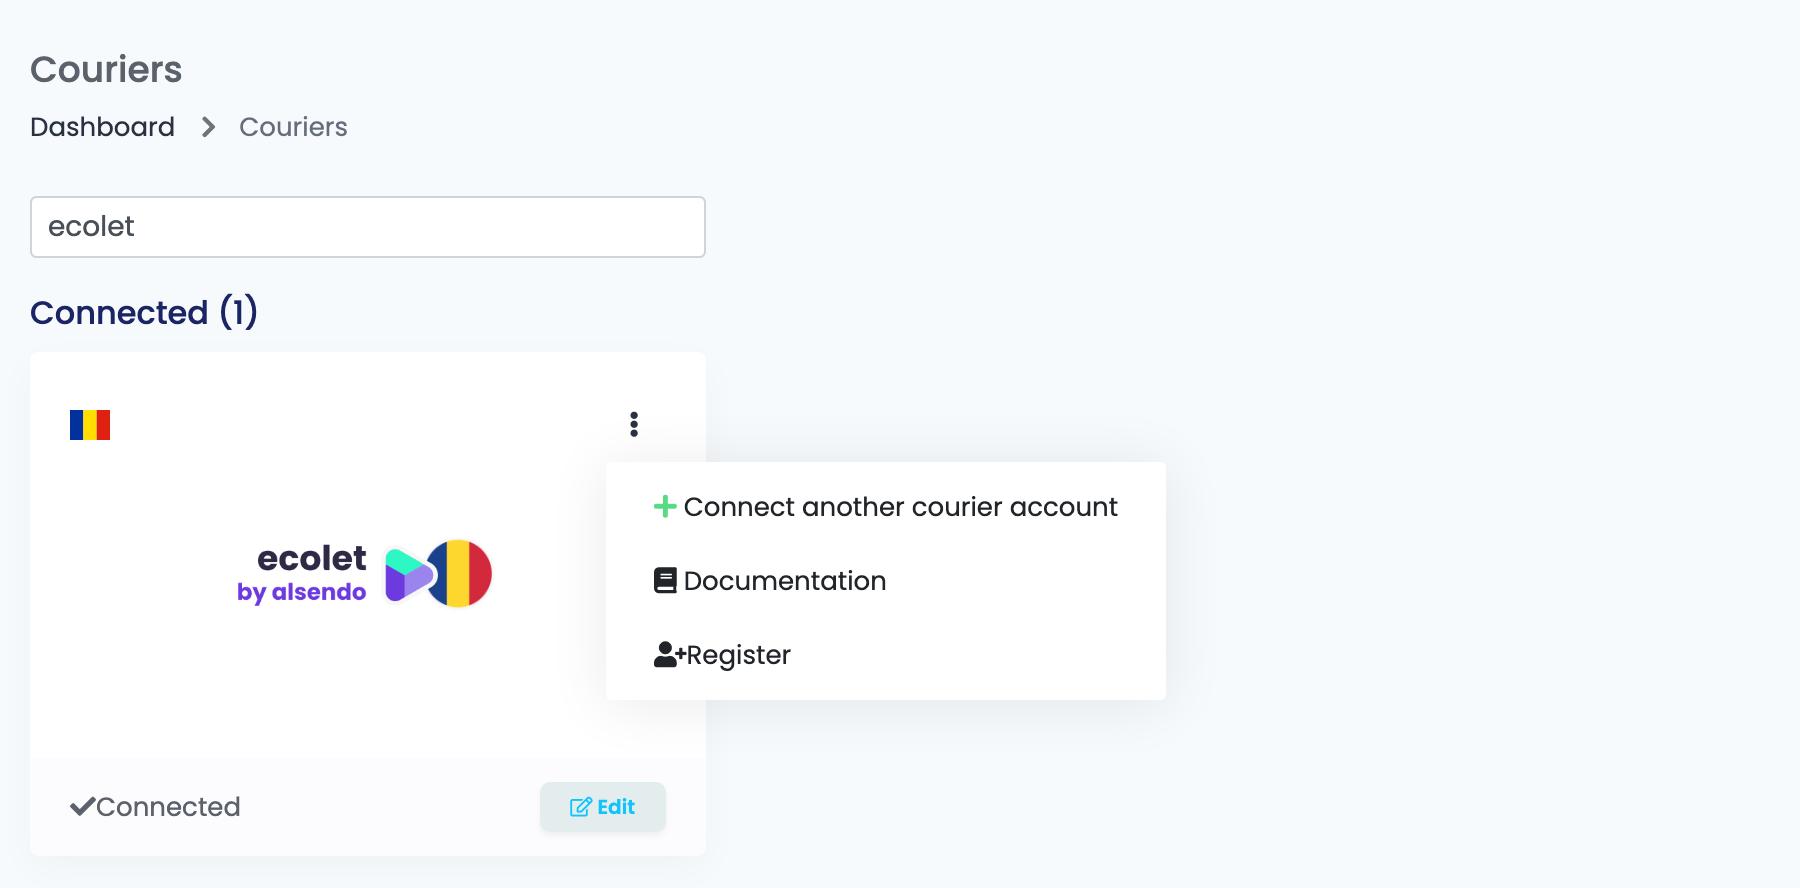
A seller who sends home deliveries with one courier and locker orders with another needs two Ecolet connections, because the courier and the service belong to the connection. Open the ⋮ menu on the Ecolet card and choose Connect another courier account, or open an existing connection and press Clone to copy all of its settings and change the one field that differs.
You then choose between them by Connection Name when you create the AWB.
When a shipment is refused
A shipment goes through two gates. Ecolet checks it first, and answers immediately. The courier behind it checks it a moment later, and that answer arrives a few seconds after you press the button — which is why an AWB can look accepted and then fail.
| Message | What it means |
|---|---|
The field phone number must be between 5 and 15 digits.
|
The customer's — or your own — phone number is too short, too long or not digits. Correct it on the order, or in the connection for the sender. |
The field post code is required.
|
The order has no postal code. Ecolet will not take a shipment without one. |
The field email is required.
|
The order carries no e-mail address. Fill in Fallback email under Show advanced options so this stops happening. |
Receiver locality not found.
|
The city on the order is not one Ecolet recognises, usually a spelling that differs from the official name. Correct it on the order. |
Recipient Street: Maximum field length is 50
|
The courier behind Ecolet, not Ecolet. That courier will not accept a street line longer than 50 characters — shorten it on the order. |
Recipient Post code: Invalid post code
|
Also the courier's own answer: the postal code is present but does not belong to the locality on the order. |
Collection time is after courier address serving deadline.
|
Your Pickup hour is later than that courier serves your address. Move it earlier, or add a day to Days until pickup. |