How to set up printers in easySales: the desktop printer app, tokens and print jobs
Print AWB labels, invoices and order PDFs straight from easySales. Install the easySales desktop printer app on the PC connected to your printer, link it with two tokens, and easySales sends print jobs that the app pulls and prints automatically.
Printing in easySales isn't a browser print dialog or a third-party agent like PrintNode. It's a pipeline of its own: a server-side queue of print jobs on the easySales side, and a proprietary easySales desktop printer app running on the computer physically connected to your printer. easySales drops a job in the queue; the desktop app pulls it down and prints it. That split lets you print an AWB label or invoice the instant an order is processed, without standing at the machine.
This guide covers the whole setup: adding a printer and getting its two tokens, installing the desktop app, configuring print options, the three ways to trigger a print, watching your print jobs, and how sub-accounts see a default printer.
What the easySales printer integration does
The integration has two halves that talk to each other.
On the easySales side, whenever you print an AWB label, invoice or order PDF, easySales doesn't push it straight to a device. It creates a print job and parks it in a queue tied to a specific printer.
On your side, the easySales desktop printer app (Windows, macOS and Linux) runs on the PC the printer is plugged into. The app polls the easySales server on a set interval — every 1, 2, 5, 10, 30, 60 or 120 seconds, 5 by default — for jobs waiting on its printer, then pulls them down and prints them. This is a pull model, not a direct or browser print: nothing prints unless the desktop app is running and polling.
So the printer doesn't have to sit on the same machine as the person clicking print. Someone can process orders from a laptop while the labels come out of a warehouse printer — as long as the desktop app runs on the warehouse PC and points at your account.
This applies to document printers — label and A4 printers for AWBs, invoices and order PDFs. Fiscal printers (for fiscal receipts) are a separate device with their own setup; see the related guide at the end.
Before you start
You need two things in place:
- A printer physically connected (USB or network) to a computer you control, and that prints fine from that computer's own operating system.
- That computer running Windows, macOS or Linux — the easySales desktop printer app ships for all three.
You'll install the desktop app on that computer. With several printers on different machines, run the app on each machine and add each printer in easySales.
Step 1: add a printer in easySales
From the sidebar, open Integrations → Printers. This page lists the printers you've added and lets you add new ones.
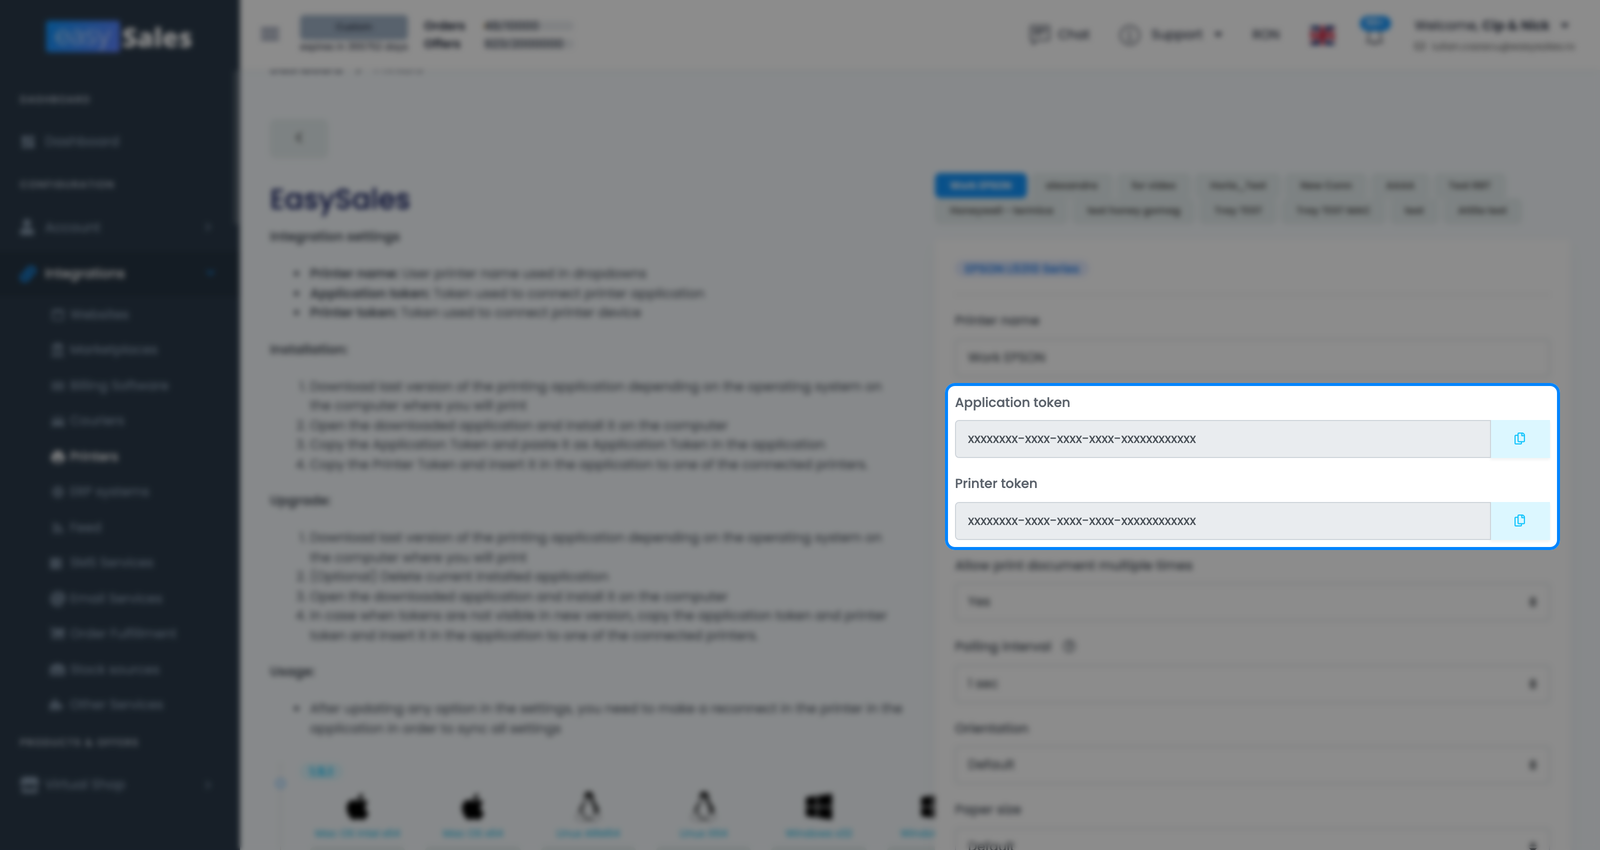
Add a printer and easySales hands you two tokens — an Application token and a Printer token. You'll paste these into the desktop app next, so keep this screen handy (or copy them somewhere safe).
Understanding the two tokens
The mnemonic is one Application token per app and one Printer token per physical printer — the Application token answers "whose account?" and the Printer token answers "which printer?". That means a second printer needs its own Printer token, but still shares the same Application token: three printers, three Printer tokens, one Application token.
Step 2: install the desktop printer app
Download the easySales desktop printer app for your operating system and install it on the PC connected to the printer. The Windows, macOS and Linux downloads are offered from the printers area.
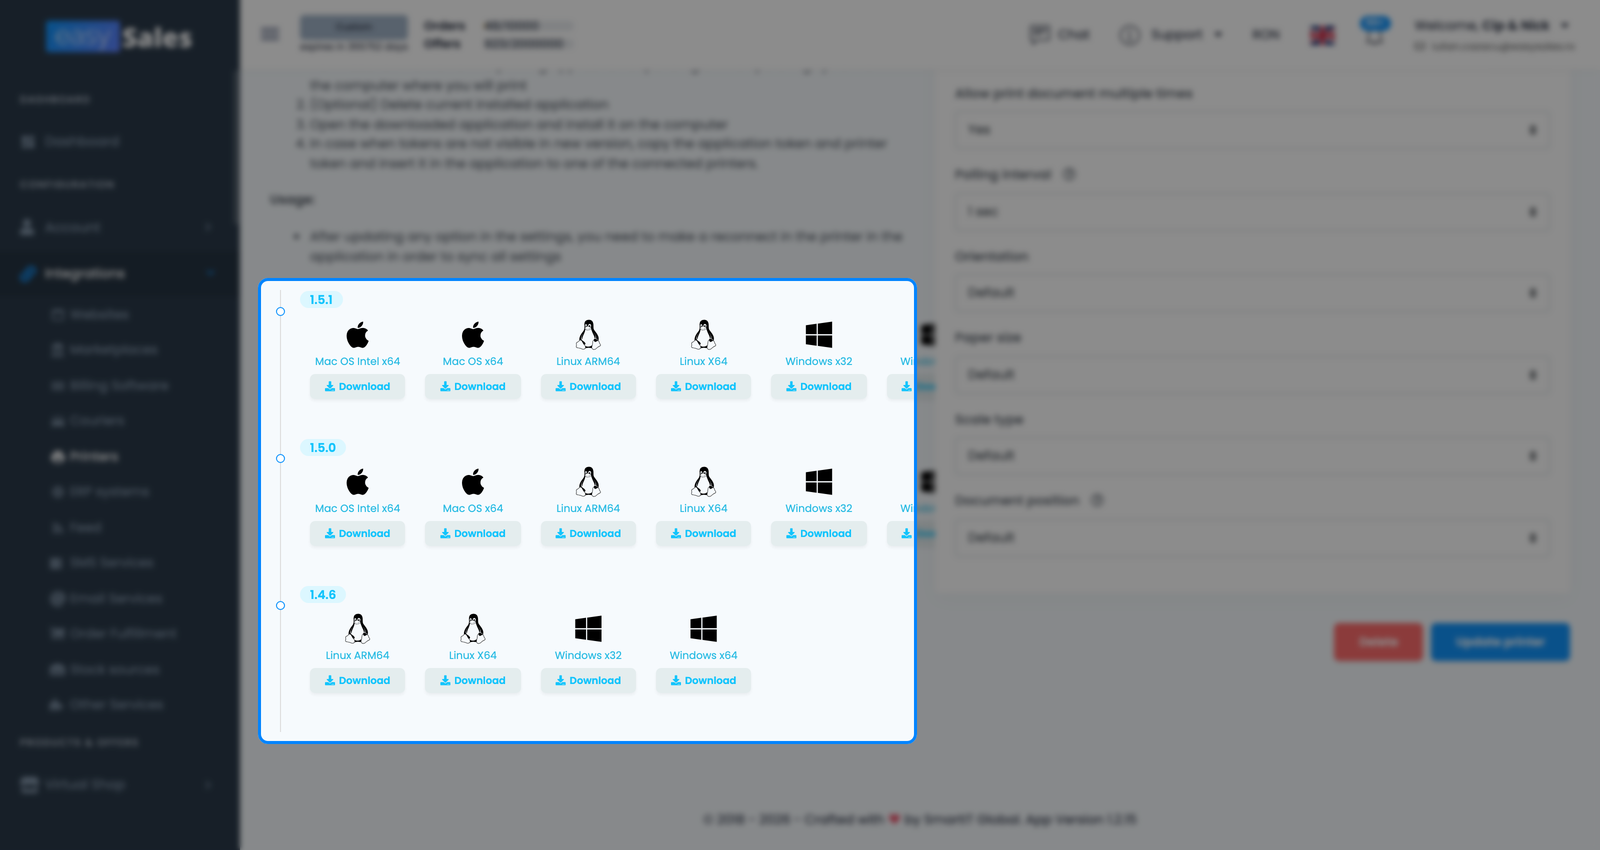
Open the app and enter your Application token (to connect the app to your account) and the Printer token for the printer this machine drives. Hit Connect printer to register the printer and start polling for jobs. From there the app sits quietly in the background, checking the server on its polling interval and printing anything queued for that printer.
Updating the app
The desktop app updates independently of the easySales web app. If printing misbehaves after a long time, or a new version is released, install the latest build from the same download options and reconnect the printer. A current version avoids printing glitches caused by an old build.
Step 3: configure print options
Each printer has its own print options on its settings, controlling how the document comes out of that device. Hit Update printer to save changes.
| Print option | What it does |
|---|---|
| Printer name | A label for the printer so you can recognise it when choosing where to print |
| Orientation | Default, Portrait or Landscape for the printed page |
| Paper size | The paper or label format, from A2 to A6 — match it to your label stock |
| Scale type | Default, or Fit page size to scale the document to fit the paper |
| Document position | Where the document sits on the page — available only on Linux and macOS (UNIX-only) |
| Polling interval | How often the desktop app checks for jobs (1, 2, 5, 10, 30, 60 or 120 seconds; default 5). Lower picks jobs up faster but polls more often |
| Allow print document multiple times | Off by default — a guard that prevents the same document being queued and printed twice |
Most printers run fine on the defaults — the ones you'll usually touch are Paper size (to match your label stock) and Polling interval (if you want jobs picked up faster). Leave Allow print document multiple times off unless you have a reason to change it: it guards against printing the same document twice.
Reconnect after changing settings
There's one easy-to-miss step here.
Printing documents
Once a printer is set up and the desktop app is connected, you can print AWB labels, invoices and order PDFs three ways.
A single order
Open the order and print straight from the document you want. Next to the generated invoice, open its dropdown (the small arrow beside the invoice button) and choose Send invoice to printer; next to the AWB, open its dropdown and choose Send awb to printer. Either way easySales opens the Select printer dialog — pick the printer that should handle it. easySales then queues a print job and the desktop app prints it on its next poll. A small printer badge appears on the document afterwards, showing how many jobs were queued and whether any failed — click it to see their status without leaving the order.
In bulk
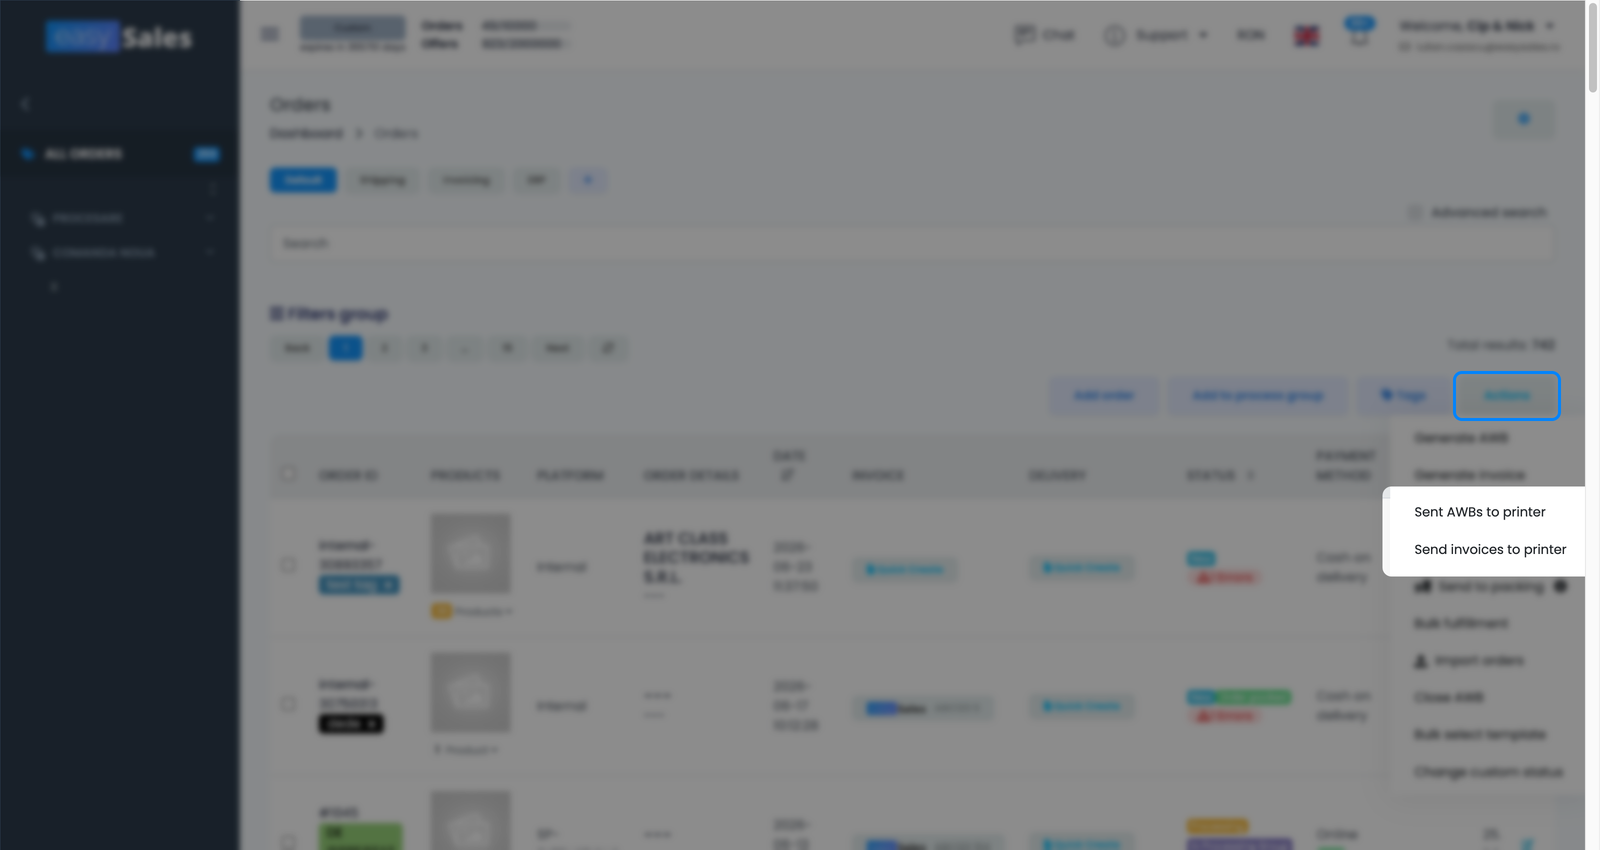
Select several orders, open the Actions menu and choose Send invoices to printer or Sent AWBs to printer to print their documents together — handy at pack-and-ship time when you want every label for a batch in one go. easySales queues one print job per document, and the desktop app prints them as it pulls them down.
Automatically with flow actions
You don't have to click print at all. easySales automation flows can run actions that print the invoice, AWB or order PDF automatically when an order reaches a certain point — for example, printing the AWB label the moment an order is marked for shipping. The flow action queues the print job exactly like a manual print, and the desktop app does the rest. Leave Allow print document multiple times off so a re-run of the flow doesn't print a duplicate label.
Monitoring print jobs
Every print — manual, bulk or flow-driven — becomes a print job you can track. From Integrations → Printers, open Printer jobs to see each one with its status:
- Sent — queued, waiting for the desktop app to pull it.
- In progress — the app has picked it up and is printing.
- Finished — the document printed successfully.
- Failed — something went wrong; the job didn't print.
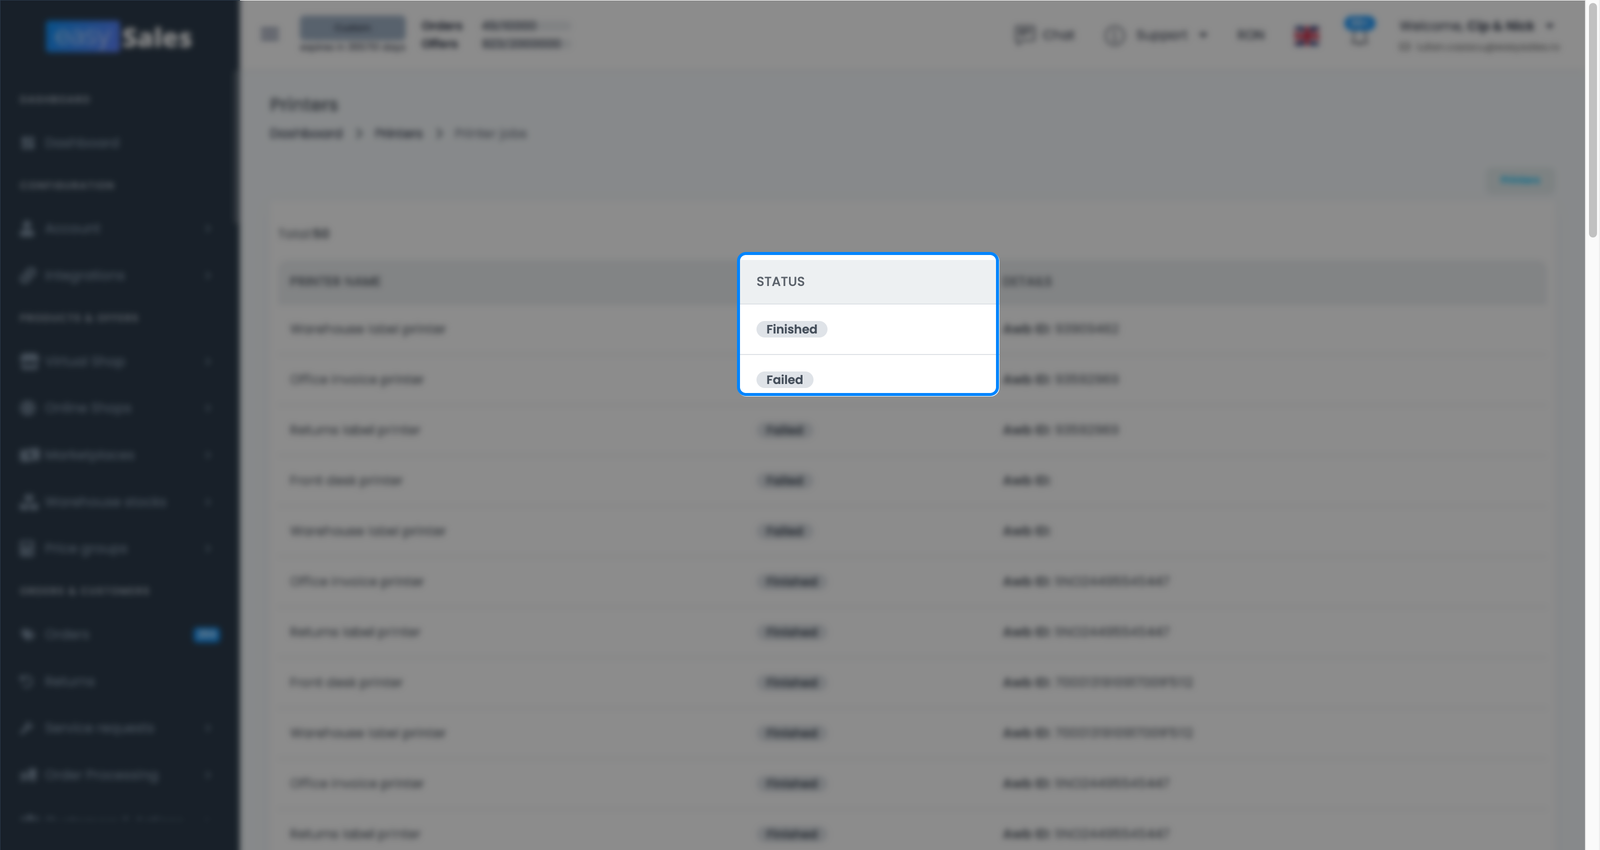
If jobs sit on Sent and never move, the desktop app almost certainly isn't running or polling — open it and reconnect the printer. Failed jobs point at a problem on the device or with the document itself.
Sub-accounts and default printers
If you run sub-accounts (team members with their own logins), printing respects their permissions. A member with the "use all printers" permission can pick any printer. A member without it only sees their assigned default printer and can't choose from the full list — keeping a warehouse member printing to the warehouse label printer and nothing else. Set the default printer for those members so their prints always land on the right device.
FAQ
The questions below cover what people most often hit once they're up and running.