How to connect Shoper with easySales: a complete setup guide
Connect your Shoper shop to easySales: the WebAPI administrator and its permissions, the Website URL, the shop details, what syncs each way and common refusals.
What connecting Shoper gives you
Shoper is a Polish online-shop platform. Connected to easySales, your Shoper shop sends its products and orders to easySales: the products become your easySales catalogue, ready to be listed on marketplaces, and the orders arrive in easySales, where you issue their invoices and AWBs. easySales sends the stock back to Shoper and tells Shoper when an order is completed or cancelled.
Three things to know before you begin:
- easySales connects through a WebAPI administrator, not your own panel login. You create a separate administrator in Shoper with WebAPI access and the permissions easySales needs, then enter its login and password in easySales.
- The Website URL is the address of your Shoper shop, without a slash at the end — your own domain, or the
shoparena.pladdress, for examplehttps://sklep123456.shoparena.pl. - Every variant needs its own code. easySales identifies each product by its code (SKU): a product whose code changes in Shoper arrives as a new product.
Before you start
Access to your Shoper admin panel
To create the WebAPI administrator.
Your shop's address
Your own domain or the shoparena.pl address.
A unique code on every variant
easySales identifies each product by it.
Step 1 — Create a WebAPI administrator in Shoper
- In the Shoper admin panel, go to Ustawienia → Ogólne → Administratorzy sklepu.
- Press WIĘCEJ, then Dodaj grupę administratorów. Name the group, choose the access type dostęp do webapi and press ZAPISZ.
- On the group's Uprawnienia tab, allow the sections easySales works with — see the list below.
- On the Administratorzy tab, press DODAJ ADMINISTRATORA, choose a login and a password, and put the administrator in the new group.
| Allow reading | Allow changing |
|---|---|
| Products, categories, attributes, options, stock and images | Product stock |
| Producers, taxes and deliveries | Orders and their products |
| Orders, order statuses, shipping and payments | Webhooks |
Step 2 — Add the shop in easySales
Go to Integrations → Websites and press Connect a Website.
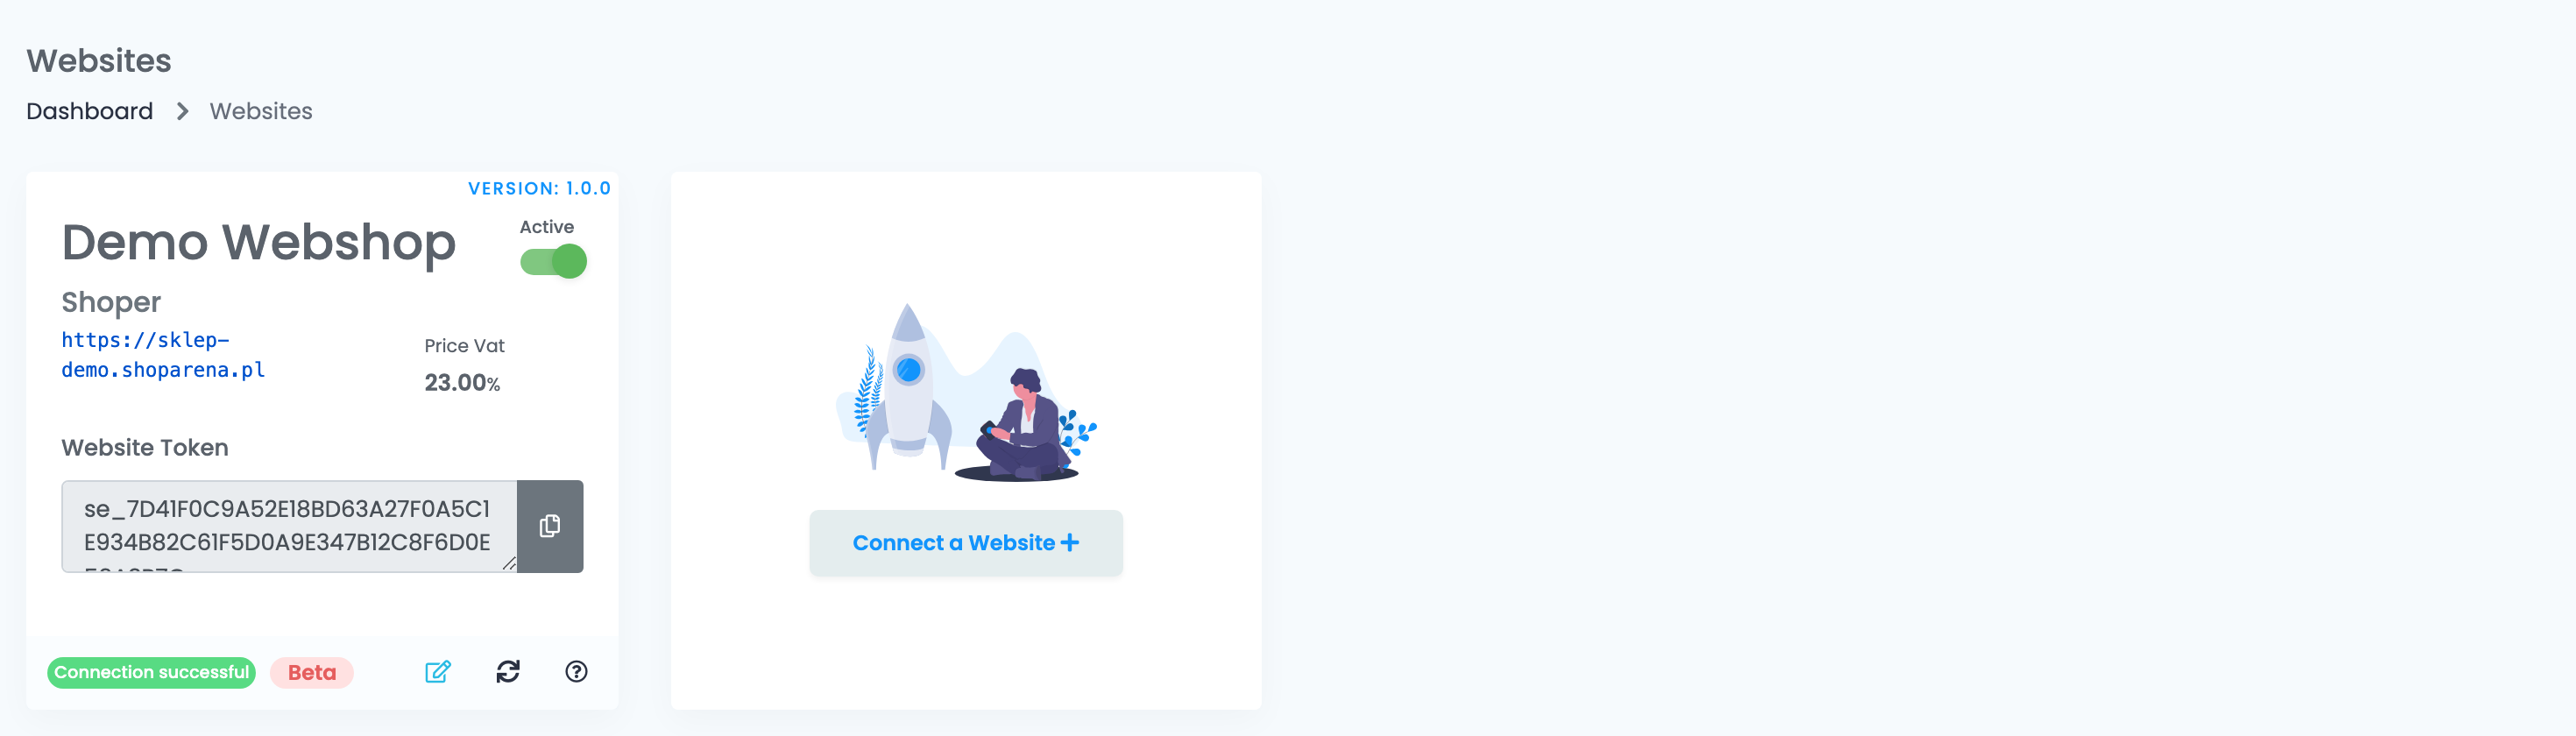
Fill in the shop's details:
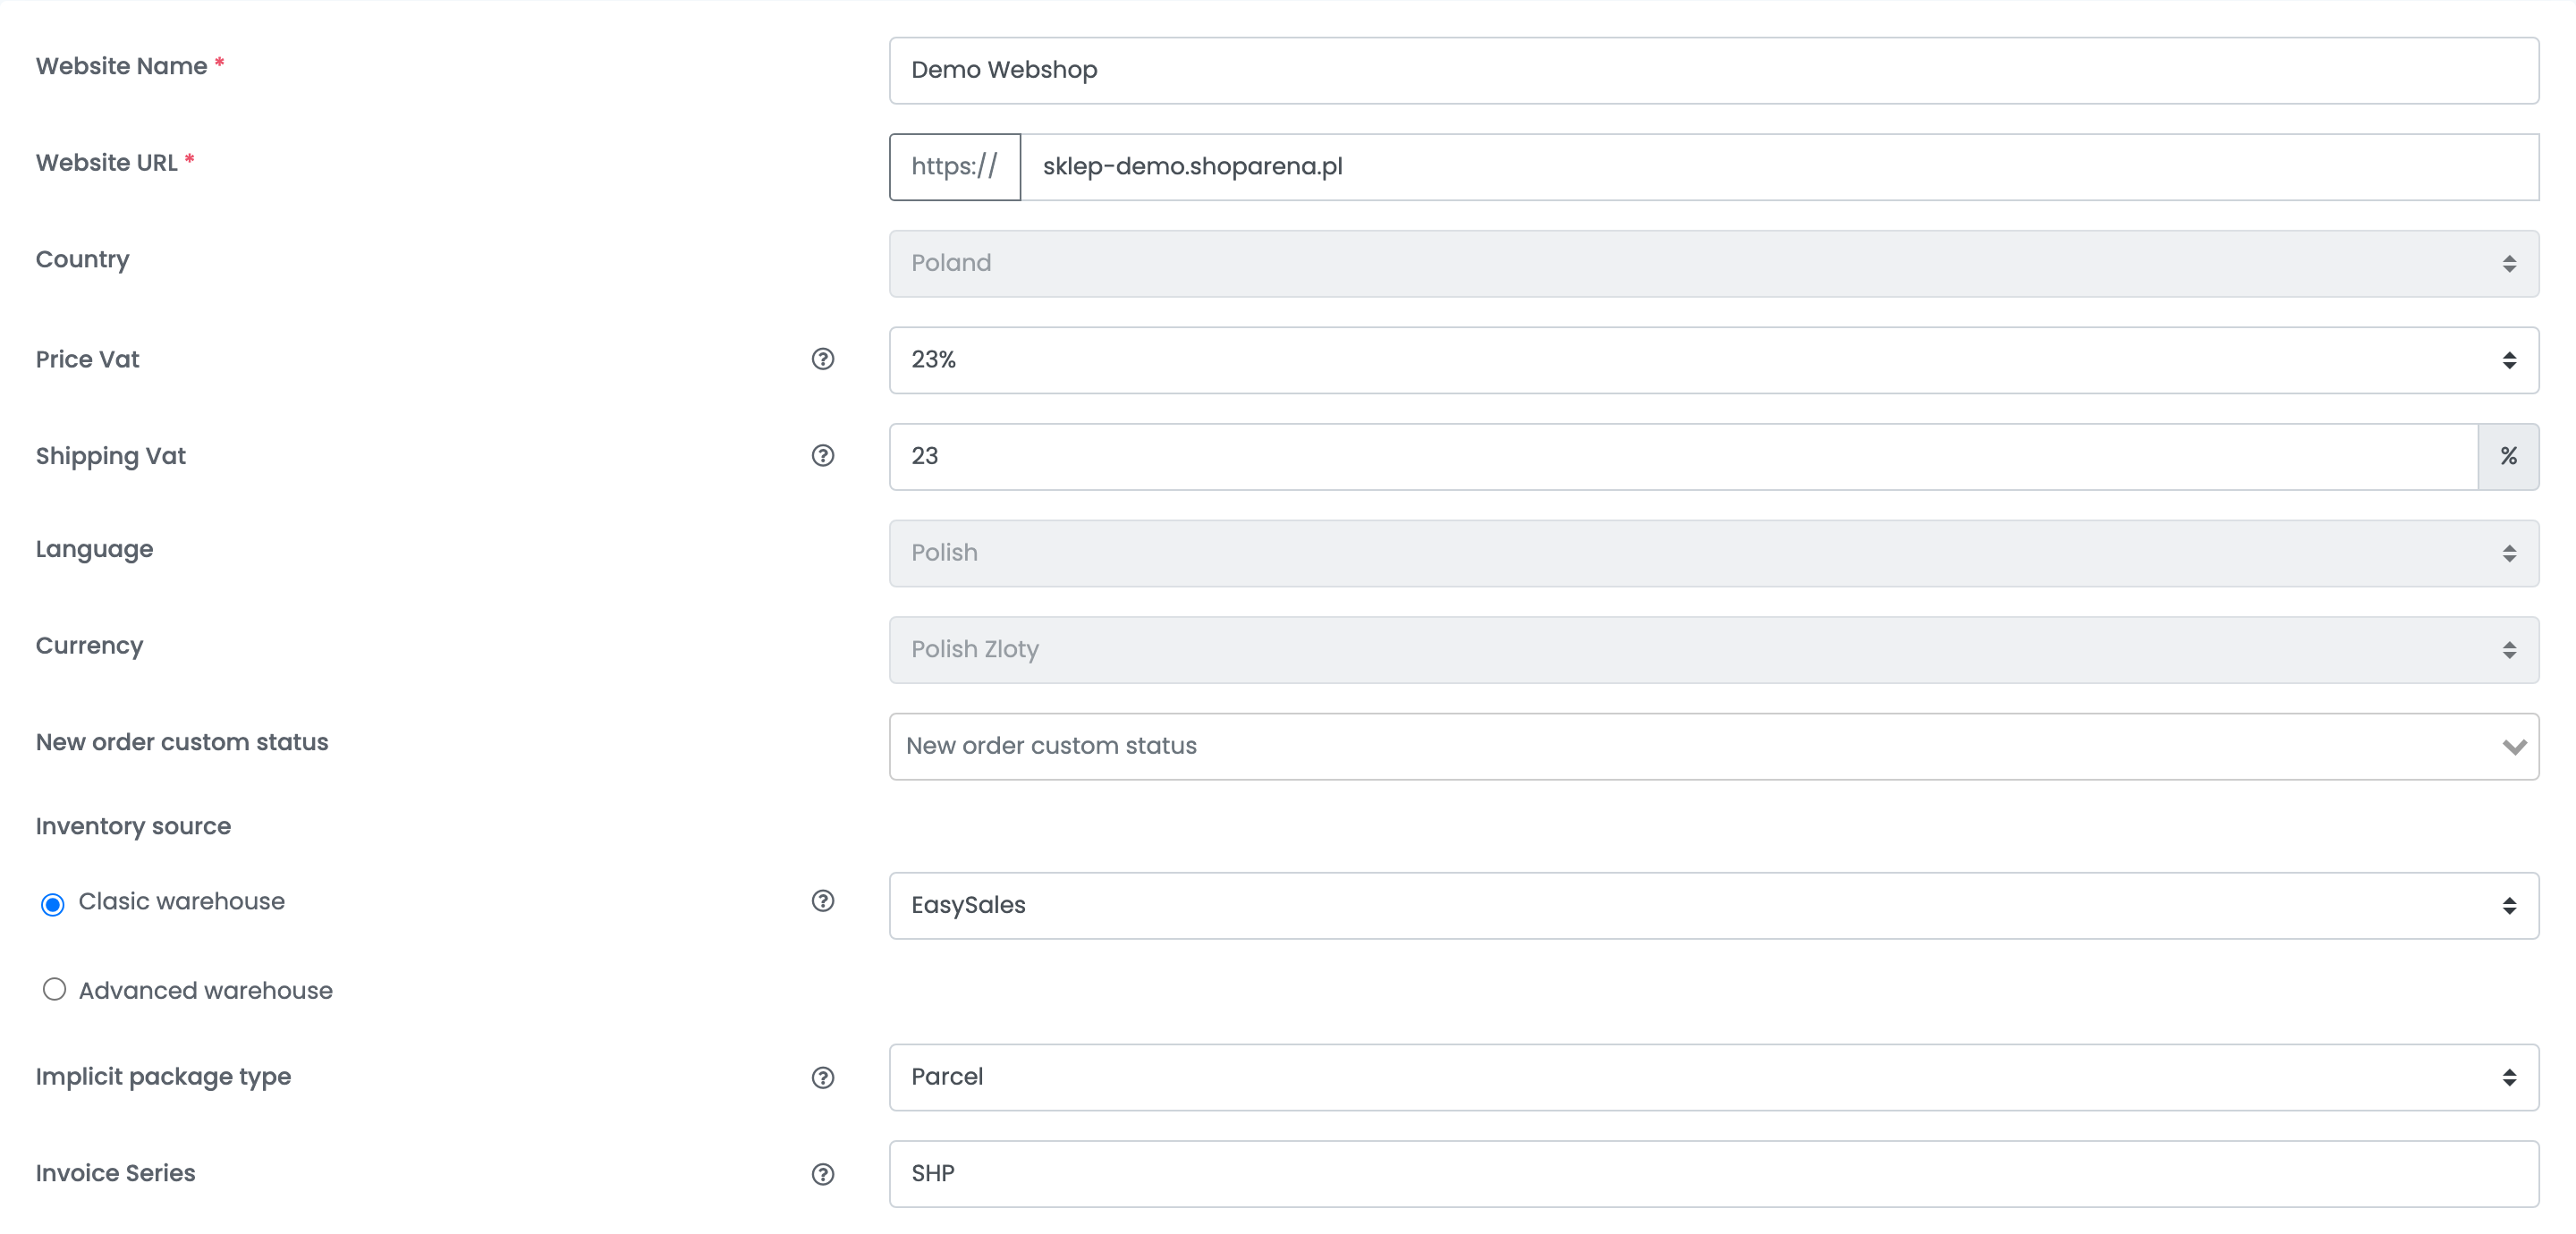
| Field | What goes in it |
|---|---|
| Website Name | A name for the shop, used inside easySales. |
| Website URL |
Your shop's address — your own domain or the shoparena.pl address — with no slash at the end.
|
| Country | The shop's country, Poland. |
| Price Vat | The VAT rate included in your Shoper prices, usually 23%. |
| Shipping Vat | The VAT rate of shipping. |
| Language, Currency | The shop's language and currency. |
| New order custom status | Optional: the custom status new Shoper orders get in easySales. |
| Inventory source | Where the shop's stock is kept: Clasic warehouse with a source such as EasySales, or Advanced warehouse. |
| Implicit package type | The package type new orders get, used when you create their AWBs. |
| Invoice Series | The series of the invoices you issue for this shop's orders. |
Step 3 — Choose Shoper and enter the WebAPI login
Below the details, choose the Shoper tile, then the Shoper version.
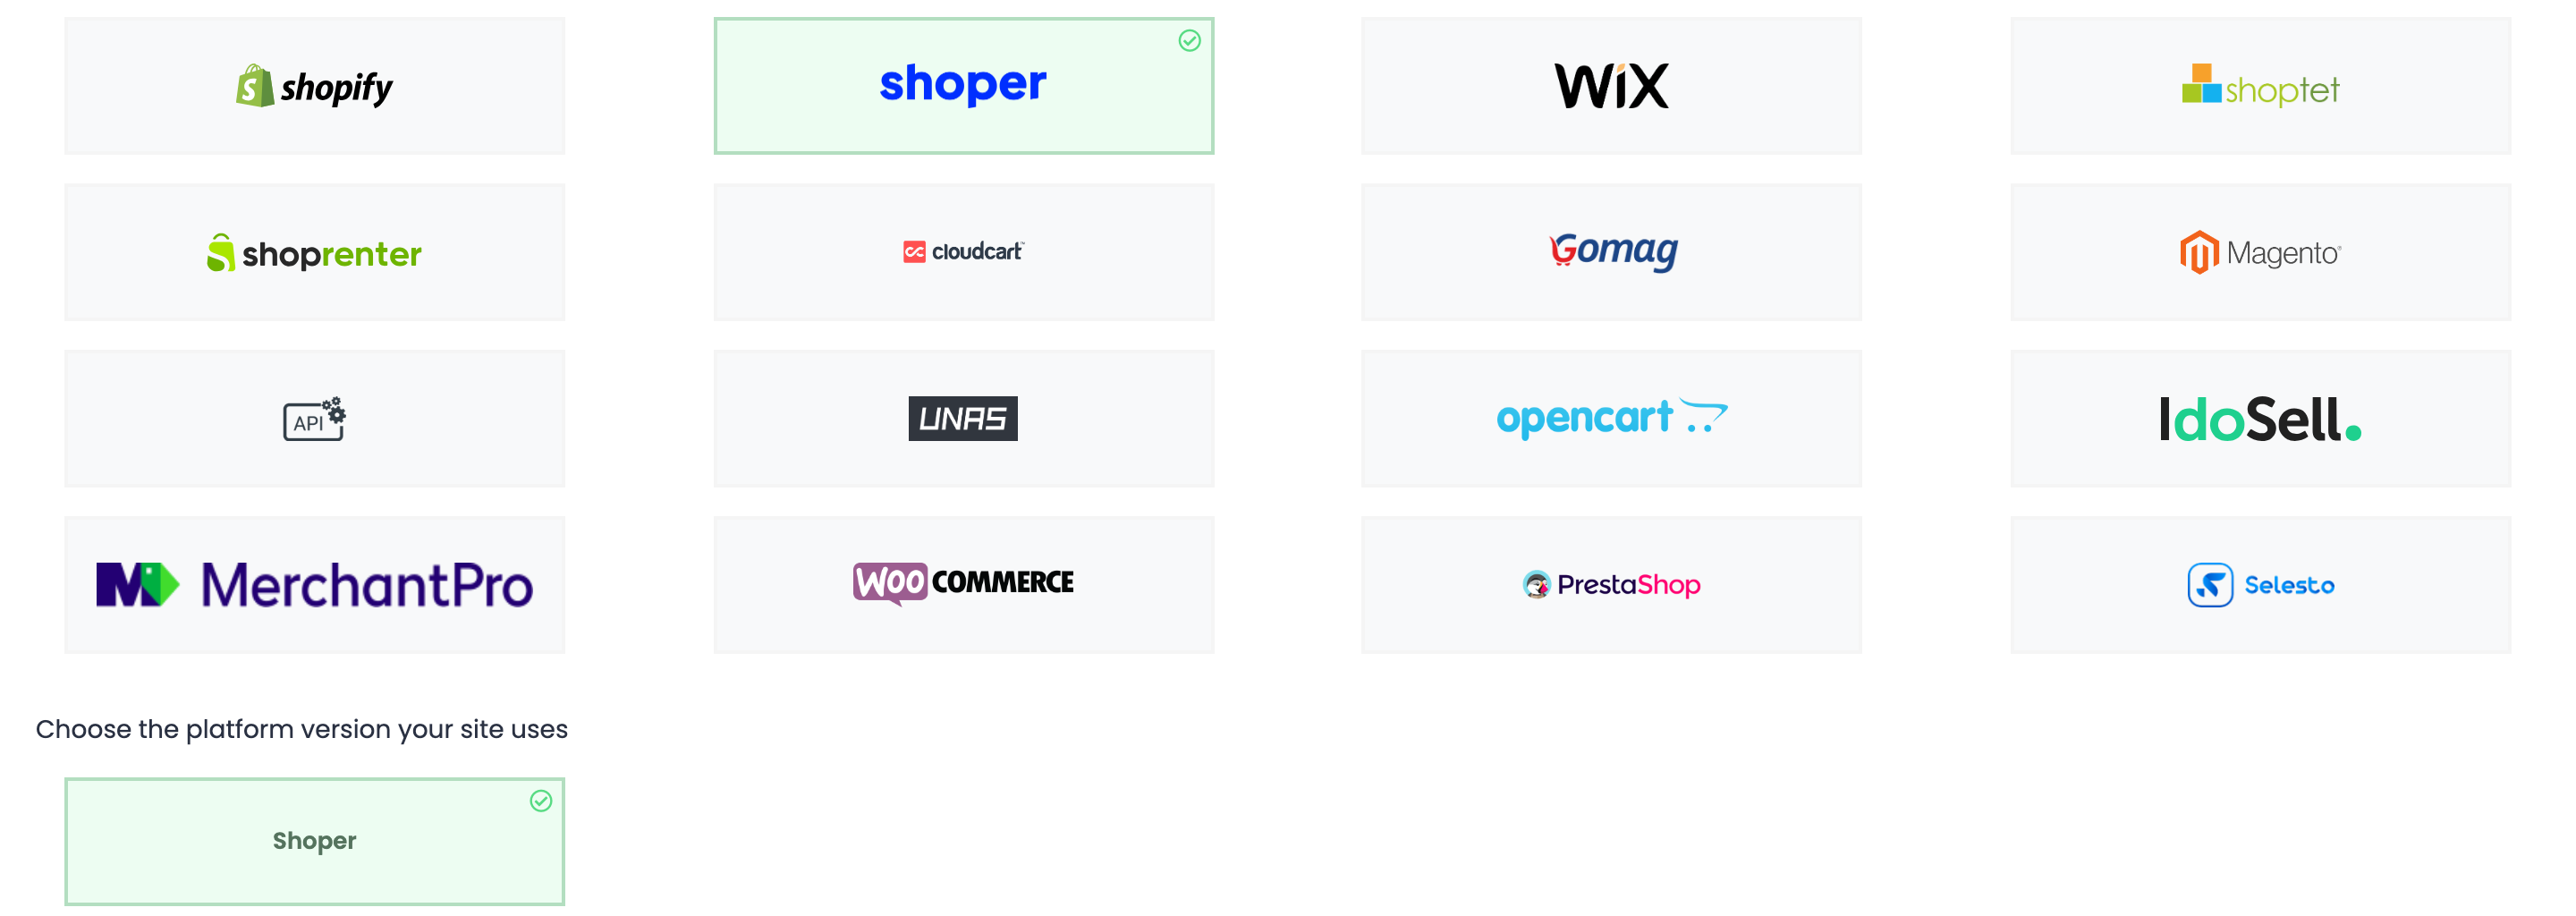
On the Details tab, enter the Username and Password of the WebAPI administrator from step 1 and press Save.

When the connection succeeds, easySales starts reading your shop's categories, products and orders.
What syncs
| From Shoper to easySales | From easySales to Shoper |
|---|---|
| Categories and products, with prices, images, descriptions and attributes | Stock |
| New and updated orders | The order status, when you complete or cancel an order |
- Products: every variant with a code becomes a product of its own in easySales. Names and descriptions are taken from the Polish version of the shop.
- Order statuses from Shoper: completed orders arrive as completed, cancelled orders as cancelled, returns as returns, and every other status as new.
When something is refused
Products easySales could not accept are listed in the shop's website errors, with the reason:
| Message | What to do |
|---|---|
| The product.handling time must be at least 1. | The product has no delivery time in Shoper. Set one of at least one day. |
| The product.characteristics.0.value field is required. | An attribute of the product has no value. Fill it in Shoper or remove it. |