How to manage your team in easySales: roles, permissions and inviting members

Add colleagues to your easySales account as team members and control exactly what each one can see and do. Manage your team covers roles, the granular permission set, plan limits, the invitation flow, order-status access, per-member default printers and how to revoke or reactivate access.
Running an account solo works fine until someone else needs in — a colleague who handles orders, an accountant who only touches invoices, a warehouse person who just prints labels. The real question is never "how do I add them"; it's "how much do I let them see and do". That's what My team is for: it turns a single login into a controlled set of team members, each with exactly the access you decide.
This guide follows that idea. We'll cover where My team lives and who can open it, the plan limits on how many people you can add, how to invite someone, the roles and granular permissions that do the real work, how to restrict a member to specific order statuses, the per-member default printer, saving permission presets to reuse, and how to revoke or reactivate access later.
My team is the sub-accounts feature. From the sidebar, go to Account → My team. The page is visible only to the account owner — your team members never see it, which is exactly why their access is yours alone to control.
What "My team" lets you do
A team member is a sub-account under your main account. They log in with their own credentials and work inside the same data you do — your orders, products and offers — but only the parts you've granted. There is one account owner: you, the subscription holder and the only one who can open My team, invite people and change what everyone else can do.
The feature isn't really about "inviting a colleague" — it's access control. Two members on the same account can have completely different experiences: one sees a full menu and can do almost everything, another sees three menu items and can only look. You decide that per member, and you can change it any time.
Before you start: plan limits
The most important thing to know before you invite anyone: team members are governed by your subscription plan. This is where most surprises come from.
If your invite button is greyed out or an invitation won't send, this is almost always why — you've hit the number of team members your plan allows. Upgrading raises the limit.
Inviting a team member
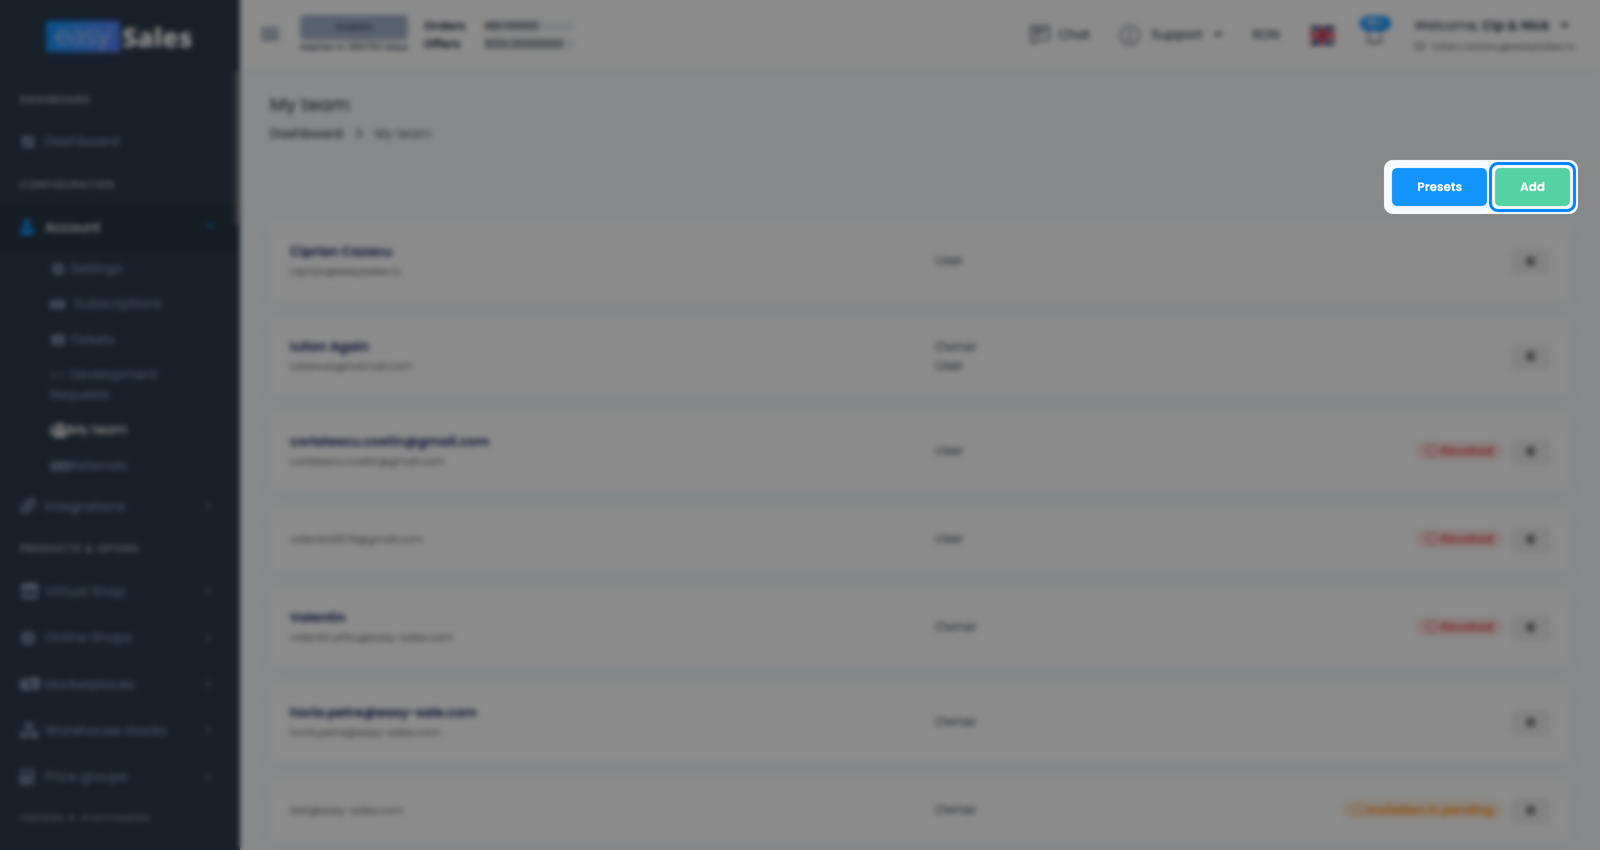
You add people from the team page. Open Account → My team, then choose Add to start a new member.
Sending an invitation
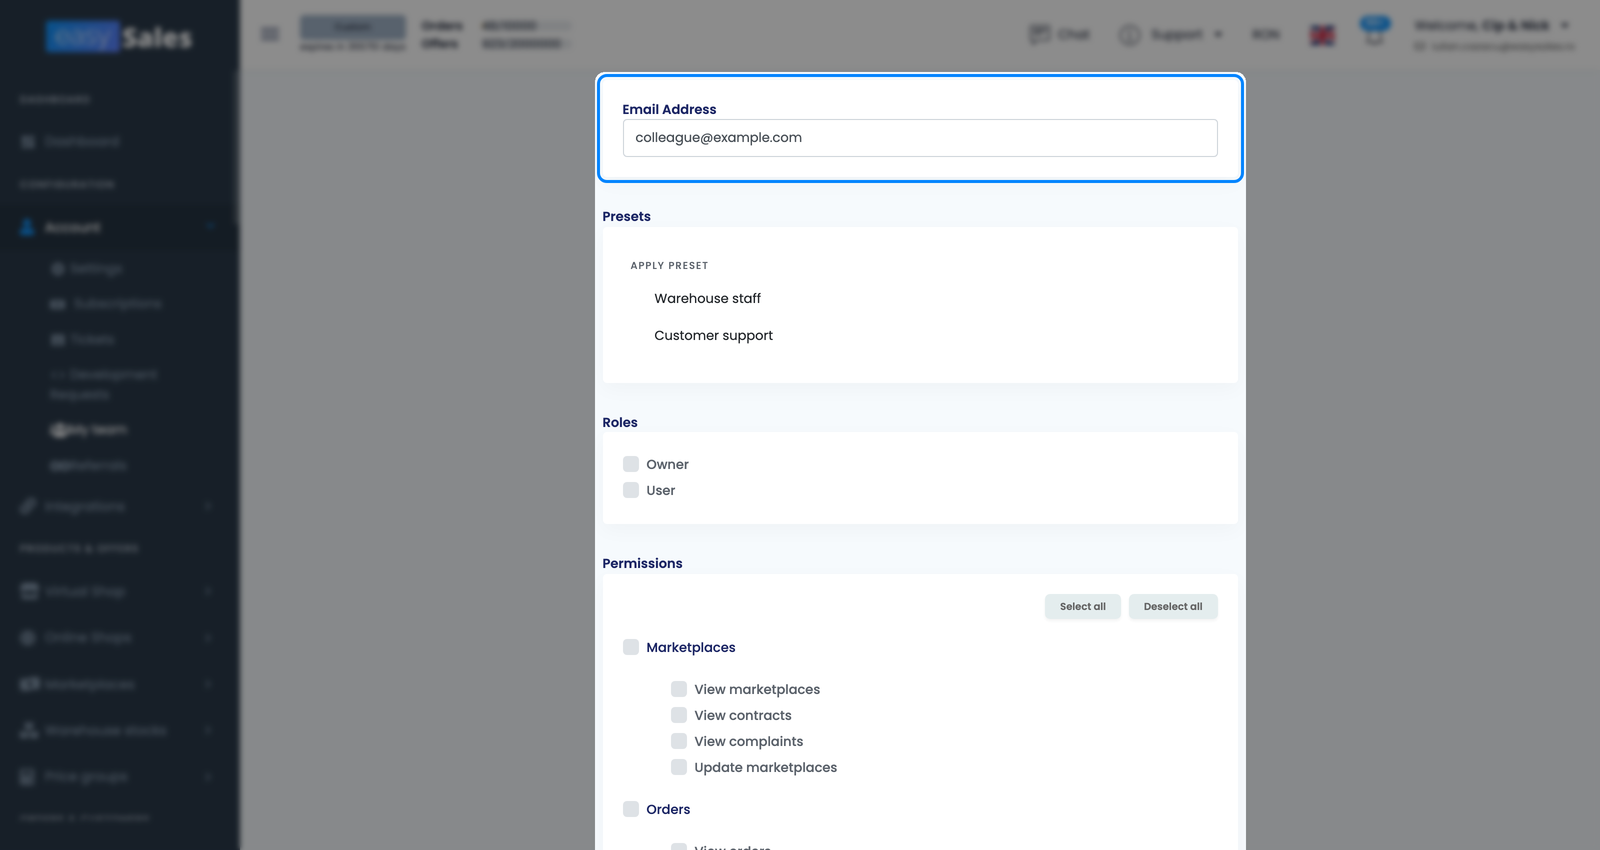
The form asks for the new member's Email Address — the address they'll log in with. Set up their access (roles and permissions, covered next; you can also apply a saved preset here) and choose Send invitation. easySales emails an invitation to that address. Until the person accepts, the member shows on your team list with an "Invitation in pending" badge.
What the invited person sees
The colleague receives an email with a link. They open it, set their own password, and from then on log in with their own credentials at a separate team login — not your main login or your password. They never see your billing or your My team page; only the parts of easySales you granted them.
Resending
If the email gets lost or the person doesn't act in time, you don't have to start over. While a member is still pending, choose Resend invitation on their team-list entry to email the same address again.
Roles and permissions
Access is built from two layers: a Role and a set of Permissions. The role is mostly a label; the permissions decide what a member can actually see and do.
Owner vs User
You can assign a member one of two roles: Owner or User. They behave differently. Owner is the full-access shortcut: tick it and every permission is switched on for you and the permission checkboxes are locked — an Owner member can do everything. User is the normal role, where the permissions you tick are what govern the member's access. So for anyone who shouldn't have the run of the whole account, leave them on User and grant only the permissions they need.
Permission groups
easySales has around 120 individual permissions — far too many to set one by one — so they're organised into groups. Each group covers one area of the platform, and within it you toggle what a member may do: view, create, edit, delete, export, and so on. Here are the main groups you'll work with.
Orders
Viewing, editing and processing orders — the day-to-day order work.
Products
Managing the product catalogue: details, stock and product data.
Offers
Working with marketplace offers — prices, availability and listings.
Marketplaces
Access to your marketplace integrations and their settings.
Invoices
Issuing and managing invoices and billing documents — ideal to grant on its own to an accountant.
Couriers
Generating and managing shipping labels and courier accounts.
Returns
Handling returns and the related order flow.
Feeds
Viewing and updating the product feeds that supply your channels.
Custom Statuses
Which order statuses a member may work with (the order-status access covered below).
Account & API
Account settings, tickets and webhooks, plus API access for integrations.
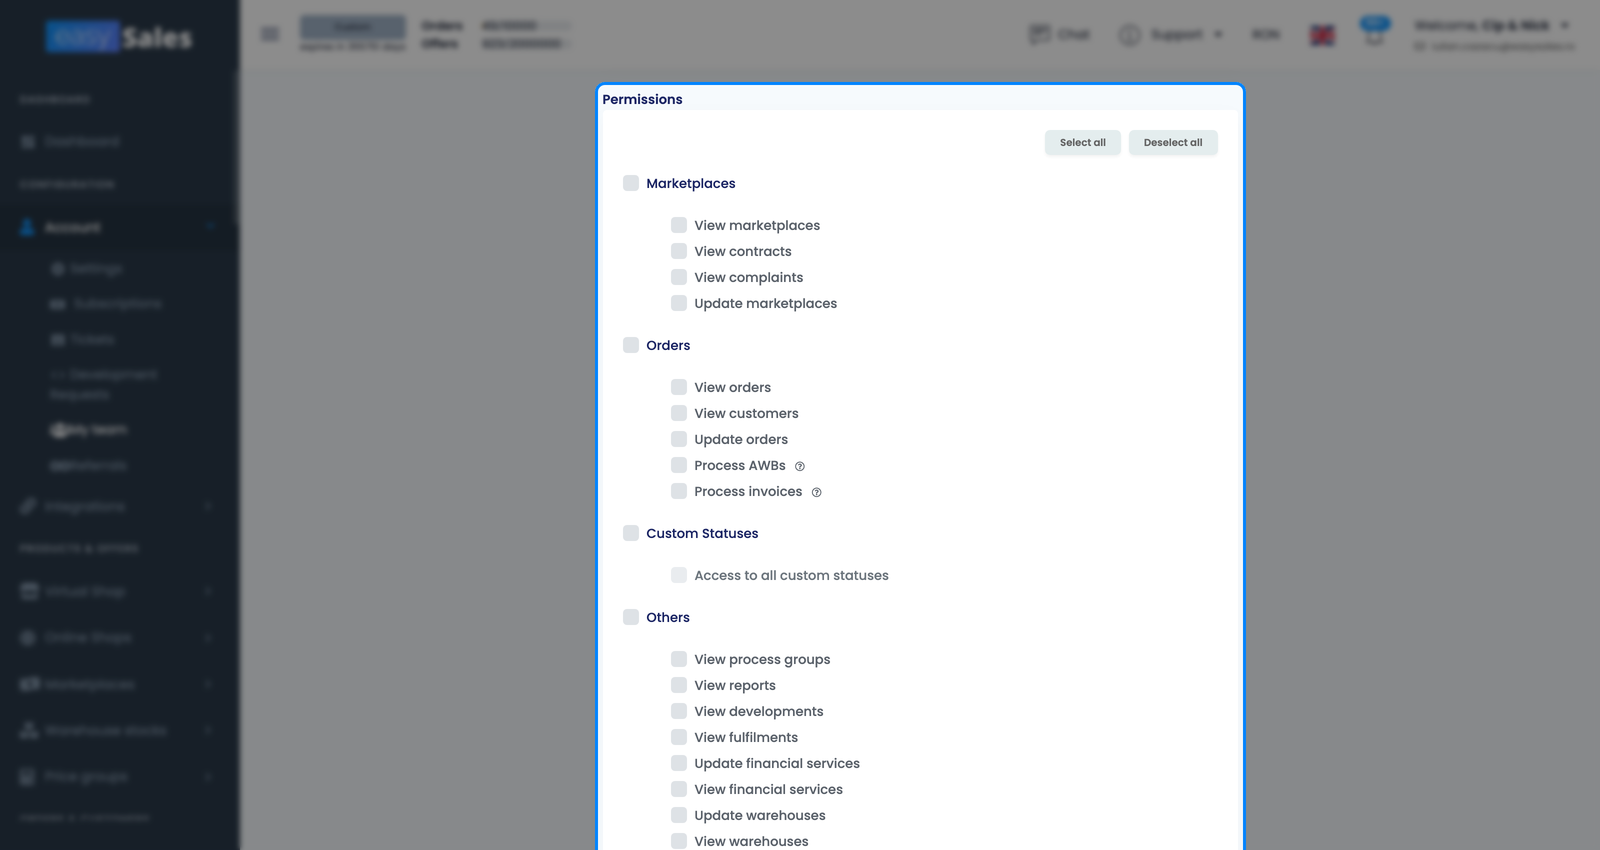
You don't have to touch every group. A common pattern is to leave most off and switch on only the area a member needs — an accountant gets invoices and little else; a packer gets orders, couriers and printers.
How permissions hide menus and block actions
This is the behaviour to understand, because it's what people ask about most. A permission does two things at once. If a member lacks the permission for an area, the matching menu item simply isn't there — not greyed out, just absent. And even if they reach the page another way, the action itself is blocked. So "my colleague can't see the Invoices menu" and "my colleague can't create an invoice" are the same thing from two angles: the permission is missing.
The flip side is just as useful: grant the permission and both the menu item and the action appear. That's how you build a tailored, uncluttered workspace for each person instead of handing everyone the full platform.
Limiting access to specific order statuses
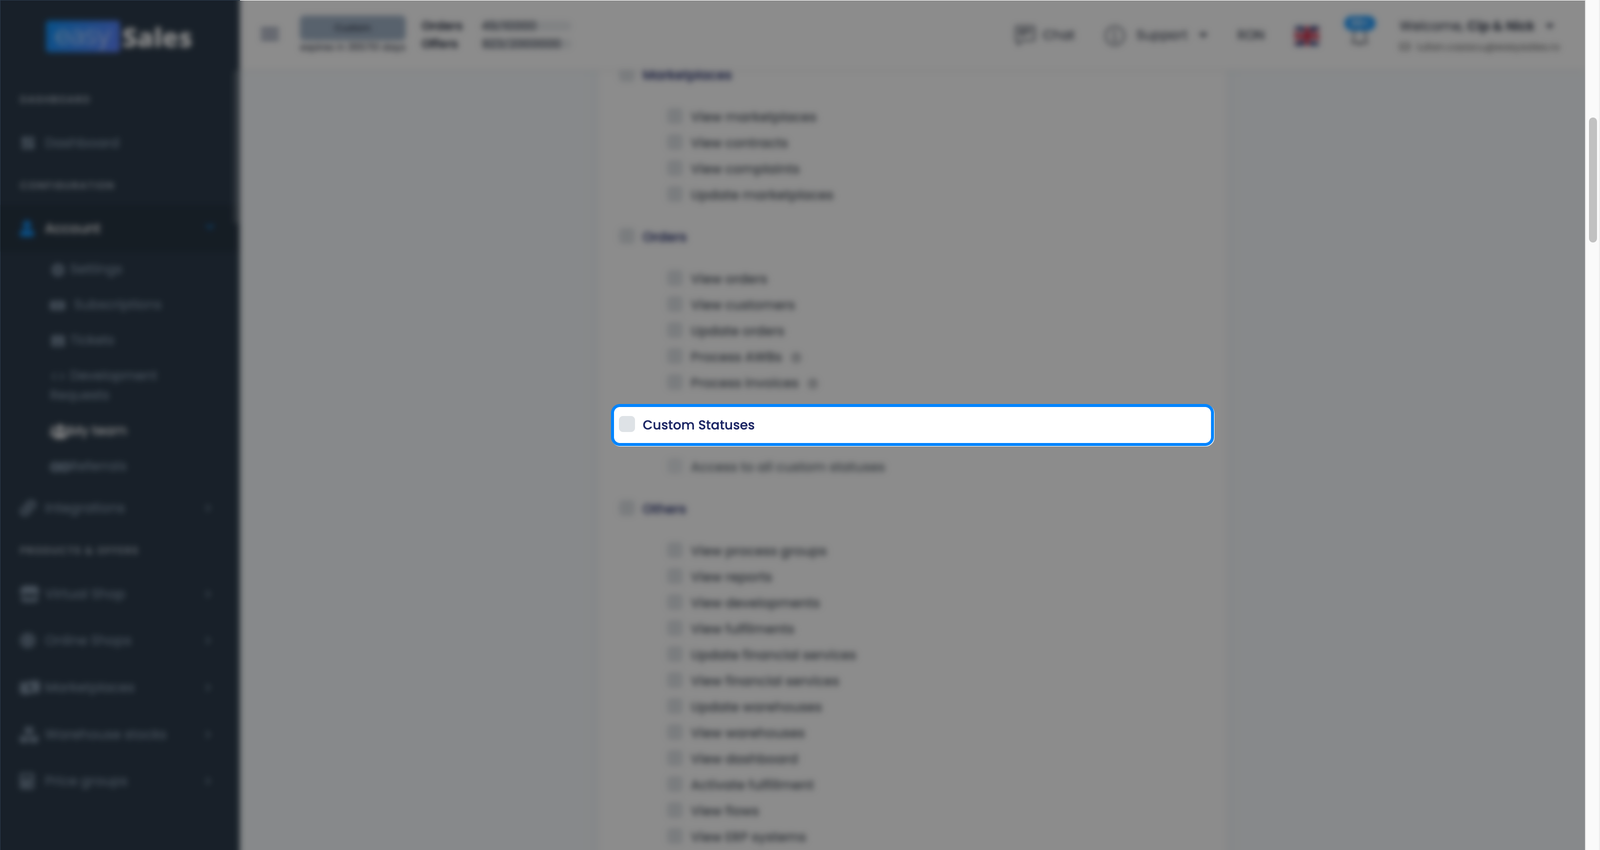
You can also narrow a member to specific order statuses. These appear as the Custom Statuses group in the permissions panel, just after Orders: tick Access to all custom statuses to allow every status, or leave it off and whitelist only the ones they should work with. A member limited this way only sees and works orders in the statuses you allowed — handy when a courier-desk colleague should only touch orders ready to ship, not new or cancelled ones.
Setting a default printer per member
Each member can have their own Default printer. Set it in their configuration and that printer is pre-selected whenever they print — labels, invoices, whatever they're allowed to print. The warehouse person on one machine and the office on another each print to the right device without changing settings every time.
Permission presets
Once you manage more than a couple of members, ticking the same boxes over and over gets old. easySales lets you save a roles-and-permissions combination as a named preset. Build the access once — a "Warehouse" preset, an "Accountant" preset — and apply it in one click when you invite or edit a member. A preset is a shortcut, not something the member sees: applying one simply fills in the roles and permissions you'd otherwise set by hand, and you can still adjust them afterwards.
Managing members: revoke and reactivate
People leave, swap roles, or just need a pause. From the team list you manage each member's access without deleting anything.
To stop someone's access, use Revoke access on their entry. They can no longer log in, and the member shows a "Revoked" badge. It's reversible — when you're ready to let them back in, Activate restores their access with the same permissions they had. Note that reactivating re-checks your plan limit: if your team is already at the plan's allowance, you'll need a free slot (or a higher plan) before a revoked member can return.
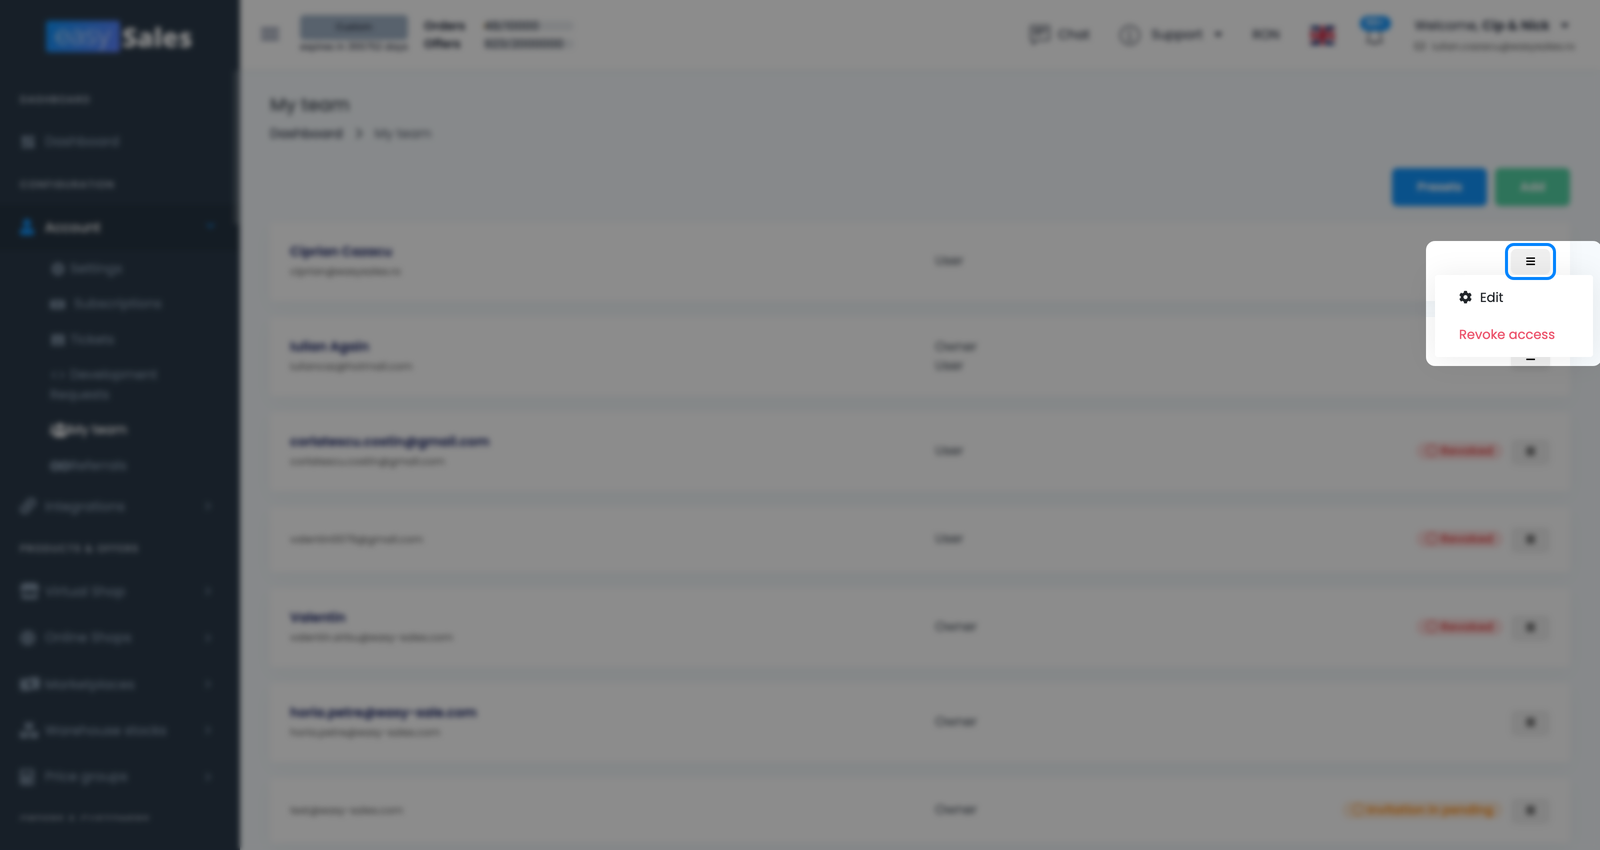
Between "Invitation in pending" for someone who hasn't accepted and "Revoked" for someone you've switched off, the team list tells you every member's state at a glance.