How to connect Packeta with easySales: a complete setup guide
Connect Packeta to easySales: the API password and sender indication, how the country filters the carrier list, what HD, PP and Box mean, which label to print, and what every Packeta refusal means.
What connecting Packeta gives you
Packeta is a network rather than a single courier: one account, and behind it the carriers Packeta works with in each country, plus its own pick-up points and lockers. With it connected, easySales creates the shipment, prints the label, follows the parcel and cancels one you no longer need.
The connection is short, and two fields on it decide everything: Country, which chooses the list, and Courier Account, which chooses the carrier — and with it, what kind of delivery this connection can actually handle.
Before you start
A Packeta account
Cleared for posting parcels. Until Packeta approves it, shipments are refused with a message saying so.
The API password
From your Packeta profile, under API password. It is separate from the password you sign in with.
A sender
At least one sender set up in Packeta, under User Information → Senders. Its Indication is what the connection asks for.
Step 1 — Find the Packeta card
Go to Integrations → Couriers and search for packeta.
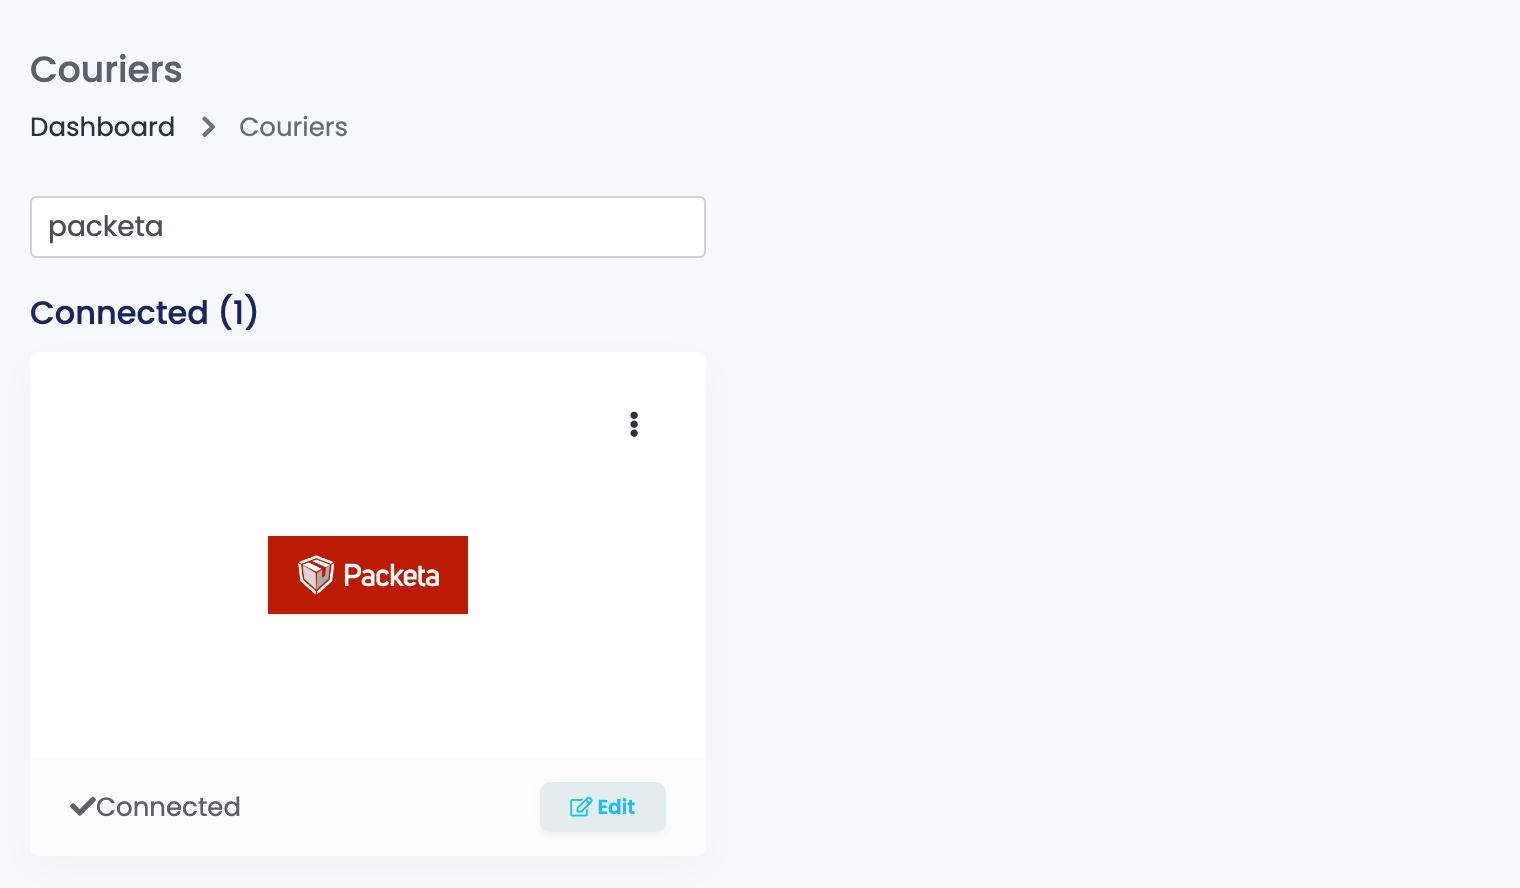
Press Connect on the card, or Edit if you have connected it before.
Step 2 — Your Packeta credentials
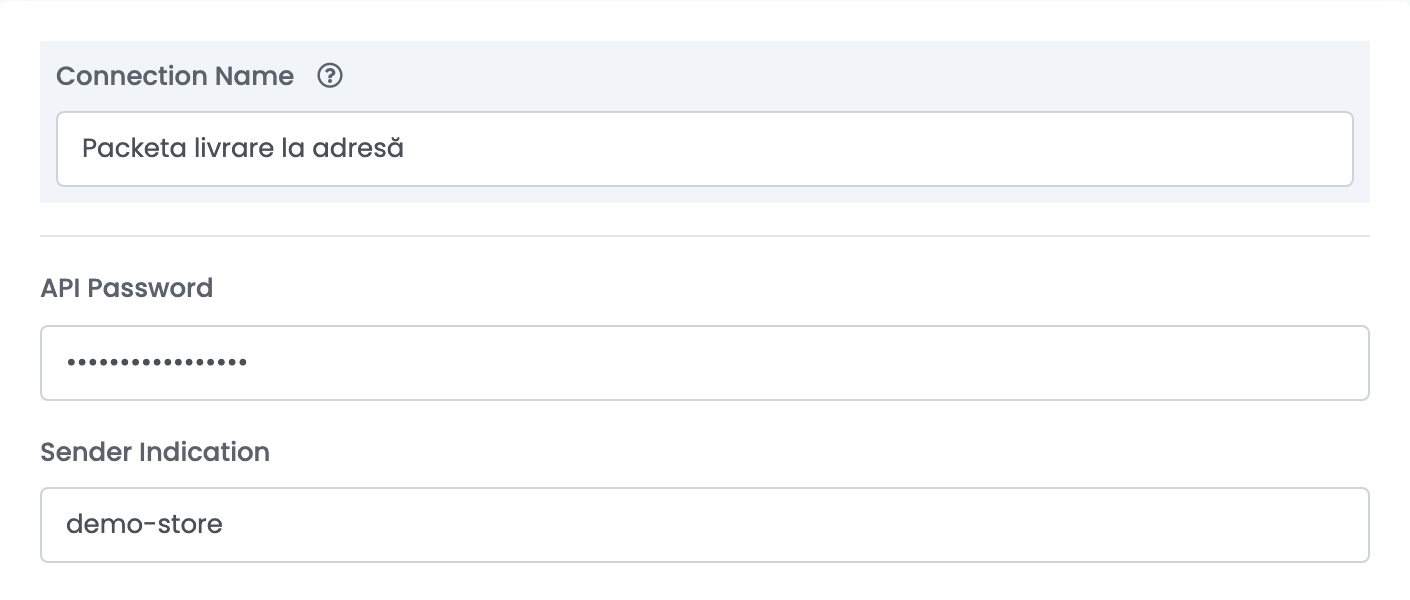
| Field | Where it comes from |
|---|---|
| Connection Name | Yours. It is what you will see inside easySales when you choose between connections, so name it after what it ships. |
| API Password | Packeta → Profile → API password. It is not your sign-in password. |
| Sender Indication | Packeta → User Information → Senders → Indication. It identifies which of your senders the parcel belongs to, and it travels with every shipment. |
Step 3 — Country and Courier Account
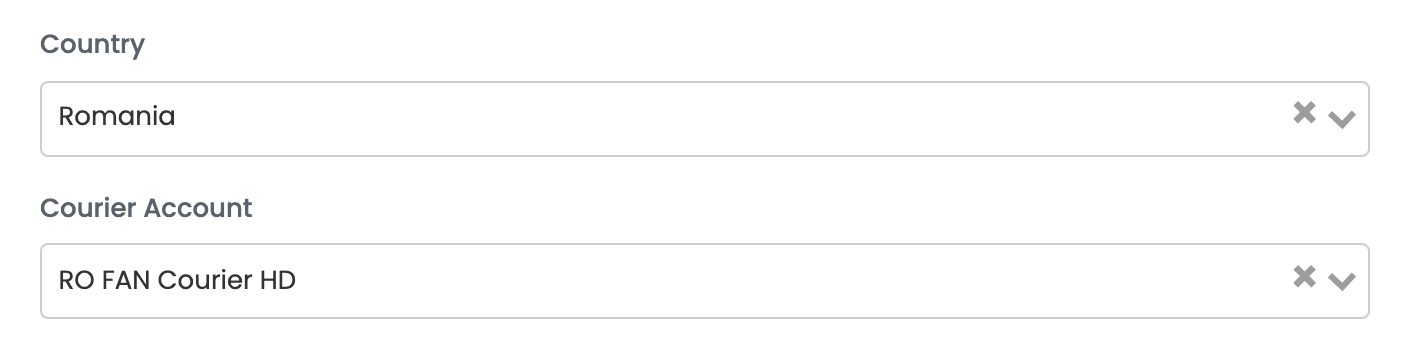
Country filters the list below it. Choose the country you are sending parcels to, and Courier Account fills with the carriers Packeta offers there.
Courier Account is the carrier itself, under Packeta's own name. The name tells you what it delivers:
| Name ends in | It delivers to | Example |
|---|---|---|
| HD | the recipient's own address |
RO FAN Courier HD, PL DPD HD
|
| PP | a pick-up point |
RO FAN Courier PP, PL Polská pošta PP
|
| Box | a parcel locker |
RO Sameday Box, PL InPost Paczkomaty Box
|
Step 4 — Which label to print
| Setting | What it does |
|---|---|
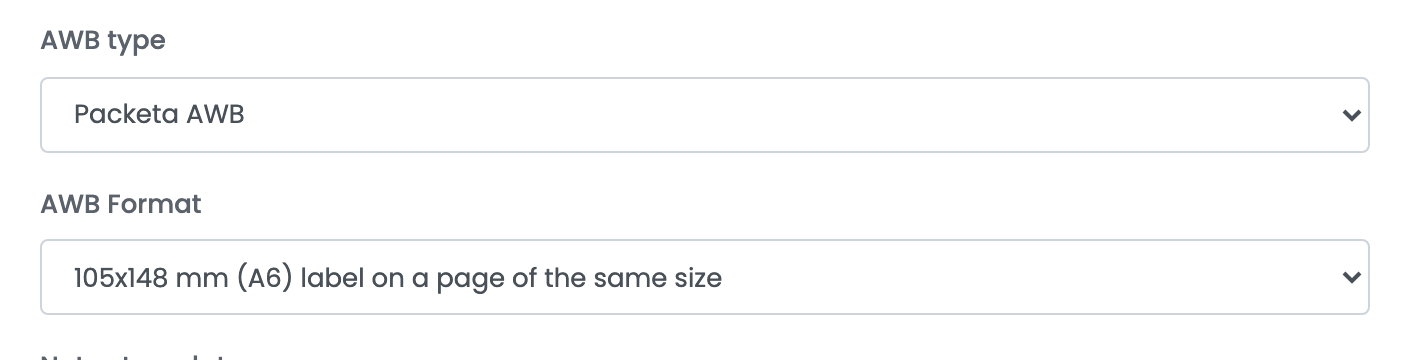
| AWB type — Packeta AWB |
Prints Packeta's own label. AWB Format then offers six sizes, from 105x148 mm (A6) on its own page down to a 50x74 mm (A8) label.
|
| AWB type — Courier AWB |
Prints the carrier's own label instead. The format choice narrows to two: A6 on A6 and A6 on A4.
|
| AWB Format |
How the label is laid out on the page — the label size, and the paper size it is placed on. A6 on A4 puts a parcel label in the corner of an ordinary sheet; A6 on A6 is for a thermal printer.
|
Step 5 — The notes template
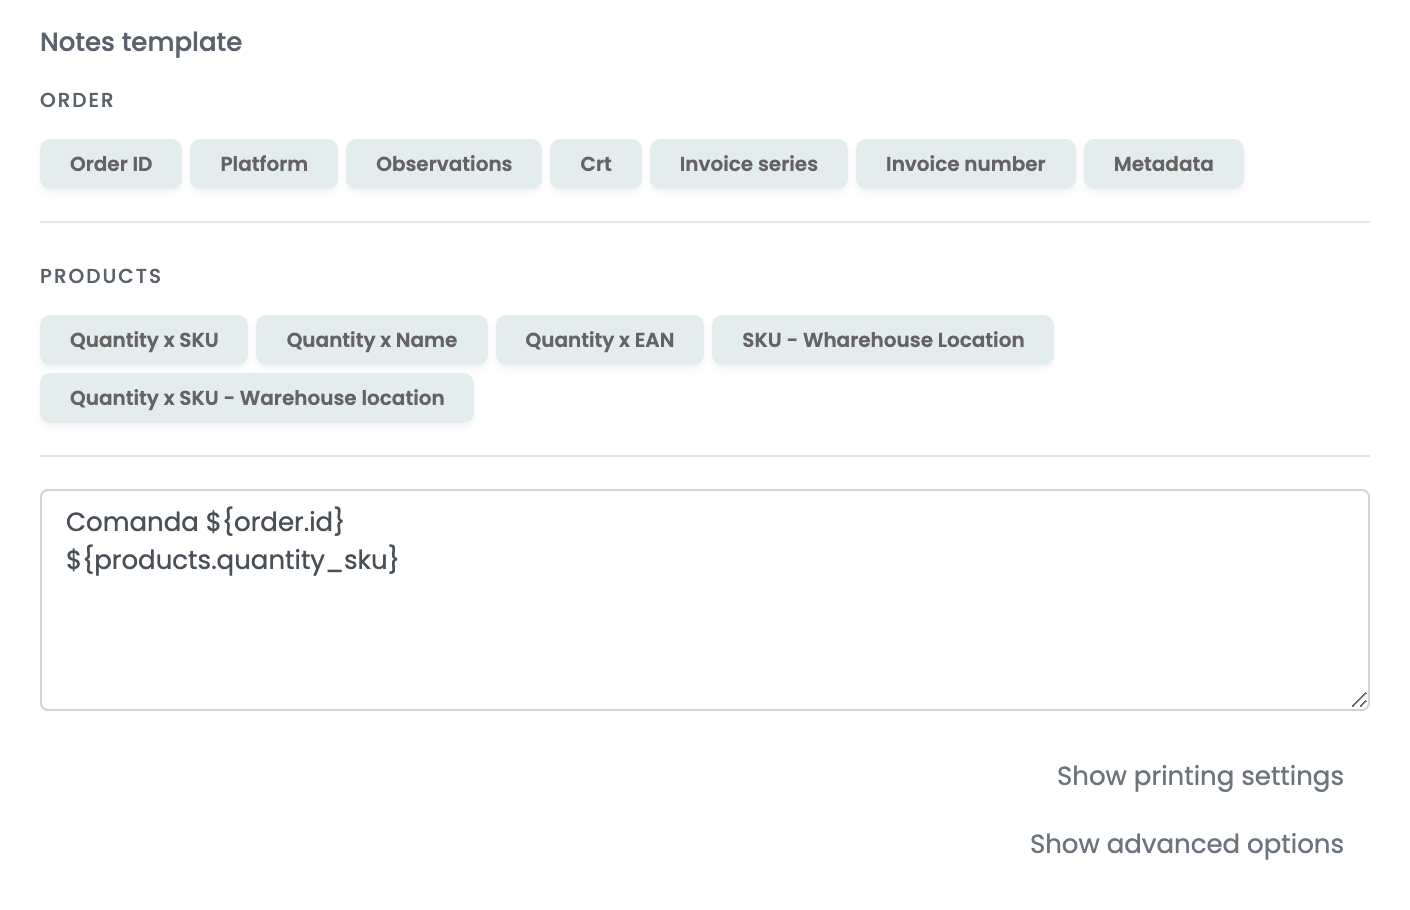
Whatever the template produces travels with the parcel and is printed on the label, so keep it to what a driver or a warehouse needs to read. The buttons above the box insert values from the order and from its products — order number, invoice series, quantity and SKU, warehouse location.
Step 6 — Printing settings and advanced options
Both sections are collapsed, and one of the settings inside the second exists for Packeta in particular.
| Setting | What it does |
|---|---|
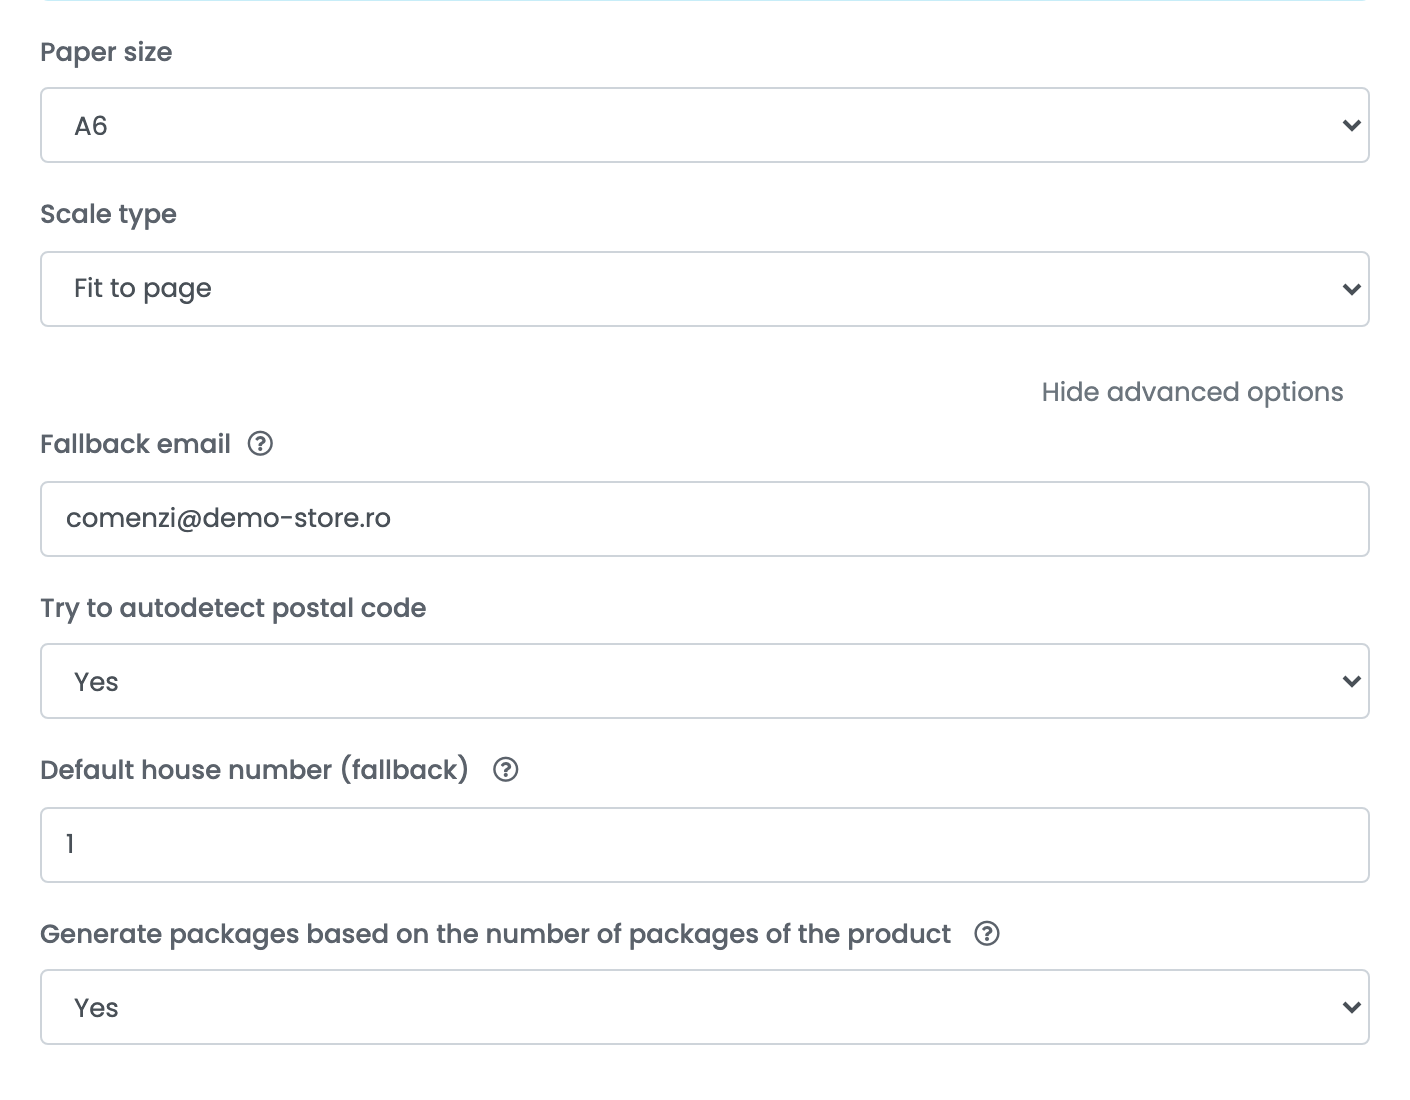
| Default house number (fallback) | Used when no house number can be read out of the delivery address. Packeta wants one, and an address written as a single line does not always yield it. Left empty, easySales sends 1. |
| Try to autodetect postal code | When the order has no postal code, easySales works one out from the county, city and street before sending the parcel. Postal codes are what carriers match localities on, so this prevents a whole class of refusals. |
| Fallback email | Used as the recipient's email when the order carries none. |
| Generate packages based on the number of packages of the product | Counts the parcels on the shipment from the package count set on each product, instead of always sending one. |
| Printing settings | Paper size and scale, used only when you print through the easySales Printer connection, and only for this courier. This is not AWB Format: Packeta decides what the label contains, these decide how it lands on paper. |
One connection per carrier
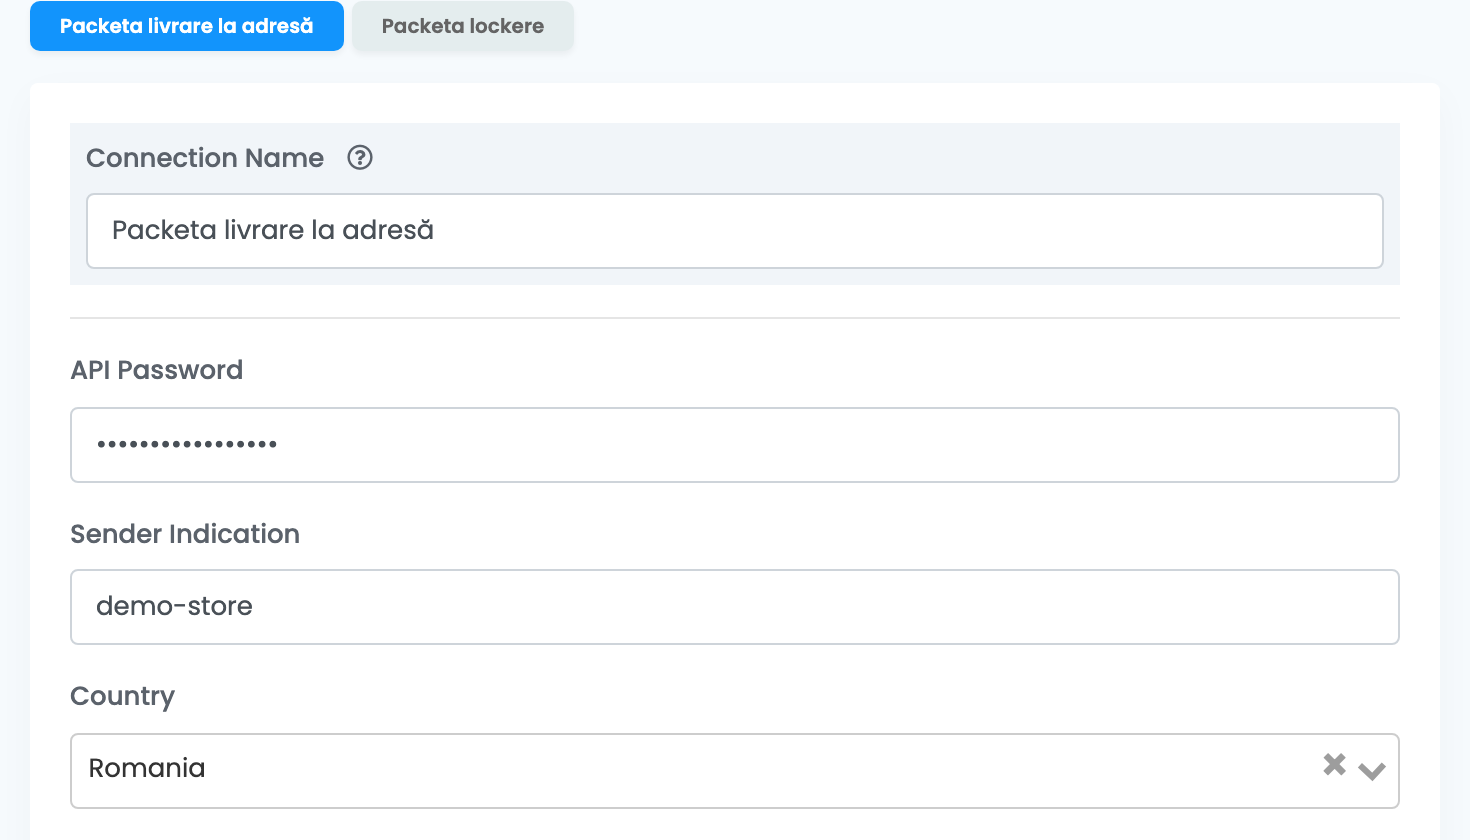
Because the carrier belongs to the connection, a seller who offers both home delivery and lockers keeps two Packeta connections and chooses between them by Connection Name when creating the shipment. Open the ⋮ menu on the Packeta card and choose Connect another courier account, or open an existing connection and press Clone to copy its settings and change only the carrier.
Packeta has no separate return tab — returns are handled through the same connections.
When Packeta refuses a parcel
| Message | What it means |
|---|---|
Final pick up point or courier is not given. Please fill them in.
|
Neither a pick-up point on the order nor a carrier on the connection. Choose a Courier Account. |
Final pick up point is not valid. Pick up point either does not exist or does not accept parcels.
|
The point on the order is closed or no longer takes parcels — or a locker carrier was asked to deliver to an address. |
Phone number is not in valid format, dialing code is required.
|
The recipient's phone has no country code. Correct it on the order. |
The client account is not approved for posting parcels.
|
Your Packeta account is not yet cleared to send. Packeta releases it. |
Incorrect API password.
|
The API password in the connection is wrong or has been changed in Packeta. |
You entered an unauthorized currency.
|
The order's currency is neither the destination country's nor one your Packeta account converts. Packeta's own settings decide this. |
Due to carrier's restriction it is not possible to send parcels to chosen ZIP code.
|
That carrier does not serve the postal code. Another carrier may. |