How to connect eMAG (RO, BG & HU) with easySales: a complete integration guide
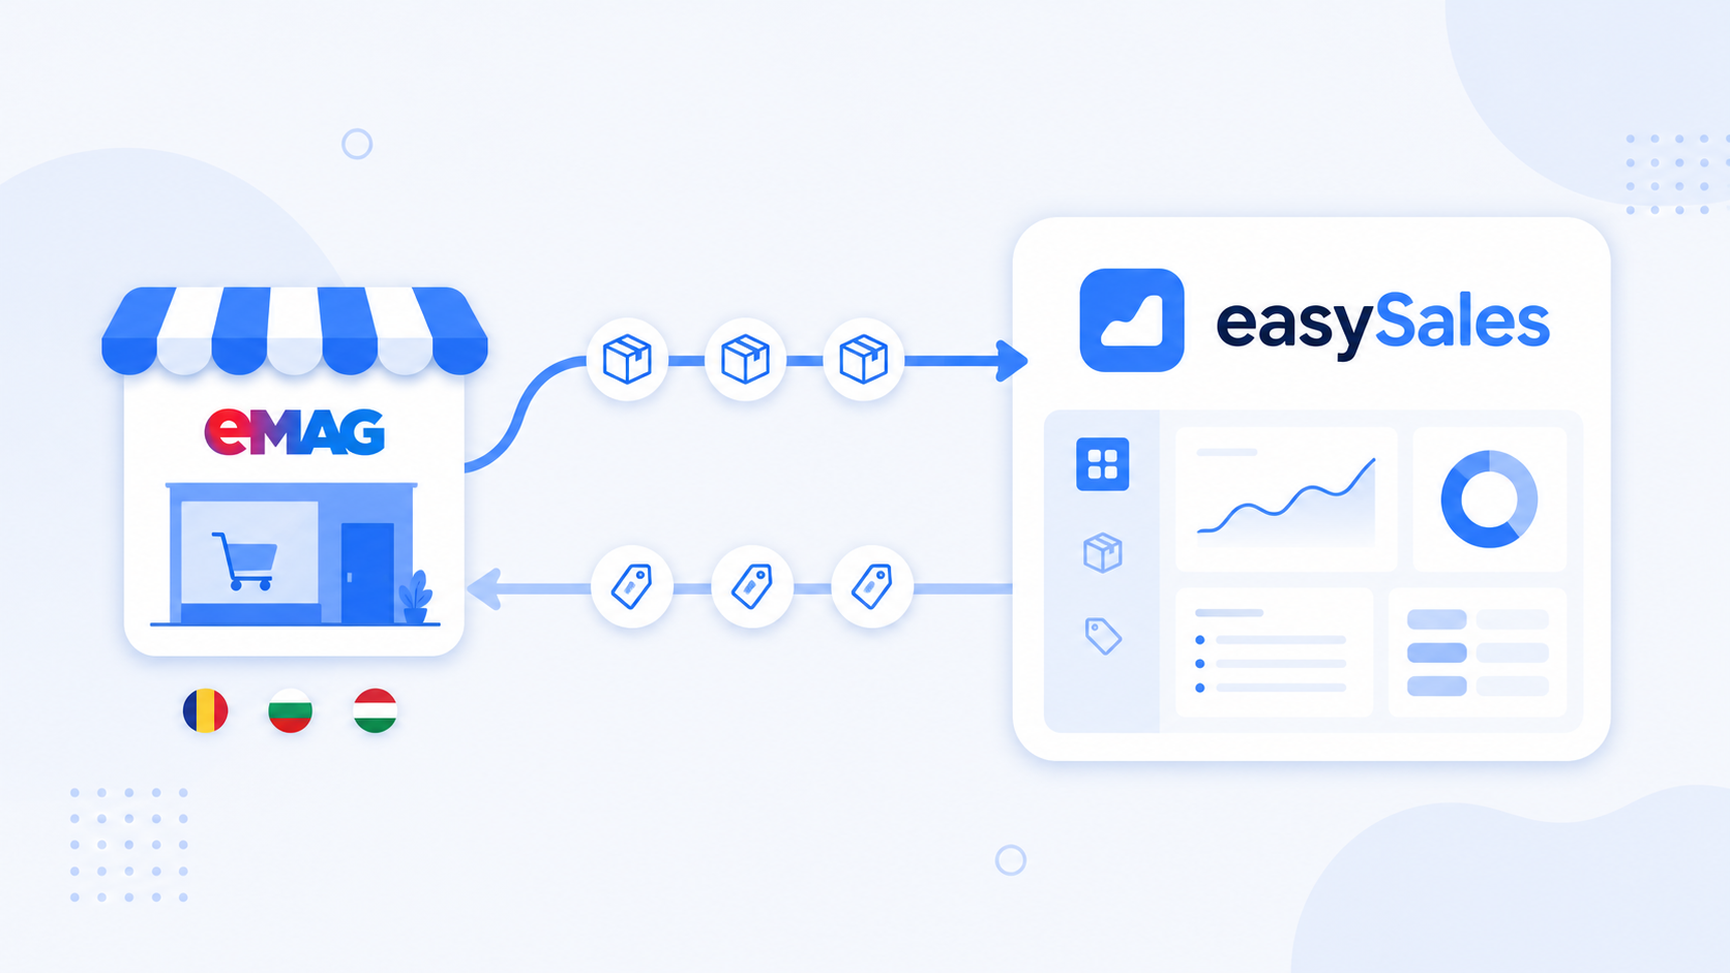
Connect your eMAG seller account with easySales in three steps — whitelist easySales in your eMAG account and copy your API credentials, open the connect form in easySales, then enter your credentials and account settings. Centralize eMAG orders from Romania, Bulgaria, and Hungary, generate AWBs and invoices, and push your catalog as offers with stock and prices synced automatically once your offers are linked to your catalog.
Why connect eMAG with easySales
Selling on eMAG and want one place to manage orders, generate invoices, push AWBs to couriers, and keep your listings in sync? easySales handles all of it from a single dashboard — across eMAG Romania, eMAG Bulgaria, and eMAG Hungary.
Once connected, eMAG orders flow into easySales automatically. From there you generate invoices, create AWBs with any supported courier, and run automation flows. Your catalog goes the other way: easySales publishes your products as eMAG offers and keeps stock and prices updated continuously, so you manage one catalog instead of editing each listing by hand.
You connect with API credentials from your eMAG account — there's no plugin to install and no developer access needed. The whole flow is: whitelist easySales in eMAG and copy your API credentials, open the connect form in easySales, paste the credentials, and save.
How the eMAG connector works
easySales talks to eMAG through eMAG's Marketplace API, authenticated with the credentials from your seller account. eMAG only accepts API calls from IP addresses you've explicitly approved, so the first thing you do is add easySales to your eMAG account's allowed-IP list. Without that step, every call is rejected and nothing syncs.
The sync is mostly one-directional, and it's worth understanding the split before you start:
- Orders come in. easySales checks eMAG for new and updated orders every minute or so, so they land in your Orders screen ready for invoicing, AWBs, and flows.
- Offers, stock, and prices go out — once offers are linked. easySales is the source of truth for the stock and prices it publishes. Syncing isn't automatic the moment you connect: each eMAG offer must first be linked to a product in your easySales catalog (covered below). eMAG's own reported stock is read back for reference, but easySales stays the source of truth for the values it pushes.
Prerequisites — what to prepare before you start
A few requirements keep the connection from failing at the first sync.
An active eMAG seller account
You need a live eMAG Marketplace seller account with API access. A buyer account or an account still in onboarding cannot connect.
easySales whitelisted in eMAG
eMAG only accepts API calls from approved IP addresses. You add easySales to your account's allowed-IP list in eMAG before connecting — calls are rejected otherwise.
Your API credentials in hand
Username, password, and the API Code from your eMAG account Technical details tab. You paste all three into easySales.
Clean product identifiers
easySales tracks products by SKU and matches offers to eMAG by part number / EAN. De-duplicate and verify identifiers before publishing offers.
Step 1 — Whitelist easySales and copy your API credentials in eMAG
eMAG rejects API calls from any IP it doesn't recognize, so start on the eMAG side.
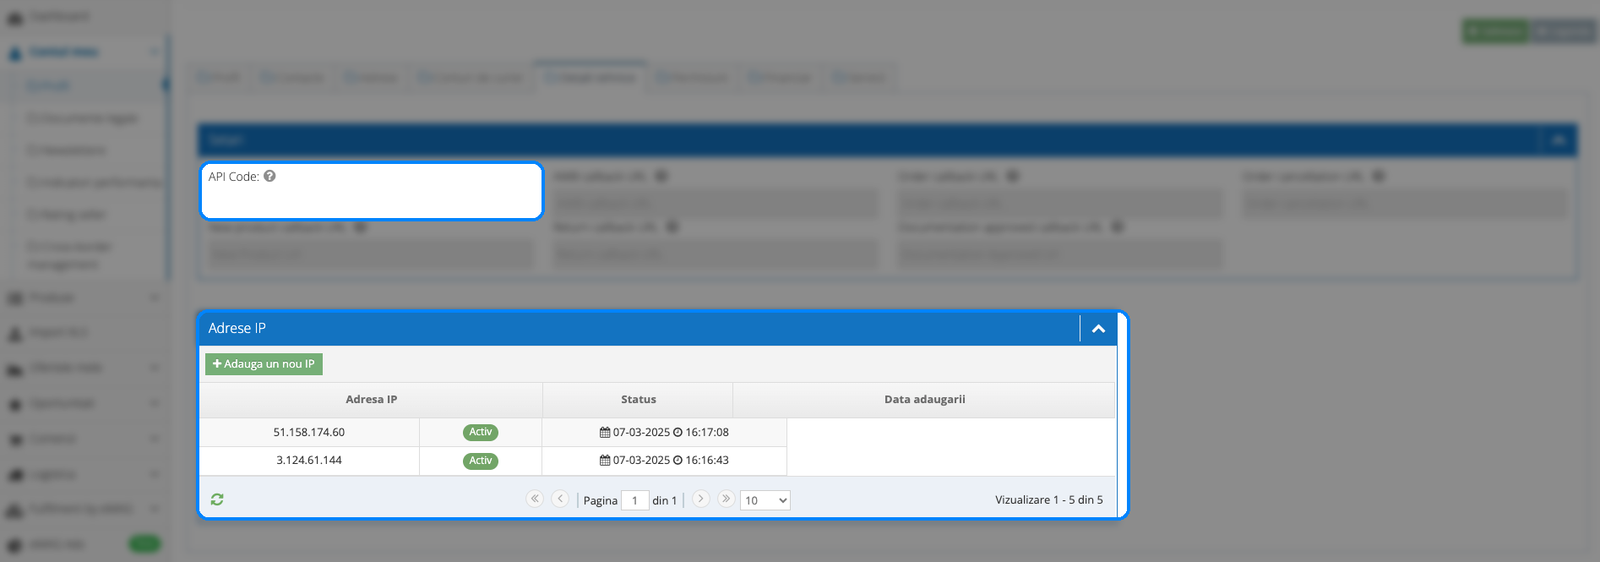
In your eMAG seller account, go to My account → Technical details. Under Add new IP Address, add both IP addresses easySales connects from — 51.158.174.60 and 3.124.61.144 — saving each one. (Always cross-check these against the values easySales shows in the connect instructions, in case they ever change.)
While you're on the Technical details tab, copy your API Code and note your username and password — you'll paste all three into easySales in Step 3.
Step 2 — Open the connect form in easySales
In easySales, go to Integrations → Marketplaces. Find eMAG for the country you're connecting — eMAG (Romania), eMAG Bulgaria, or eMAG Hungary — and click Connect on its card. (If you already sell on another eMAG account, open the card's ⋮ menu and choose Add account instead.)
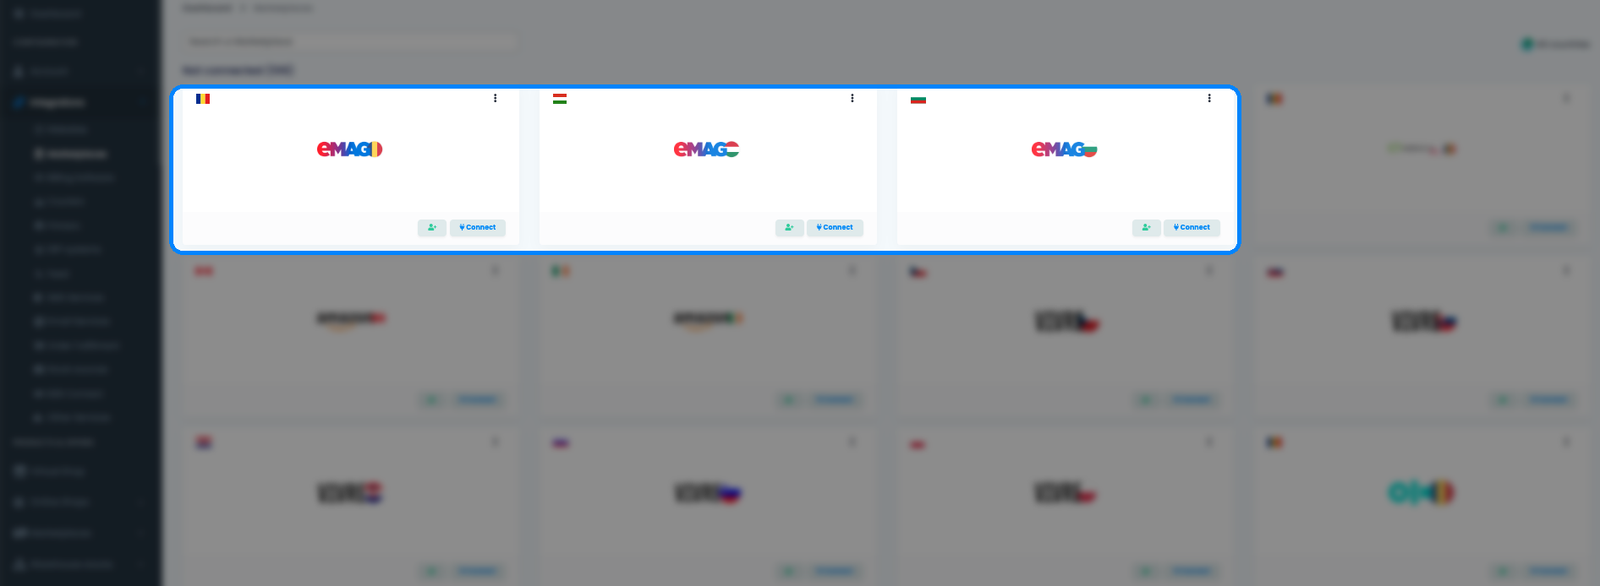
The eMAG settings form opens with two tabs: Main settings (credentials and the core configuration) and Additional settings (sync behavior and optional features). You'll work in Main settings first.
Step 3 — Enter your credentials and account settings
On the Main settings tab, fill in the credentials and the configuration easySales needs to drive the integration.
Credentials
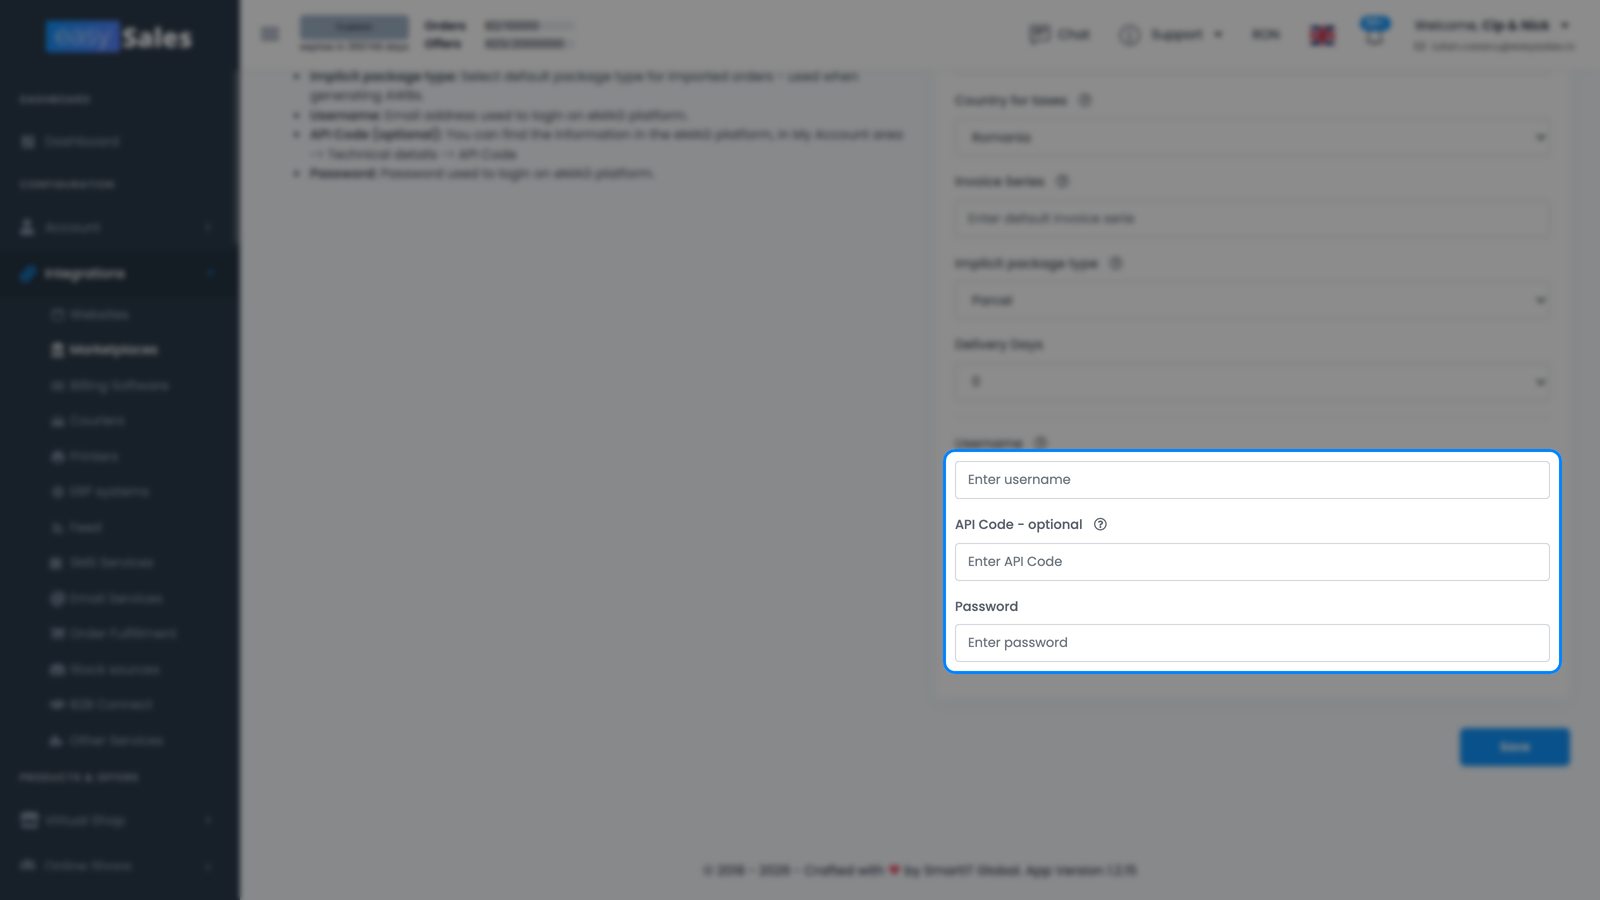
- Username and Password — the login for your eMAG seller account. Both are required.
- Code (API Code) — the API code you copied from eMAG's Technical details tab. The field is labelled optional, but paste it in: it's part of how eMAG identifies your integration and avoids avoidable authentication problems.
Account configuration
- Connection Name — a label you choose (for example "eMAG RO"). Only visible inside easySales, handy when you run several eMAG connections.
- Country for taxes — the country whose VAT rules apply to your orders (RO, HU, BG, GR, or SK).
- Vat Payer (eMAG Romania only) — select Yes if you're registered for VAT or No if you're not. On the eMAG Hungary and Bulgaria forms you set VAT through the Default Tax Rate field instead.
- Default Tax Rate — the default VAT percentage applied to your offers and orders. Set 0 if you're not a VAT payer. (This is the VAT field shown on the eMAG Hungary and Bulgaria forms.)
- Invoice Series — the default billing series imported eMAG orders are assigned, matching the series you use in your invoicing software.
- Price Addition — an optional percentage added on top of your product price when publishing offers to eMAG.
- Implicit package type — the default package (envelope or parcel) used when generating AWBs for eMAG orders.
- Delivery Days — the handling time published with your offers. Pick a value from the dropdown (0 by default).
Click Save to finish.
What happens automatically after you save
Once the connection test passes, easySales sets up the integration without any further action from you.
- An initial synchronization is scheduled — easySales begins importing your recent eMAG orders so you have something to work with right away.
- New eMAG orders arrive in your Orders screen within a minute or two from then on, ready for invoices, AWBs, and automation flows.
- Any offers you already sell on eMAG are imported into Marketplaces → Offers (the eMAG tab) — but they are not synced yet. Each imported offer has to be linked to the matching product in your easySales catalog first; only linked offers send stock, price, and content updates to eMAG.
Orders are the only thing that flows in on its own. Your listings are a deliberate second step: link your imported eMAG offers to your catalog (easySales can auto-link many of them for you), and for products you don't sell on eMAG yet, map their categories and publish them as new offers. Once an offer is linked, easySales keeps its stock and price updated continuously from then on.
| From eMAG → easySales | From easySales → eMAG |
|---|---|
| Orders (new and updated) | Offers / listings |
| Order status changes from eMAG | Stock levels |
| Offer status, validation results, Buy Button rank & best offer price | Prices |
| — | Invoices (when enabled) |
| — | Order status — finalized when you generate the AWB |
RO vs BG vs HU — connect each country once
The connection procedure is identical for all three eMAG marketplaces. What differs is per-country, and easySales handles it once you pick the right marketplace:
- The API endpoint (eMAG Romania, Bulgaria, or Hungary).
- The default currency — RON for RO, BGN for BG, HUF for HU.
- The account itself — each country is a separate eMAG seller account, so each gets its own connection in easySales.
Whitelist easySales and copy the credentials separately in each country's eMAG account, then add a separate connection per country in Integrations → Marketplaces.
Fine-tuning your eMAG connection
The Additional settings tab controls how easySales syncs with eMAG after the connection is live.
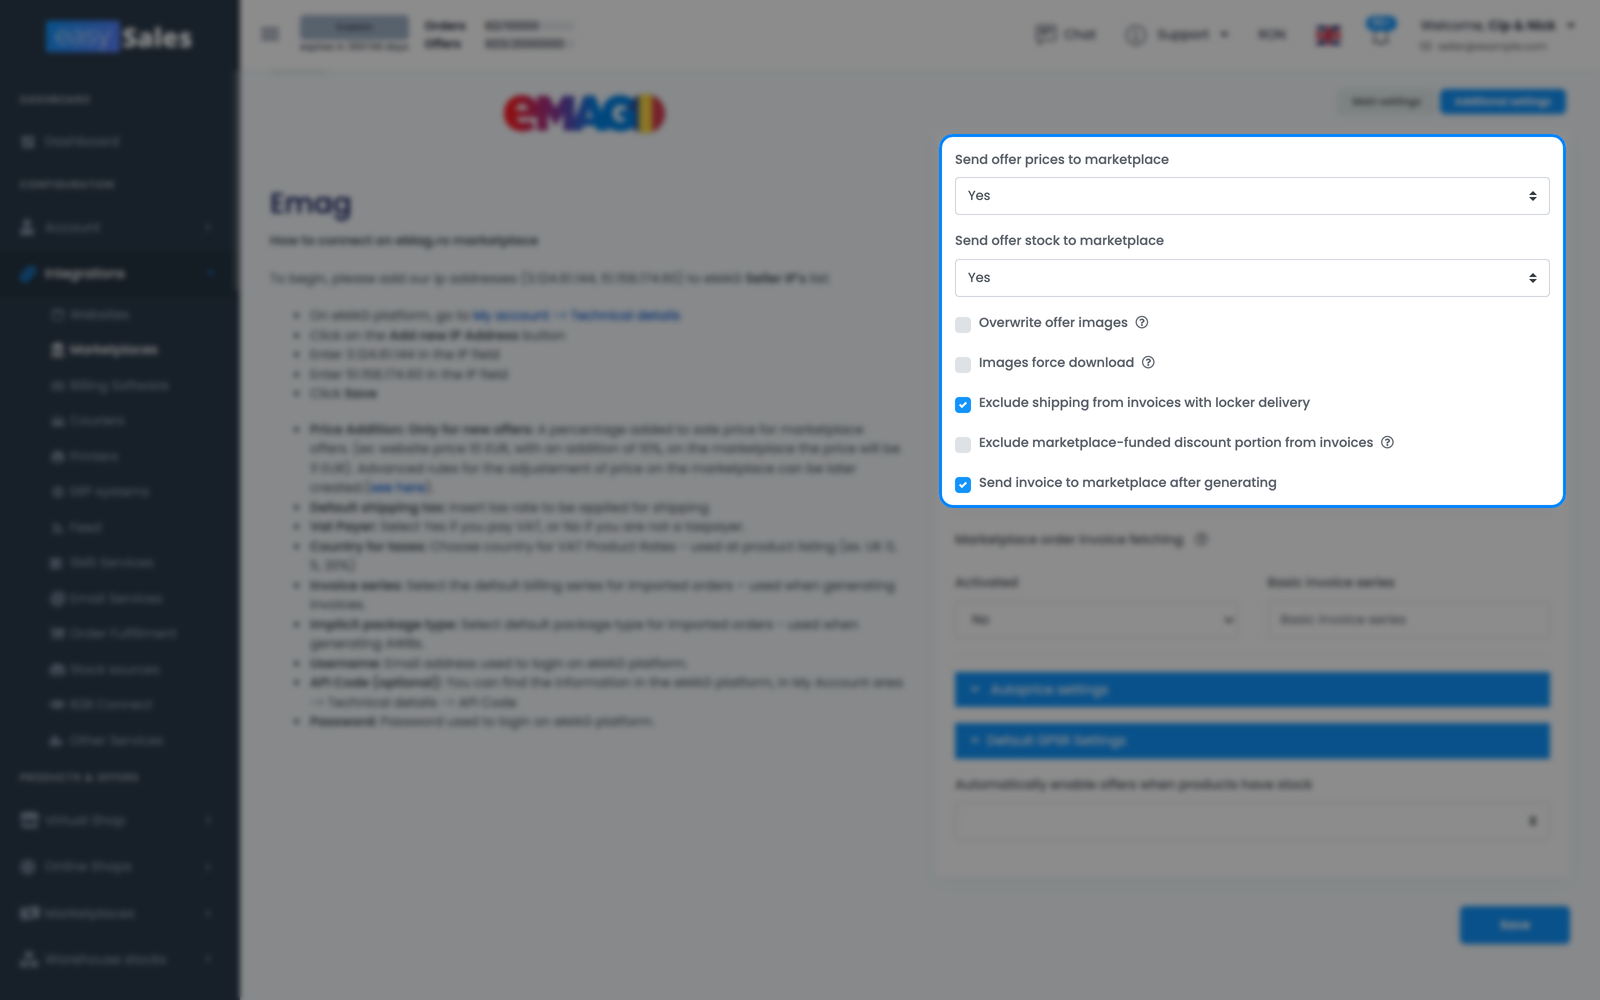
The options that matter most day-to-day:
- Send offer prices to marketplace — push price changes from easySales to your eMAG offers. Turn off if you manage prices directly in eMAG.
- Send offer stock to marketplace — push stock levels to eMAG. Turn off if eMAG isn't reading stock from easySales.
- Overwrite offer images — replace the images on existing eMAG offers with the ones from easySales.
- Exclude shipping from invoices with locker delivery — drop the shipping line on invoices for orders delivered to a locker.
- Send invoice to marketplace after generating — send each invoice to eMAG automatically once easySales generates it.
This tab also covers optional automatic pricing rules and GPSR product-safety details (EU representative and manufacturer information) that eMAG requires for certain product categories. Set them once and easySales applies them to your offers.
You're connected — what's next
With orders arriving, the next step is automation: set up flows to generate invoices, create AWBs, and notify customers.
To get your catalog onto eMAG, map your categories to eMAG's first — offers can't be published until your products are matched to the right eMAG categories and characteristics. Once mapping is done, turn your products into offers and let easySales publish and maintain them.
Connect your eMAG account in minutes
Try easySales free for 14 days. No plugin, no credit card, no code.