How to connect Shopify with easySales: a complete integration guide
Connect your Shopify store with easySales in three steps — create the custom app in your Shopify admin, copy the credentials, and finish the connection inside easySales. Centralize orders, sync stock, and auto-generate invoices and AWBs without any storefront plugin.
Why connect Shopify with easySales
Sell on Shopify and want one place to manage orders, generate invoices, push AWBs to couriers, and reuse the same products as offers on marketplaces? easySales handles all of it — no storefront plugin.
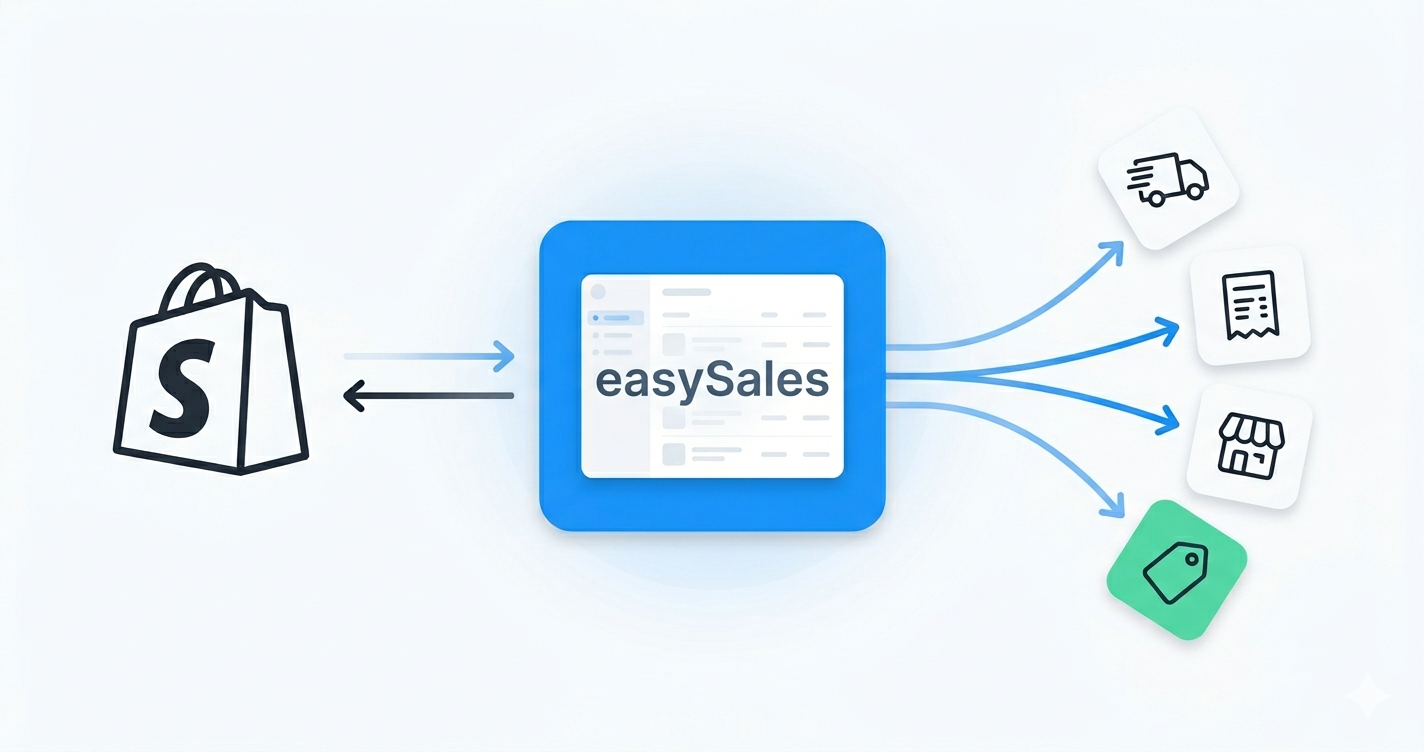
Once connected, easySales pulls products and variants from your Shopify store and centralizes incoming orders. From there, you generate invoices, create AWBs with any supported courier, and turn the same products into offers on every marketplace you sell on. Product changes in Shopify reflect in easySales in real time, and stock changes in easySales push back to your store.
This guide walks you through the current setup flow. You'll create a small custom app inside your Shopify admin, copy two credentials (Client ID and Client Secret), and paste them into easySales — no password, no storefront code changes.
Interactive tour
Don't feel like reading? Take the interactive tour.
Prerequisites — what to prepare before you start
Get your Shopify catalog ready before you start. A few requirements prevent products from being skipped at import time.
Unique SKU per product
Two products with the same SKU collide — only one is imported. Audit and de-duplicate before connecting.
Shopify admin access
You need admin permissions on the store to create a custom app and read API credentials.
A few things worth understanding upfront:
- Each product must have a unique SKU. If two products share the same SKU, only one will be imported.
- easySales tracks products by SKU. Renaming a SKU in Shopify creates a fresh product in easySales — to find duplicates, use the export button in Online Shops → Products.
- You need admin access to your Shopify store to create the custom app.
Step 1 — Create the easySales custom app in Shopify
easySales connects to Shopify through a custom app that you create yourself in your store admin. It takes about two minutes.
1.1 Open the Shopify Dev Dashboard
In your Shopify admin, open Settings → Apps and click Build apps in Dev Dashboard.
.png)
1.2 Configure the app
In the Dev Dashboard version screen, set:
- App name: easySales
- App URL:
https://easy-sales.com - Uncheck the Embed app option
%201.png)
1.3 Enable all scopes
Scroll to the API access scopes section. Check every scope — easySales needs full read and write access to orders, products, stock, collections, and customers to sync in both directions.
Click Done at the bottom of the page.
1.4 Release and install
Click Release to publish the app version, then go to Overview and click Install app.
%20(1).png)
After installation, open the app's Settings tab — Shopify shows your credentials there.
Step 2 — Copy Client ID and Client Secret
Open the Settings tab of the easySales app you just installed. Shopify shows two values:
- Client ID (also called API key)
- Client Secret (also called API secret key)
Keep this tab open — you'll paste both values into easySales in the next step.
.png)
Step 3 — Connect Shopify in easySales
In your easySales account, go to Integrations → Online Shops → Connect Website and fill in the form. The fields below explain what to enter and which choices apply to most Shopify sellers.
Website name and URL
- Website name — a label you choose. It's only visible inside easySales.
- Website URL — your Shopify storefront. Use the format
shop.myshopify.comor the exact URL shown in your Shopify admin. Pickhttporhttpsto match your store, and addwwwonly if your domain redirects to it.
VAT and VAT for shipping
If you're a VAT payer, enter the rate that applies to your products and a separate rate for shipping (e.g. 21 for 21%). Leave blank if you're not a VAT payer.
Language and currency
Pick the storefront language (Romanian, Bulgarian, Hungarian, Polish, or English) and currency (RON, BGN, HUF, PLN, or EUR). These act as defaults for products imported from this store, and as a fallback when an incoming Shopify order doesn't carry an explicit currency. They never override individual orders — each order keeps the currency Shopify reported.
Product stock source
This is the most important decision on the form. It tells easySales where the authoritative stock value lives:
- Website — Shopify is the source of truth. easySales reads stock from Shopify and never overwrites it.
- easySales — easySales is the source of truth. Stock changes inside easySales (sales, manual edits, marketplace deductions) are pushed to Shopify.
- Connected integration — your stock lives in a third-party system already wired to easySales (billing software like SmartBill, Oblio, Fakturownia or FacturisOnline; an ERP such as NexusERP or Sedona; a fulfilment partner like Fulfillro or Huboxx; and many others). easySales reads stock from that integration and pushes it to Shopify. Connect the integration and declare its warehouse first — you can't pick this option otherwise.
Running a multi-warehouse operation? Switch the form to Advanced warehouse mode. Instead of binding the store to one stock source, you pick one or more easySales warehouses and define how their stock is aggregated, prioritized, or split per channel. This is the standard setup when the same catalog ships from several locations or different channels draw from different warehouses.
Default package type
Used at AWB generation when the order doesn't specify a package. Pick the type that matches most of your orders.
Platform, Client ID and Client Secret
- Platform — select Shopify
- Client ID — paste from the Shopify Settings tab
- Client Secret — paste from the Shopify Settings tab
.png)
Click Save. easySales tests the connection, enables live sync with your Shopify store, and starts importing your catalog.
What happens automatically after you save
easySales handles live sync and the initial import automatically.
- Live sync is enabled for orders, products, and collections. Every order created, updated, cancelled, or paid in Shopify reaches easySales in near real time. The same applies to product and collection changes.
- Your product catalog is imported — products and variants appear in Online Shops → Products, where you can browse, edit, and turn them into offers for marketplaces.
- Incoming Shopify orders appear in your Orders screen, where you generate invoices, AWBs, and run automation flows.
- Stock syncs according to the source you picked. If you chose easySales, stock pushes start running continuously and your Shopify storefront reflects centralized inventory.
| From Shopify → easySales | From easySales → Shopify |
|---|---|
| Orders (create, update, cancel, paid) | Stock updates |
| Products and variants | Fulfillment status from AWB generation |
| Stock levels | External orders (created or imported from other channels) |
| Product prices | — |
| Collections | — |
| Order tags (as metadata) | — |
| Order metafields (as metadata) | — |
| Customer details and addresses | — |
Fine-tuning your Shopify connection
After saving, open the Shopify website's Preferences tab to fine-tune how easySales handles your store. Settings are grouped in three blocks.
Shopify Settings
- Get company tax code from Company field — extract the company tax code (CUI, NIP, etc.) from the Shopify company name field on orders.
- Shipping prices include tax — turn on if your Shopify shipping rates already include VAT. easySales then extracts the tax from the price instead of adding it on top.
- Default discount tax rate — Shopify doesn't report a VAT percentage on discount lines. Set a fallback rate here (e.g.
21) and easySales applies it to every imported discount. - Order metafield keys to import — pick which custom metafields you want easySales to copy onto orders as metadata.
- Fetch Shopify order tags as easySales metadata — turn on to import order tags alongside metafields.
Order Behavior
- Allow reopening completed orders — by default, terminal statuses like "Completed" cannot revert to "New". Enable if you need to reopen orders.
- Allow reopening cancelled orders — same logic for cancelled orders (useful when a temporarily cancelled unpaid order is finally paid).
Synchronization
- Fetch orders — automatic import of new Shopify orders.
- Send order status back to Shopify — push status changes from easySales back to Shopify so both systems stay in sync.
- Send product stock back to Shopify — push easySales stock levels to your Shopify storefront. Turn off if Shopify is your stock source.
Click Save at the bottom of the page to apply your changes.
You're connected — what's next
Once orders start arriving, the next steps are mostly about automation. Set up flows to auto-generate invoices, auto-create AWBs, and auto-send tracking notifications. If you also sell on marketplaces (eMAG, Allegro, Kaufland, Trendyol, and others), turn your Shopify catalog into offers and let easySales push them out.
Connect your Shopify store in minutes
Try easySales free for 14 days. No credit card and no plugin.